
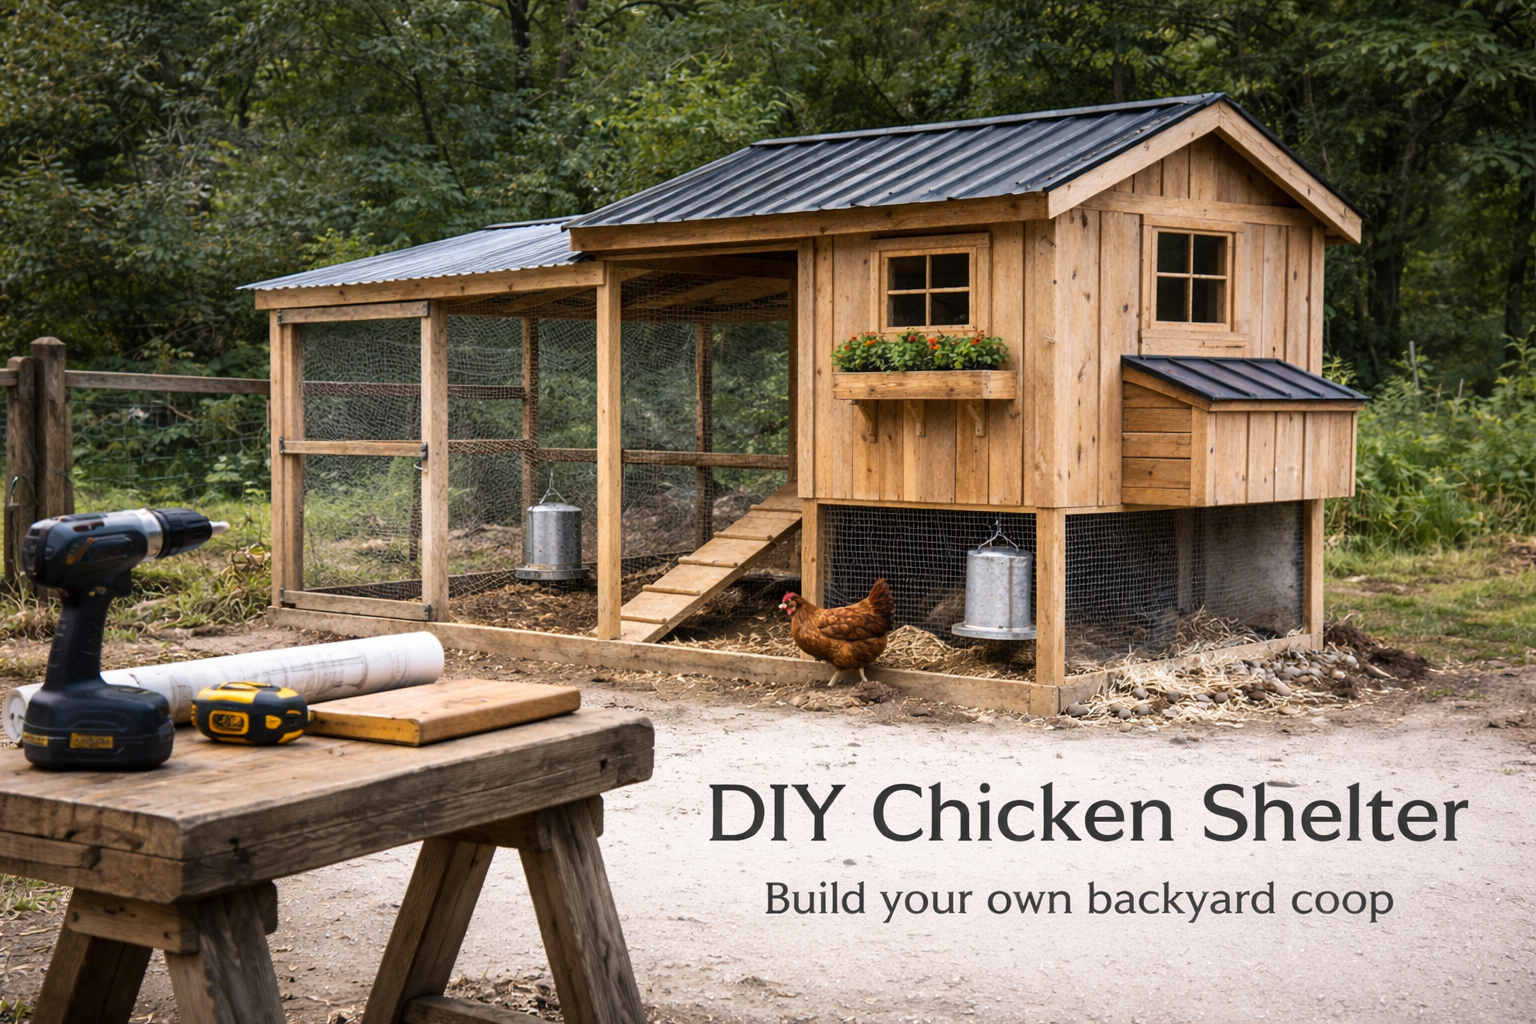
A Simple Build That Survives Weather and Keeps Birds Using It
DIY Chicken Shelter: Budget Build, No Fancy Tools
I built the first one because I was tired of watching birds stand in the open during sideways rain like they were pretending it wasn’t happening. It was a quick shelter. Roof, three sides, done.
What ended up happening was predictable. They used it… sometimes. Then winter showed up. The ground stayed wet, the doorway turned into a mud trench, and the wind found the one opening that lined up perfectly with the roosting spot. The shelter didn’t “fail.” It just became pointless.
Second one got better. Not because the wood was nicer. Because the roof started doing more work than the walls. Water got thrown away. The base stayed off soil. Wind was blocked where the birds actually stood. After that, neighbors wanted one. Then a friend wanted a bigger one. Then someone asked for a “cheap one” and that turned into a repair job later. Pattern learning. Not theory.
What this page is (and isn’t)
- It’s a DIY chicken shelter guide: quick cover inside a run, pasture area, or temporary setup.
- It’s not a full coop build with nest boxes, doors, insulation, and all the extra stuff.
- It’s written from repeat builds: what held up after a few wet seasons, what got rebuilt, what I stopped doing.
First, what “DIY chicken shelter” usually means in real yards
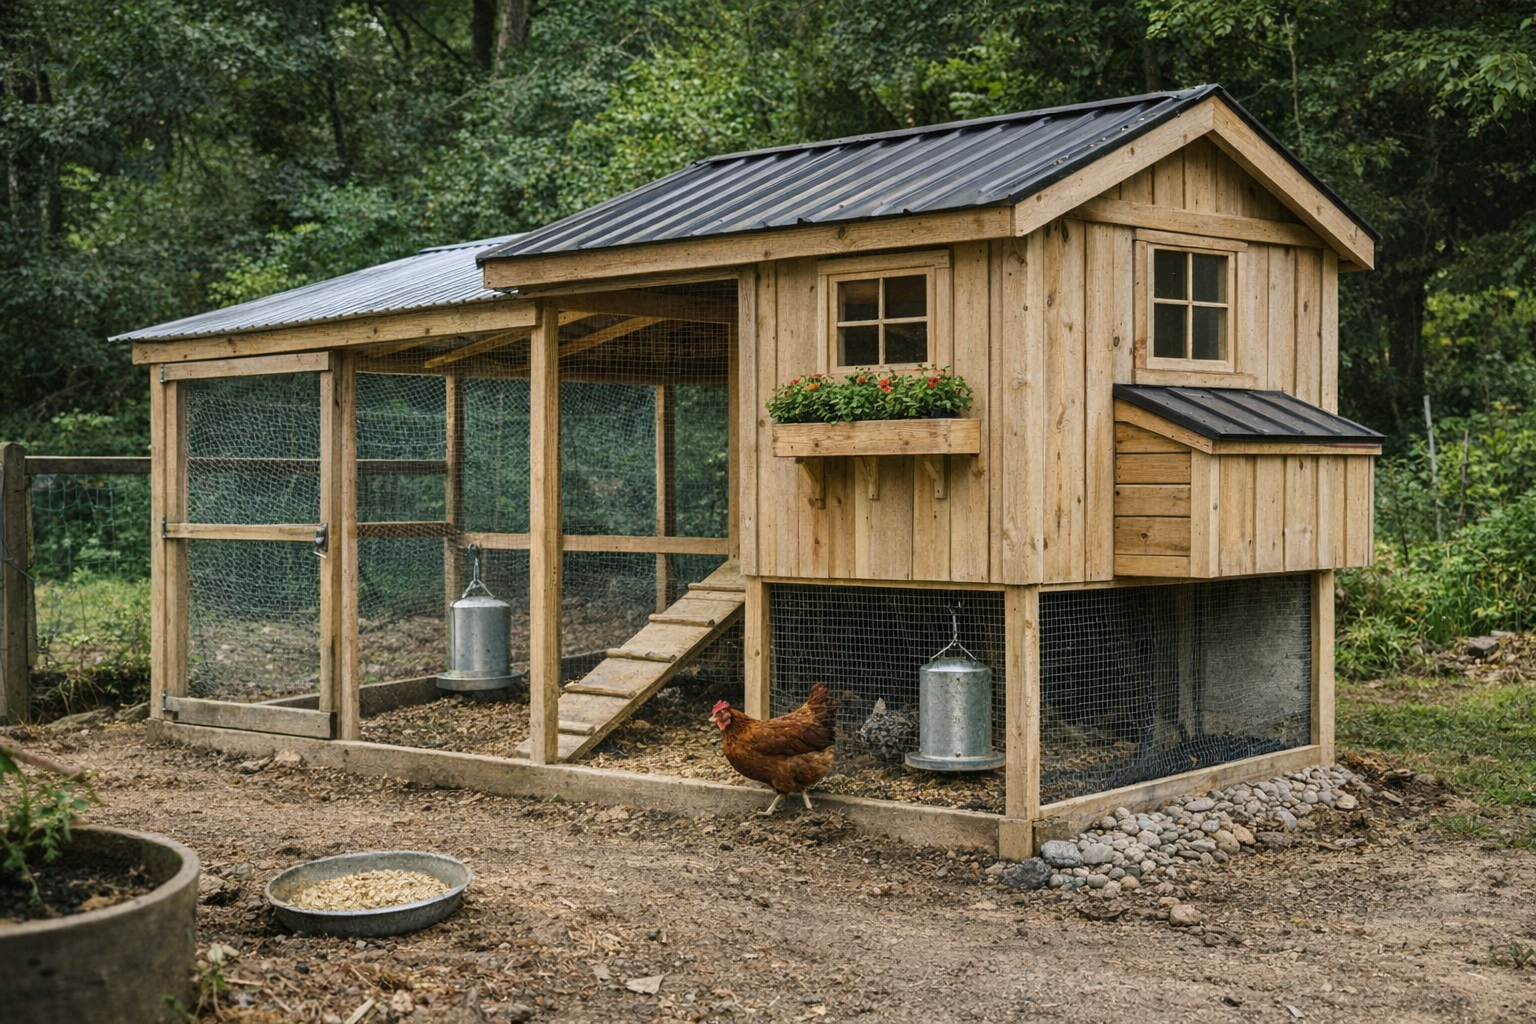
Most people mean one of these:
- Day shelter inside a run. Shade + rain cover + wind break. Birds still sleep elsewhere at night.
- Simple night shelter. Still not a full coop, but it closes up enough to lock birds in.
- Temporary shelter. Something that works while the “real coop” is coming later (or never, if we’re honest).
If predators are part of your life, “day shelter” is the low-risk version. “Night shelter” changes everything: wire, latches, gaps, how the base meets the ground. That’s when it stops being a light project.
If you’re still choosing the direction (shelter vs full coop vs tractor vs something in-between), park this and scan ideas first: Chicken Coop Ideas.
Three shelter builds that keep showing up
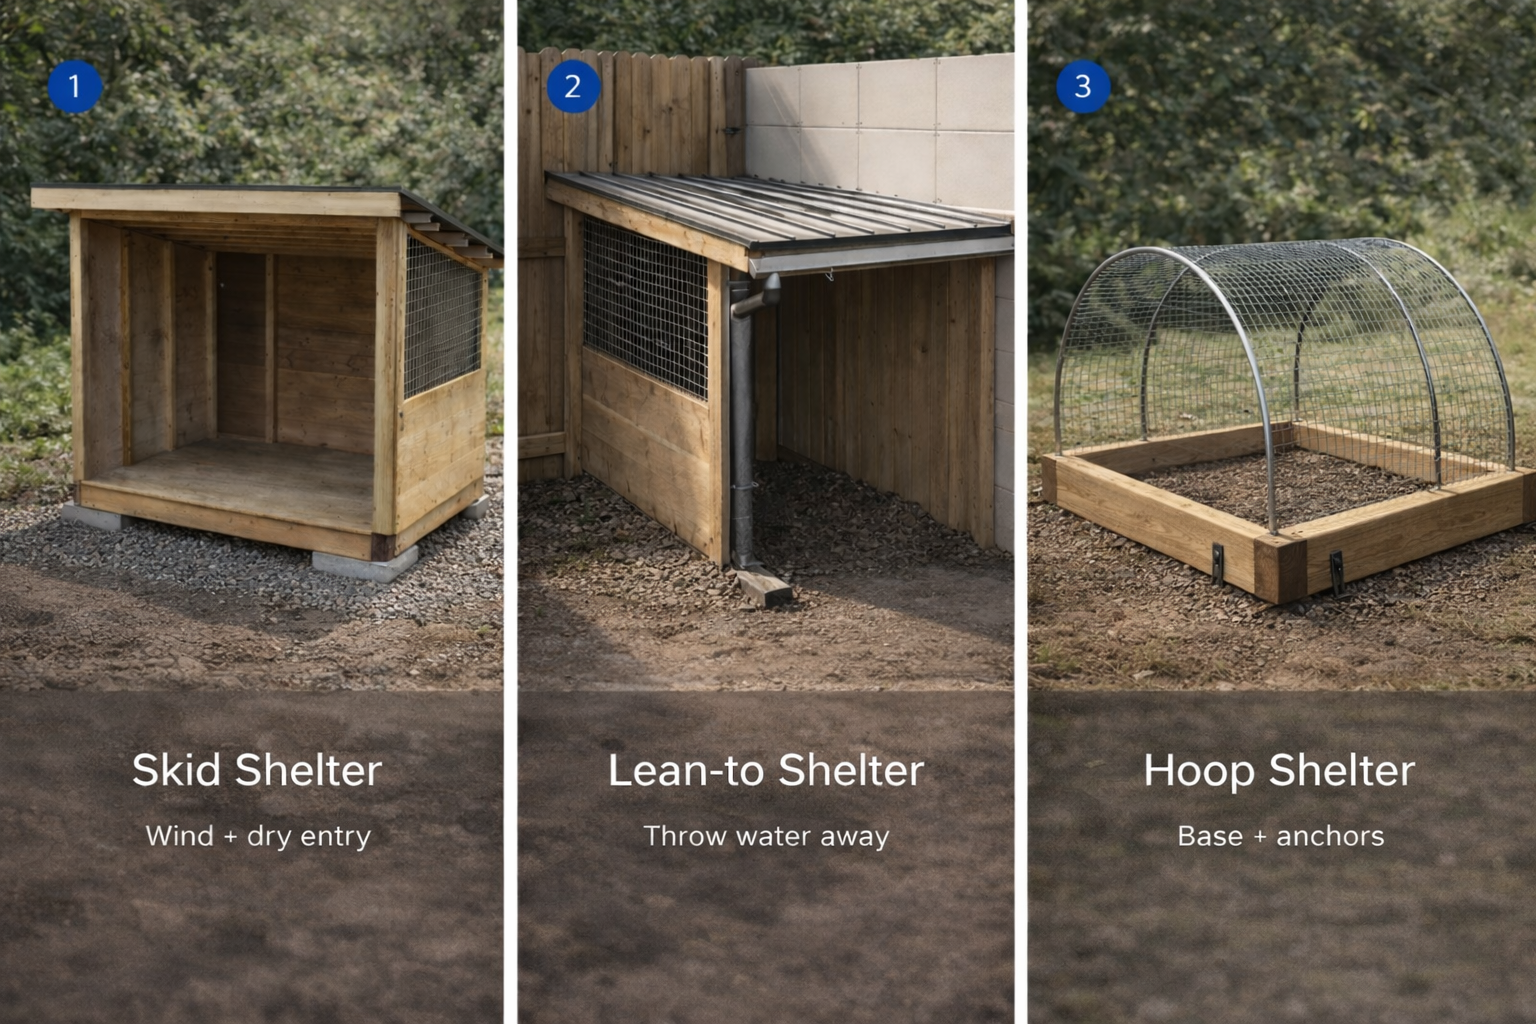
(because they don’t backfire)
1) Skid shelter (the one that survives wind and stays dry)
This is the one I keep repeating. It’s basically a small shed without the fancy parts. Two skids. Light frame. Roof with overhang. One wind wall. One open side.
- Where it works: wet yards, uneven ground, four seasons, runs that turn to soup.
- What changed after a winter: bigger overhang + a better ground layer under the entry. That’s what stopped the mud trench.
2) Lean-to shelter (fast if you already have a solid wall or fence)
This one is underrated. If there’s an existing shed wall or strong fence line, a lean-to is quick coverage with fewer parts. The mistake is dumping roof water right into the standing area.
- Where it works: tight yards, side runs, when you want the shelter to be “out of the way.”
- What changed after heavy rain: drip edge / gutter or just a roof line that throws water away from the entrance.
3) Hoop shelter (quick coverage, but only if the base is serious)
Hoops are fast. The weak point is always the base connection. Wind doesn’t “push” the hoop. It works it loose in little cycles until something tears.
- Where it works: summer shade, rotational areas, when you want coverage more than structure.
- What changed after a few storms: a wood base frame + real anchoring. Stakes alone weren’t enough.
For more detail, see our guide: Stop Fighting Mud and Wind: Picking the Right Coop Frame for 2–6 Birds.
The parts people care about vs the parts that ended up mattering
Most people care about how it looks. Symmetry. Cute trim. Paint color.
The shelters that lasted were decided by four boring things:
- Roof runoff. Where the water lands. Not the roof material. The landing zone.
- Ground contact. Anything sitting straight on soil stayed wet.
- Wind line. If wind can blow straight through the standing zone, birds avoid it.
- Fasteners and wire. Predators and weather don’t care that you stapled it “pretty.” They pull, pry, and flex it.
That’s why a “cheap” shelter can be fine if the roof and the base are handled. And a “nice” shelter can be useless if the water dumps at the door.
Sizes that don’t feel dumb after you use it
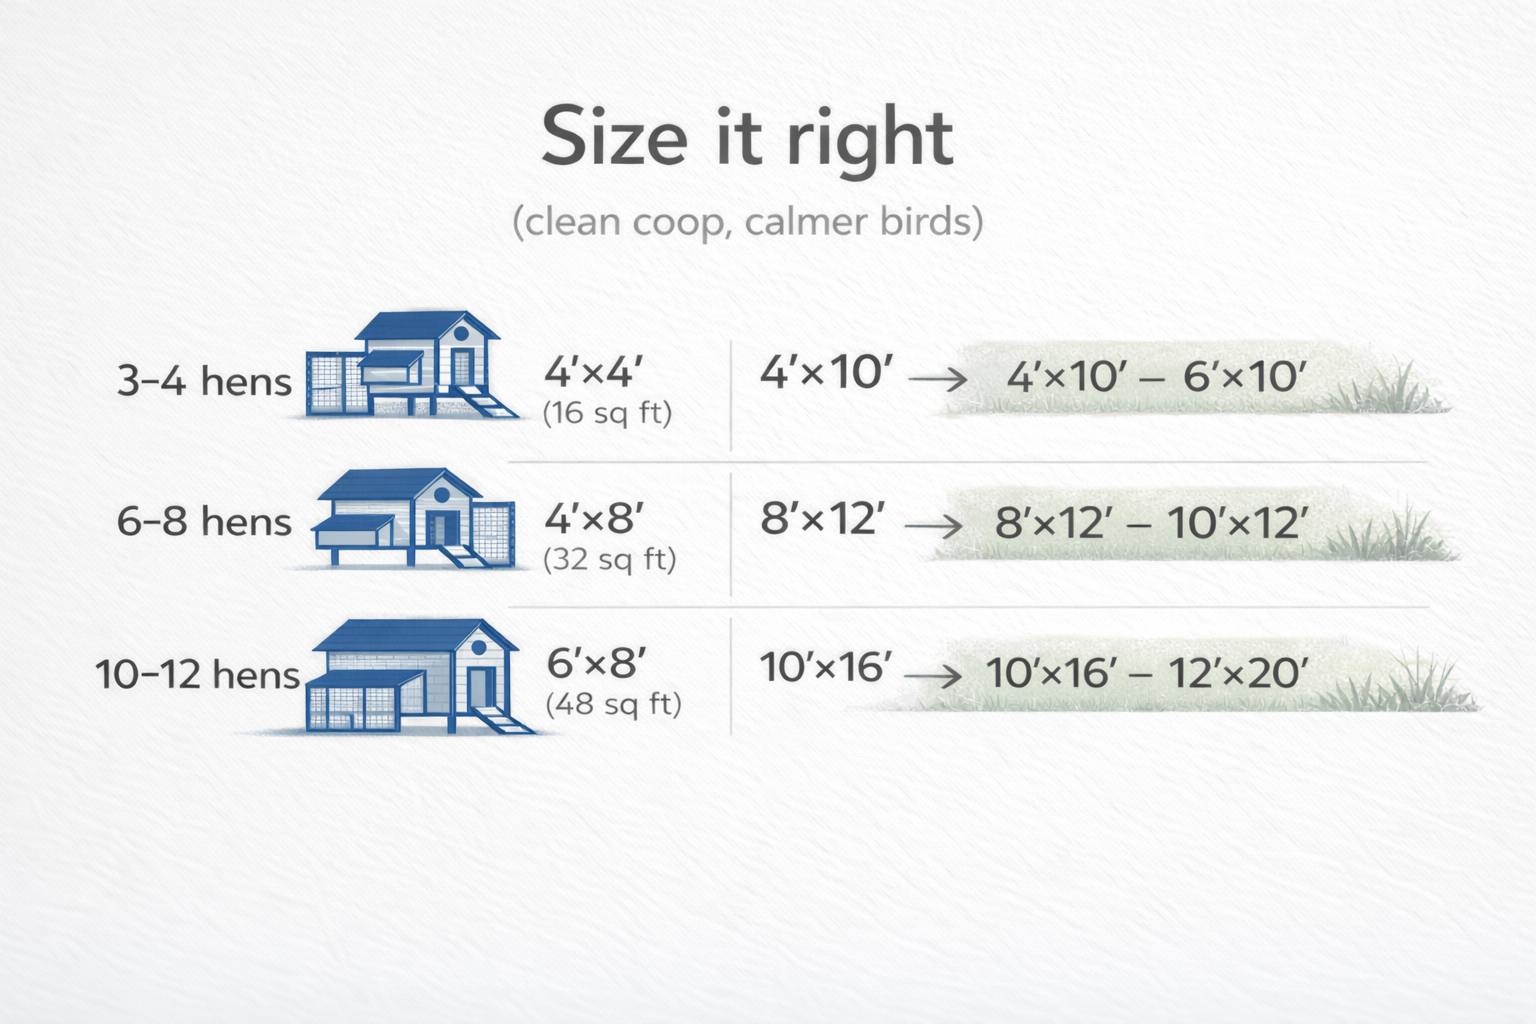
I stopped making these tiny. The little 3×3 boxes look fine and birds still stand outside when it rains because there’s no space to spread out.
- Small yard / small flock: around 4×6 is a comfortable shelter footprint.
- Medium setups: 4×8 is the “doesn’t feel cramped” size.
- Big runs: I’d rather build two shelters than one giant one if the run is long and the birds hang out in different zones.
If your entire setup has to stay compact, it’s worth scanning small layouts that don’t waste space: Small Chicken Coop Ideas.
Materials that held up

(and the stuff I stopped buying)
Roofing
The shelter lives or dies by the roof. I’ve used metal panels, shingles, whatever was available. They all worked if the roof had a clean slope and enough overhang.
Tarps worked fine until wind. The ones that “lasted” were the ones kept tight, supported, and not flapping. Flapping is what tears them, not rain.
Wood
Anything near ground splash stayed wet. Pressure-treated for skids makes sense. For the rest, normal framing lumber is fine if water isn’t living on it.
Wire
Chicken wire kept chickens in. That’s about it. The builds that didn’t get messed with used stronger mesh on the vulnerable sides and around openings.
Fasteners
Staples alone were where I saw the most failures. Not instantly. After months. Weather works the wire loose, then you get a gap you didn’t notice until something finds it.
Build order
(skid shelter version) — how it usually goes in real life
This is the order I keep coming back to because it prevents rework. Not because it’s “best practice.” It just keeps you from building a nice shelter on a bad base.
1) Pick the spot by looking at water first
After a rain, the yard tells you where not to build. Low spots, runoff paths, places that stay dark and wet. That’s where shelters turn gross. If there’s no choice, the fix is raising the base and managing the ground layer.
2) Make a dry pad (even a basic one)
I stopped dropping shelters straight on dirt. Even a thin gravel pad or pavers under the skids changed everything. The entry stayed usable. Bedding stayed drier. Birds used it more.
3) Build the skids and keep them square
Two skids running the long direction. Cross members tying them. Doesn’t need to be fancy, but it needs to be square or the roof fights you.
4) Frame posts/walls based on wind, not looks
One solid wind wall on the side the wind actually comes from. The “open” side faces away from that. On the ones that worked, the birds stood in the calm pocket, not in the wind line.
5) Roof with overhang (this is where it turns into a dry shelter)
Overhang doesn’t feel important until you see the drip line. If the drip line lands at the doorway, you get a mud trench. If it lands away from the entry, the whole shelter stays cleaner.
6) Add wire where hands and mouths can reach
If predators are around, the bottom 2–3 feet of the open sides is where they test. If wire is part of the plan, I attach it like it’s going to be pulled on: screws + washers or batten strips, not just “a few staples.”
7) Finish the ground zone under it
This is the part people skip. Then they wonder why it’s nasty. Chips, coarse mulch, or a replaceable layer works. Gravel can work too, but it gets gross if you can’t rinse it or refresh it.
Common failures I kept seeing
(and what fixed them later)
Failure: shelter stays empty during rain
What ended up happening was wind. Not temperature. Birds don’t care that it’s “covered” if it’s a wind tunnel. Blocking one side fixed usage instantly.
Failure: mud trench at the entry
That was always roof runoff landing in the wrong place. Bigger overhang solved more than “more gravel.” When the drip line moved, the trench stopped forming.
Failure: tarp cover shredded
Wind + flapping. Once it starts flapping, it tears at grommets and edges. Tight support, more tie-down points, and less loose span helped. But if the yard is windy, rigid roofing saves time long-term.
Failure: wire pulled loose
Staples loosen. Especially with temperature swings. The fix was mechanical clamping: batten strips over the wire, or screws with washers. It stayed tight.
Failure: rodents camping under it
Food spillage + shelter base sitting on soil. Raising it, keeping feed in a tighter container, and not letting a hidden “cozy void” exist under the shelter cut it down.
When a shelter stops being enough
(and it turns into “build a coop”)
If you need secure night lock-up, egg collection, or winter routine, shelters turn into coops fast. That’s not bad. It’s just scope creep.
At that point, a full coop build makes more sense than patching a shelter into something it isn’t. This is the bigger build path: How to Build a Chicken Coop the Right Way (Layout + Ventilation + Cleanup)
Budget version without the “repair later” tax
The cheapest shelters that didn’t become rebuilds had the money in two places:
- Roof that throws water away.
- Base off soil + dry ground layer.
Everything else can be basic. Reclaimed lumber. Simple framing. No trim. No paint. It can still work.
If you’re doing this budget-first, steal details from builds that were priced for reality: Cheap Chicken Coop Ideas That Actually Last.
FAQ
(the questions that keep coming up once people start building)
Is a DIY chicken shelter the same as a coop?
No. A shelter is cover. A coop is a building with night security and interior layout. Shelters can become coops, but that’s when doors, wire, latches, and ventilation details start mattering way more.
Do chickens use shelters in winter?
They do if it’s dry and not drafty. The ones that failed were covered but windy. Blocking the wind side made shelters usable again.
What’s the fastest shelter to build that doesn’t look like a joke later?
Skid shelter with a shed roof. One wind wall. Overhang. Dry ground layer under it. That’s the repeat build.
Do shelters need wire?
Depends on predator pressure and whether birds will be there unattended. Day shelter in a secure run is different from a night shelter. Night shelter without serious wire and latches is where people get burned.
Where do nest boxes fit into a shelter setup?
Once you add nest boxes, you’re drifting toward coop territory. If you want clean egg collection, roll-away boxes keep eggs from being stepped on and pecked. This is the compact version: The Best Design for a DIY Roll Away Chicken Nest Box: Simple & Proven.
What’s next
- For broader layouts and run/shelter combos, scan: Best Chicken Coop Designs for Any Backyard
- If you’re in the middle of a build and stuck on a specific detail (wire, doors, predators, ventilation), this page catches most of the repeats: Chicken Coop Construction and Design FAQs