
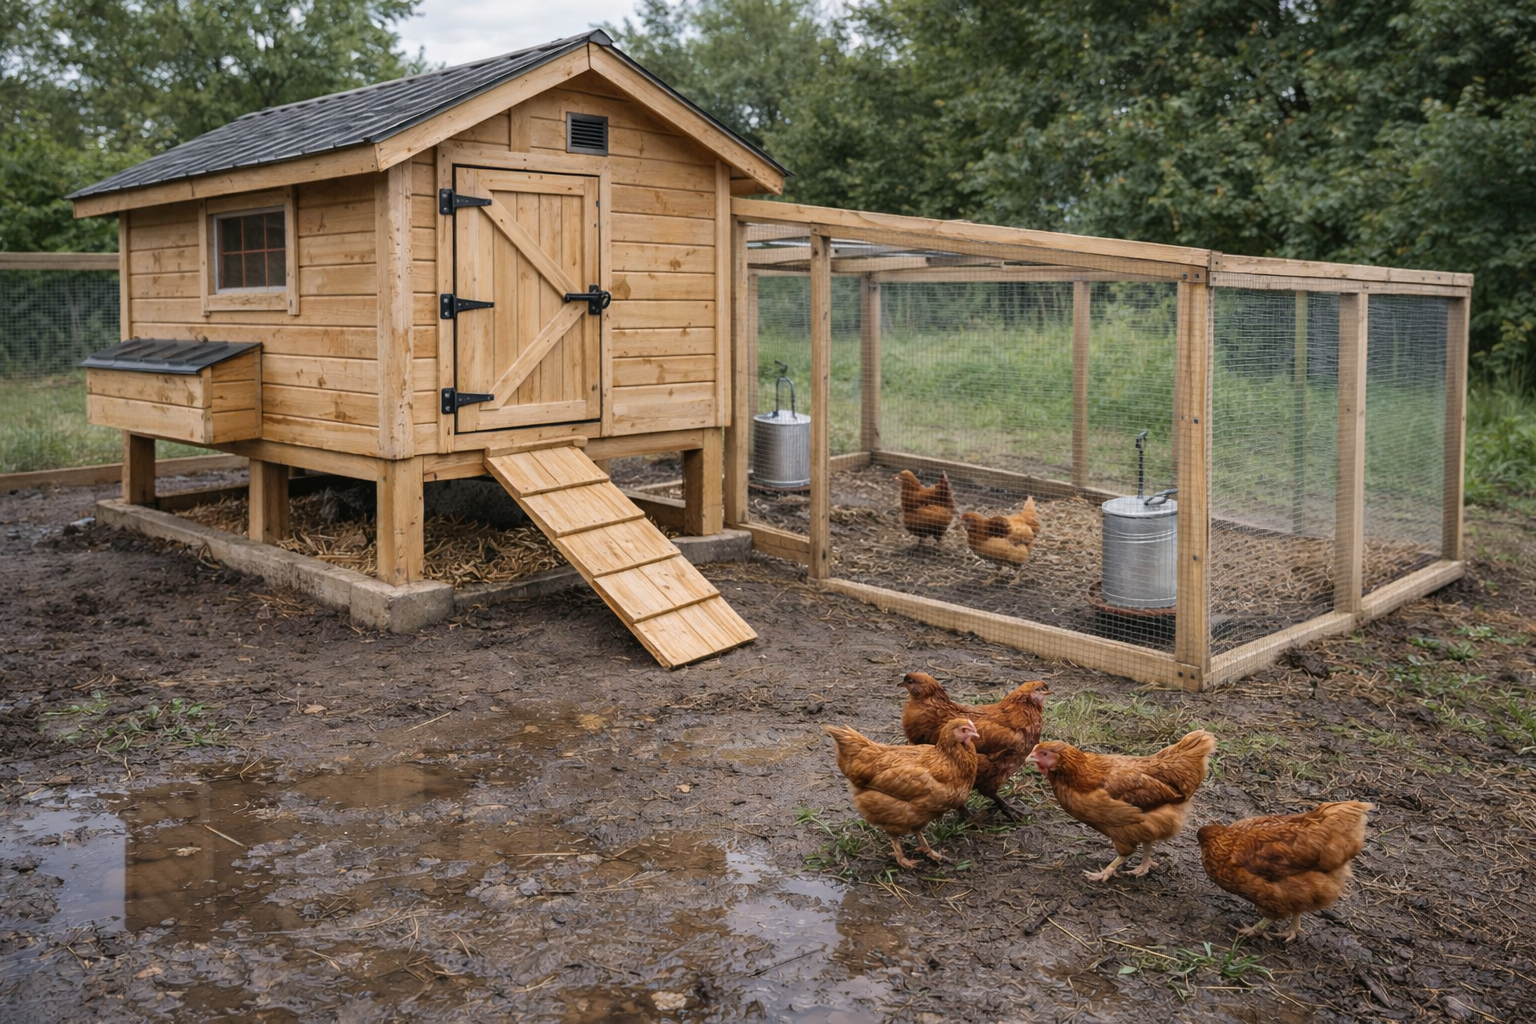
How to Build a Chicken Coop That Stays Dry and Predator-Proof
The first coop I got called to “fix” wasn’t falling apart. It just stayed damp. Wet bedding, ammonia smell, and claw marks on the run most mornings. Looked cute. Built wrong. This guide is the stuff that actually makes a coop work: water, airflow, cleaning, predators.
How to Build a Chicken Coop (Step-by-Step, Built for Real Life)
Project Overview
Working Time: 12–20 hours
Total Time: 2–4 days (including weather/drying windows)
Skill Level: Intermediate (confident DIYer)
Estimated Cost: $250–$1,500+ (materials + run size drive the number)
How to Build a Chicken Coop
(Step-by-Step, Built for Real Life)
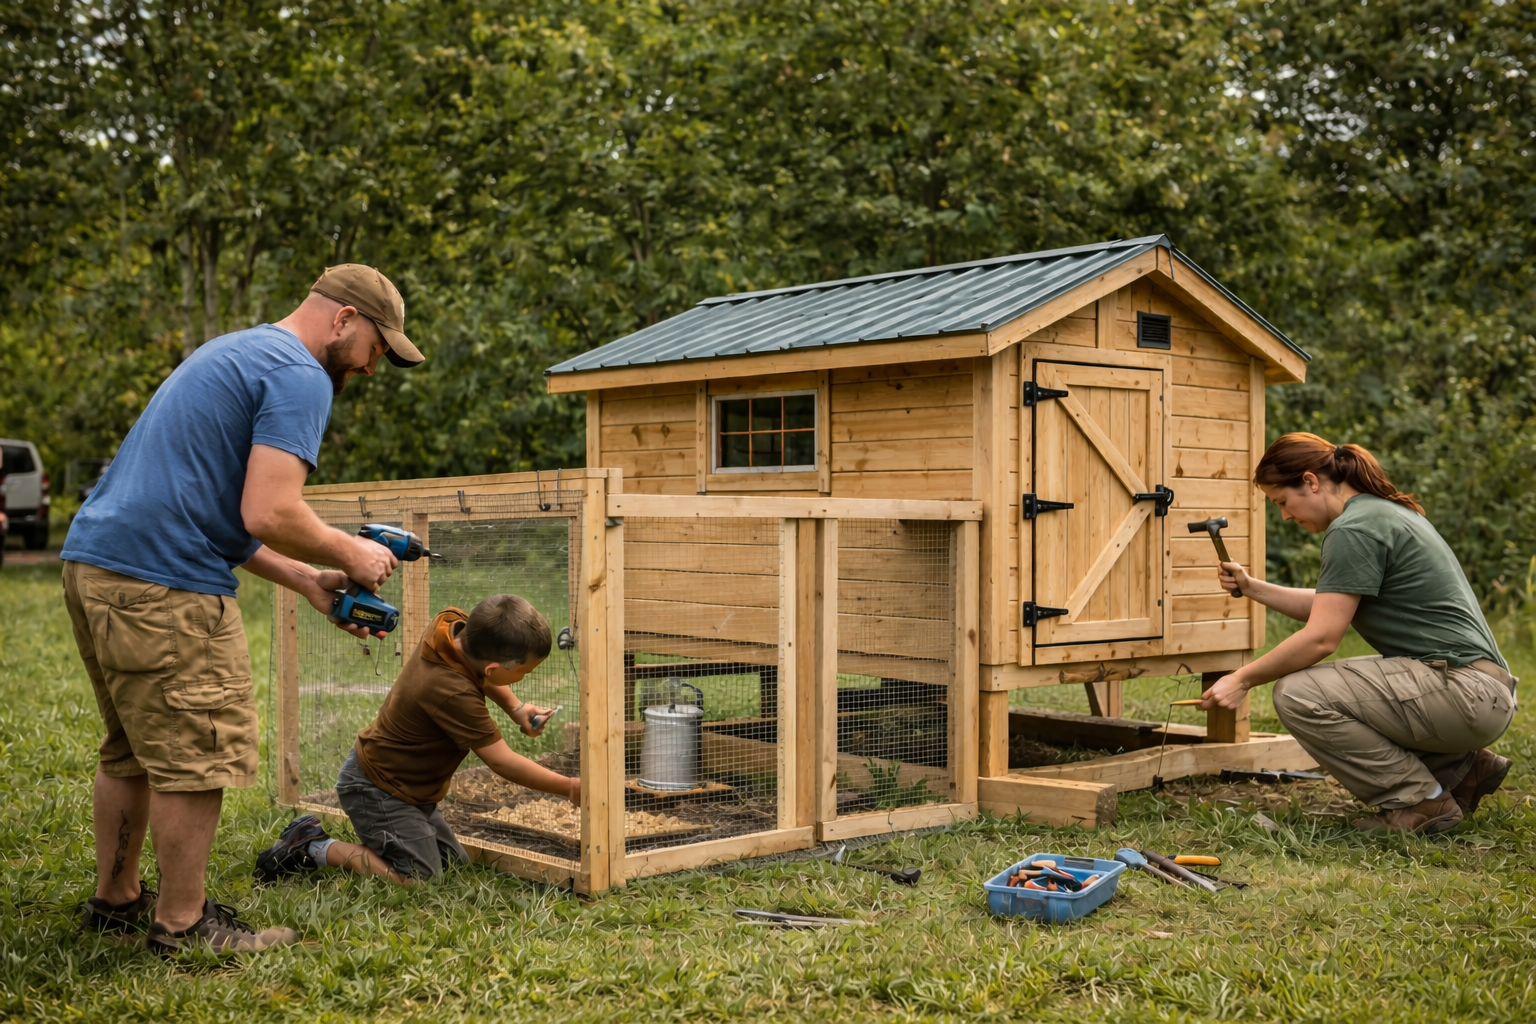
A chicken coop is a small building that has to do a lot: keep birds safe, stay dry, handle waste, and keep predators out—while still being easy to clean and service.
This guide lays out a realistic build sequence (prep → base → framing → roof → ventilation → predator-proofing → interior setup), with details that prevent the common failures: damp corners, ammonia smell, frozen water, and “something got in last night.”
For readers who want more inspiration before committing to a layout, start with the chicken coop hub and then look through practical coop design examples.
What Is a Chicken Coop?
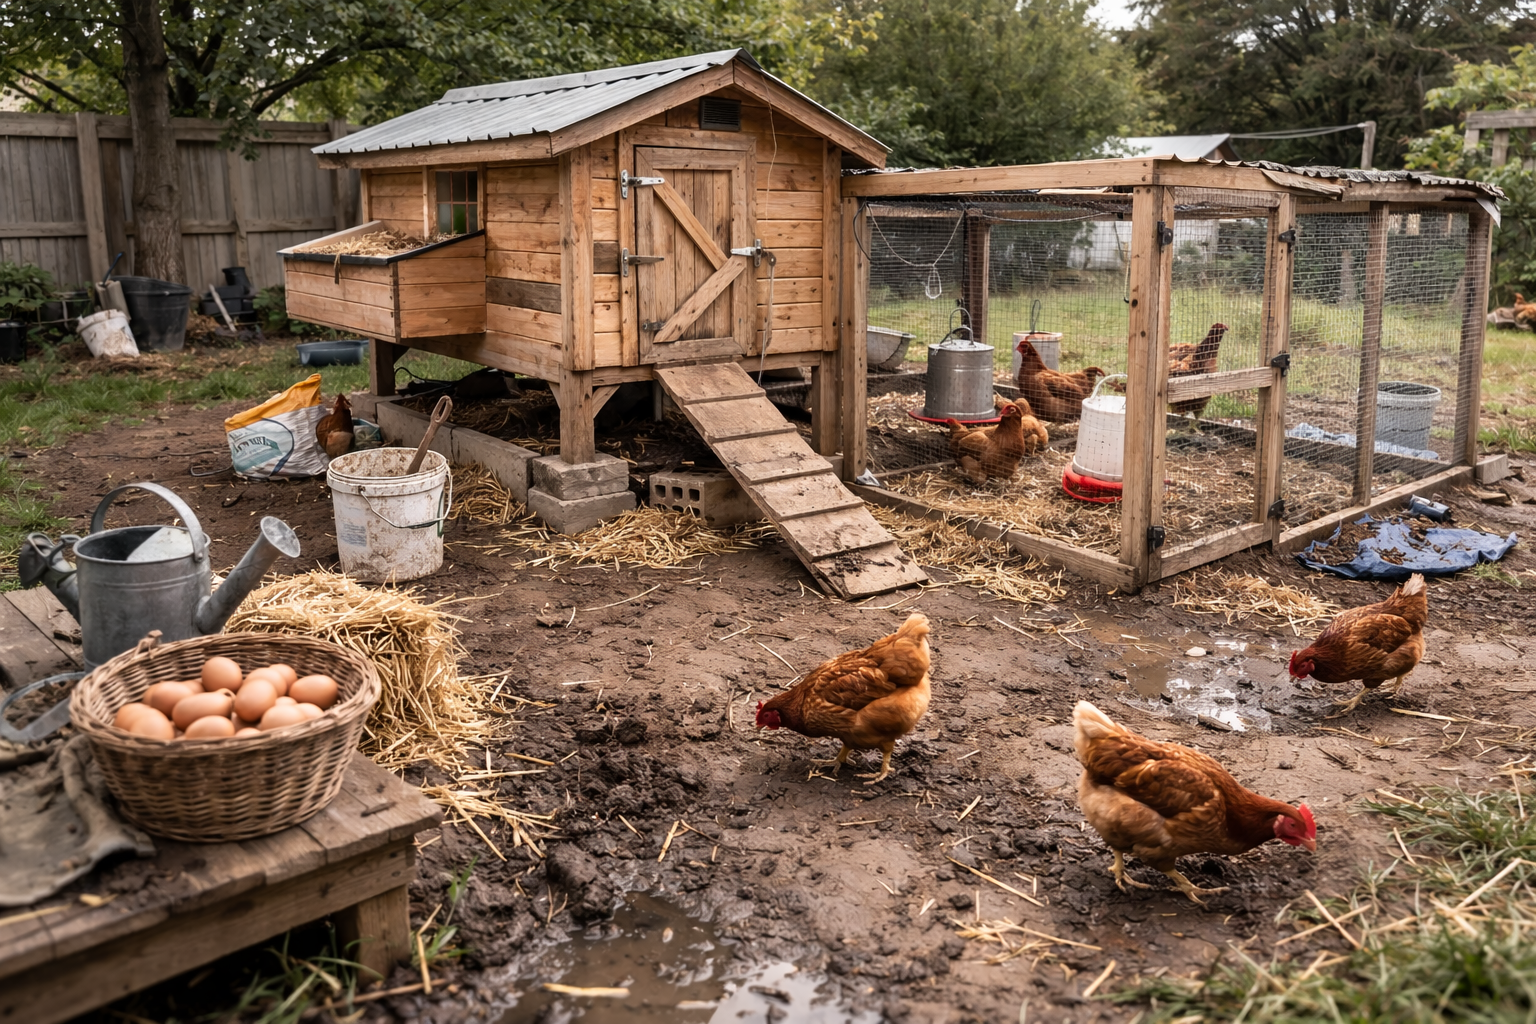
A chicken coop is the enclosed shelter where chickens roost at night, lay eggs in nest boxes, and stay protected during bad weather. Most backyard setups have two parts:
- The coop: enclosed structure for roosting and laying.
- The run: fenced outdoor area for daytime movement (often covered or partially covered).
A functional coop design usually includes:
- Ventilation high and low: controlled airflow that removes humidity without creating a direct draft at roost level.
- Predator barriers: real wire protection (not flimsy mesh) and latches that can’t be “worked” open.
- Easy cleaning access: a door big enough to reach every corner without crawling.
- Roosts + nest boxes: roosts placed higher than nests; nest boxes sized for the birds.
Benefits of Building a Coop Right
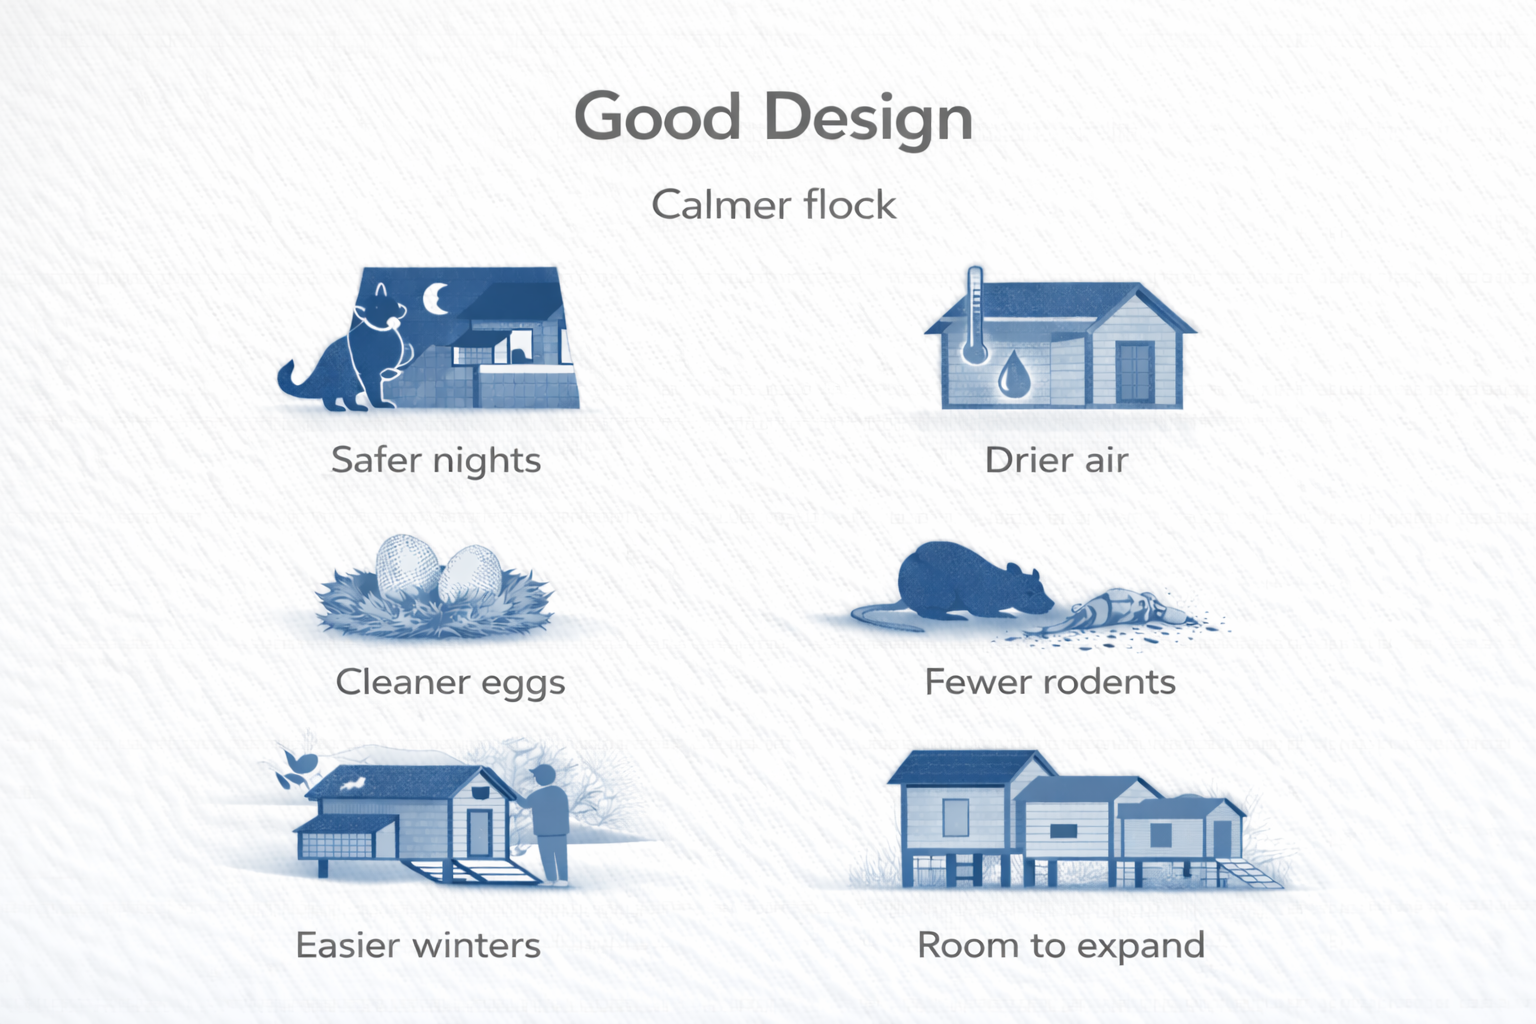
- Lower predator risk at night when birds are most vulnerable
- Drier interior air (less frostbite risk and fewer respiratory issues)
- Cleaner eggs (less bedding kicked into nests)
- Less smell (ammonia is a ventilation + bedding + moisture problem)
- Fewer rodent problems from spilled feed and gaps
- Easier winter routine (access, frozen water planning, snow clearance)
- Faster cleaning (big access points, removable trays, sane layout)
- Better flock behavior (enough roost space, fewer pecking issues)
- More flexible expansion later (add-ons for run, nest boxes, storage)
Problems Caused by a Bad Coop Build
Moisture
Humidity builds up fast in a small box full of breathing birds and wet bedding. Without ventilation, the interior gets damp, bedding turns sour, and condensation forms on cold surfaces. Extension guidance commonly emphasizes adjustable ventilation and avoiding drafts while still exchanging air.
Rot
Coops fail from the bottom up: wet ground contact, splashback, and undersized floor framing. If the base stays wet, the coop becomes a repair project instead of a hobby.
Odor and ammonia
The “coop smell” is usually wet bedding plus not enough airflow. A recurring field complaint is putting water inside the coop, spilling it into bedding, then wondering why the coop is humid and sharp-smelling.
Predator breaches
Chicken wire keeps chickens in. It does not reliably keep predators out. Hardware cloth is the standard recommendation for predator resistance (commonly 1/2-inch mesh) and many plans include a perimeter barrier below grade to deter digging.
Before you cut wood
3 decisions that control the whole build
1) Stationary coop or mobile “tractor”?
- Stationary: easier to build solid, easier to predator-proof, easier to add a real run and clean-out access.
- Mobile: great for pasture rotation, but you must build lighter (and predators exploit “light”). Wheels/skids need to be part of the structure, not an afterthought.
2) How many birds (now) and how many later?
Everyone says they’ll “start with 4.” Then 4 becomes 7 because somebody’s friend had extra hens. Don’t build the coop for your fantasy number. Build for the number you’ll actually tolerate feeding in February.
3) Your predator reality (be honest)
If you’ve got raccoons, rats, mink/weasels, coyotes, neighborhood dogs, or hawks, the cute stuff dies first. A quick way to pick your design direction is to scroll a few proven layouts first—then commit to one and build it properly. If you want a fast menu of layouts and styles before you lock in, start with these backyard coop designs that work in real yards.
Size it properly
(so it stays clean and the birds stop acting weird)
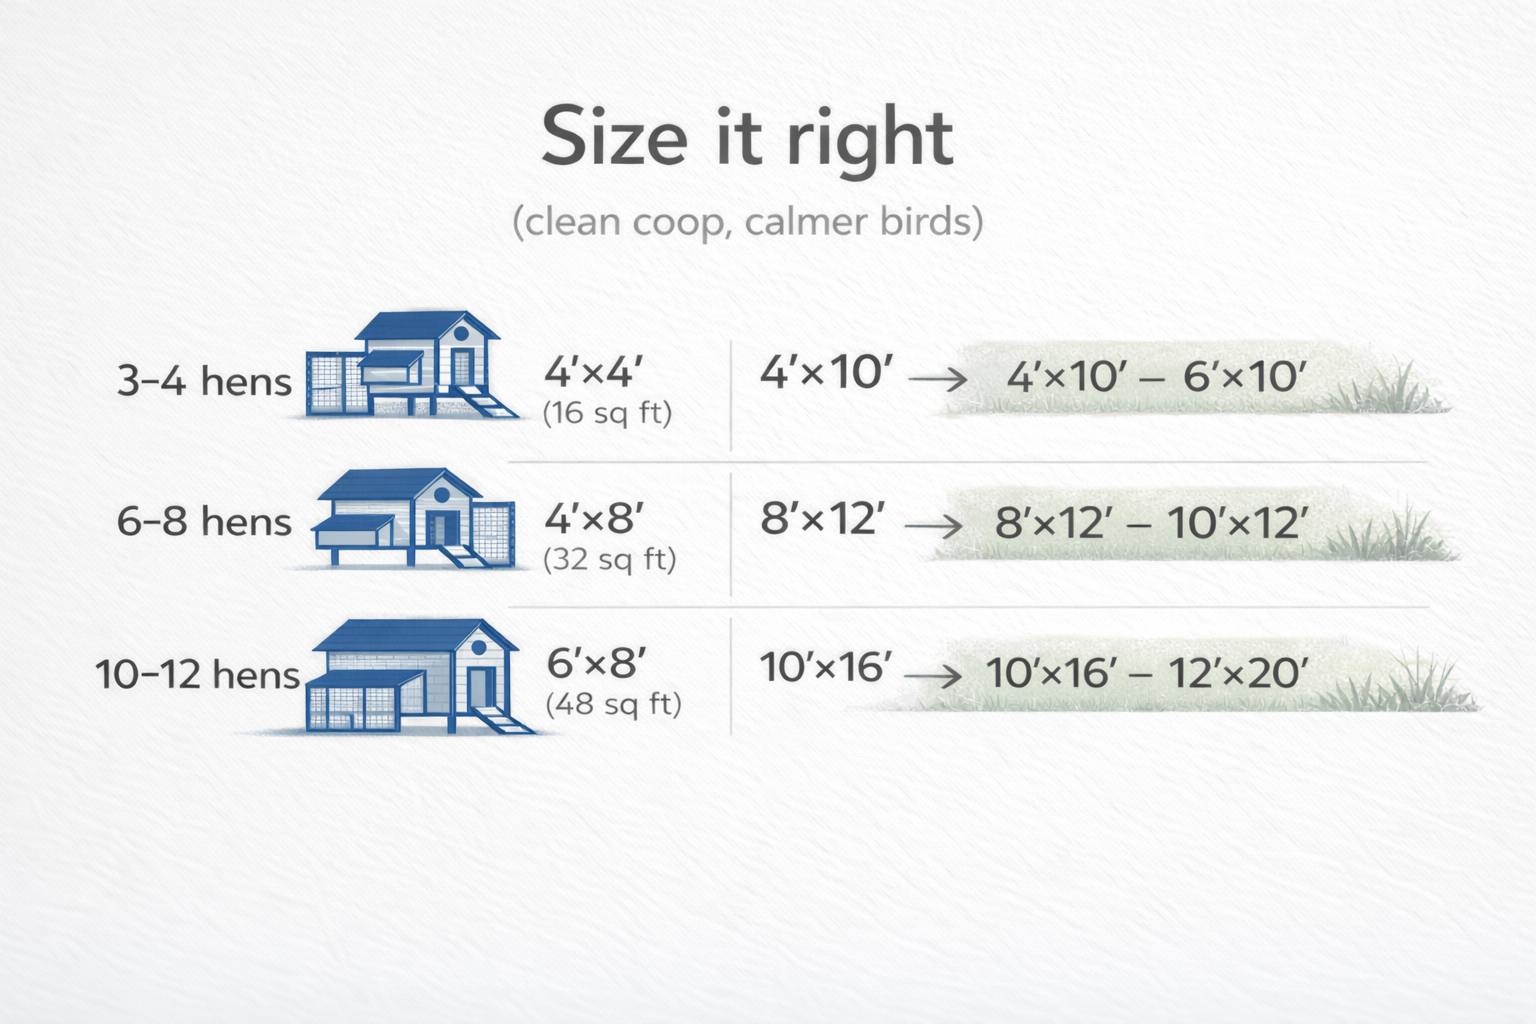
Oversimplified “rules” online are why people end up with either a tiny stink box or a giant coop they never clean. A practical baseline many extension guides use is: about 3 sq ft per bird inside if they have access to an outdoor run, and more space if birds are confined without outdoor access.
Quick sizing table (easy planning)
| Flock size | Coop interior (minimum practical) | Run (comfortable backyard range) | Notes |
|---|---|---|---|
| 3–4 hens | 4'×4' (16 sq ft) | 4'×10' to 6'×10' | Small enough to clean. Big enough to not hate you. |
| 6–8 hens | 4'×8' (32 sq ft) | 8'×12' to 10'×12' | Most common “family coop” size. |
| 10–12 hens | 6'×8' (48 sq ft) | 10'×16' to 12'×20' | Plan doors, clean-out, and run roof/shade. |
If your yard is tight and you’re trying to make a small footprint behave, don’t improvise in the dark—use proven small layouts and steal their proportions. See small-coop layouts that actually function.
Materials you need
(and what people cheap out on incorrectly)

What’s fine to do “cheap”
- Reclaimed 2× lumber (if it’s straight-ish and not rotting).
- Exterior paint that’s leftover (as long as it’s rated for outdoors).
- Simple roof (shed roof is your friend).
Where cheap gets expensive later
- Floor: thin plywood turns to sponge.
- Fasteners: indoor drywall screws outside = snap city.
- Predator mesh: “chicken wire” is not predator protection (more on that below).
- Roof overhang: no overhang = wet walls, wet run edge, wet bedding.
If you’re deliberately building on a budget but still want it to last, use this as your “cheap but not dumb” companion page: budget coop ideas that don’t fall apart in one season.
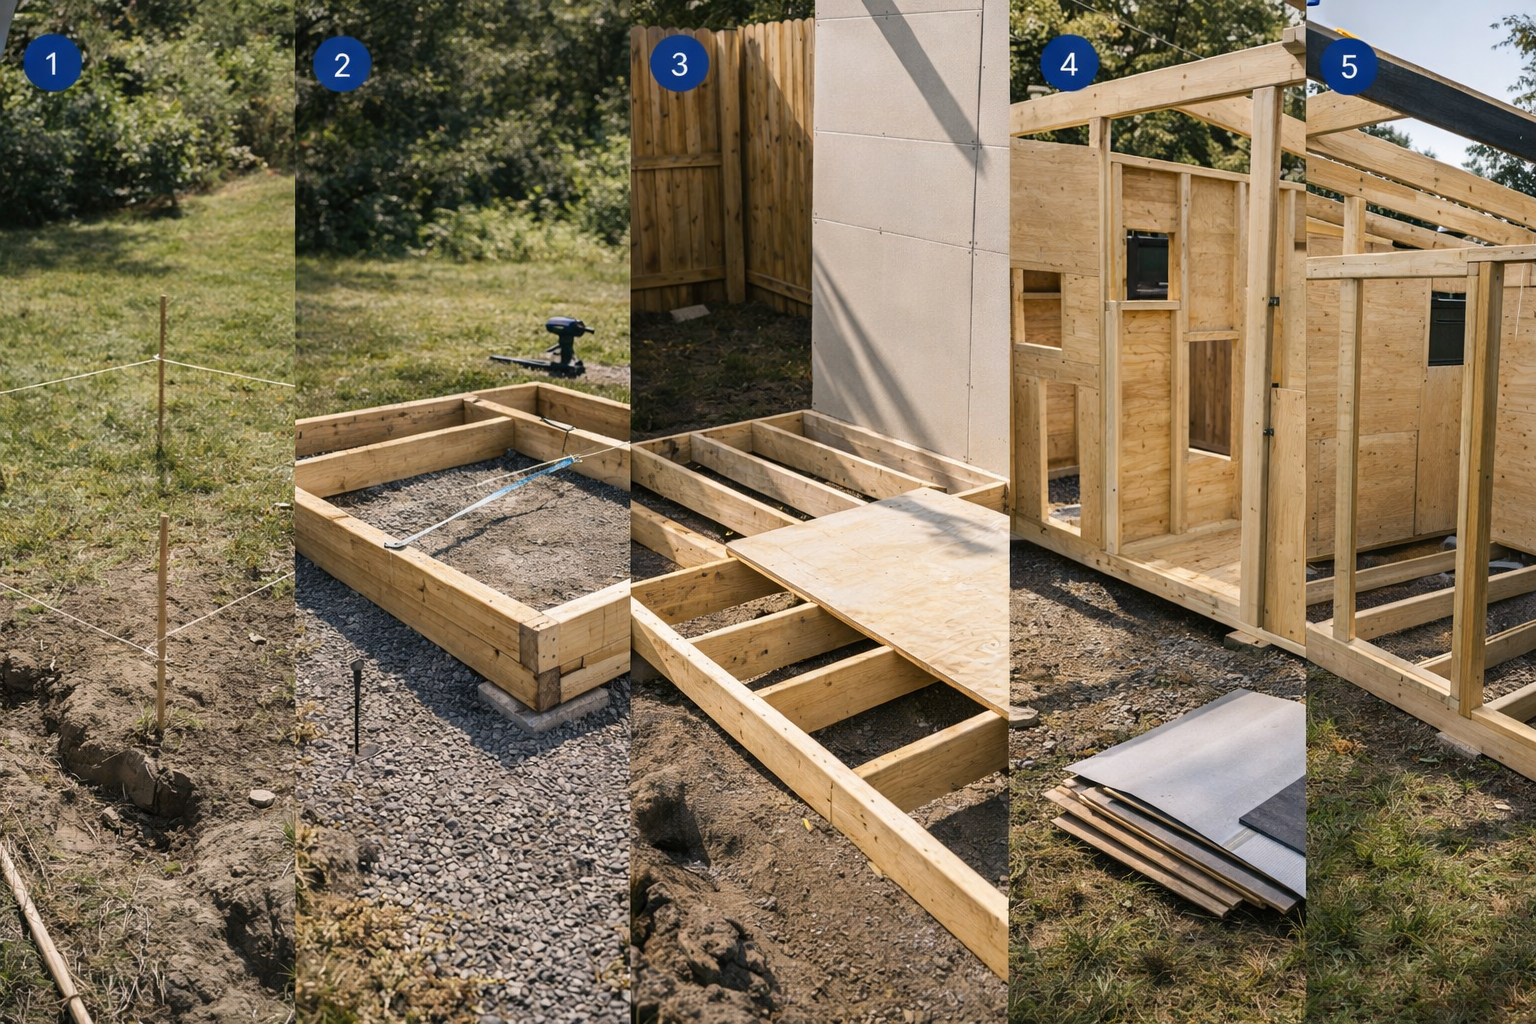
Step-by-step build
(the version you can follow)
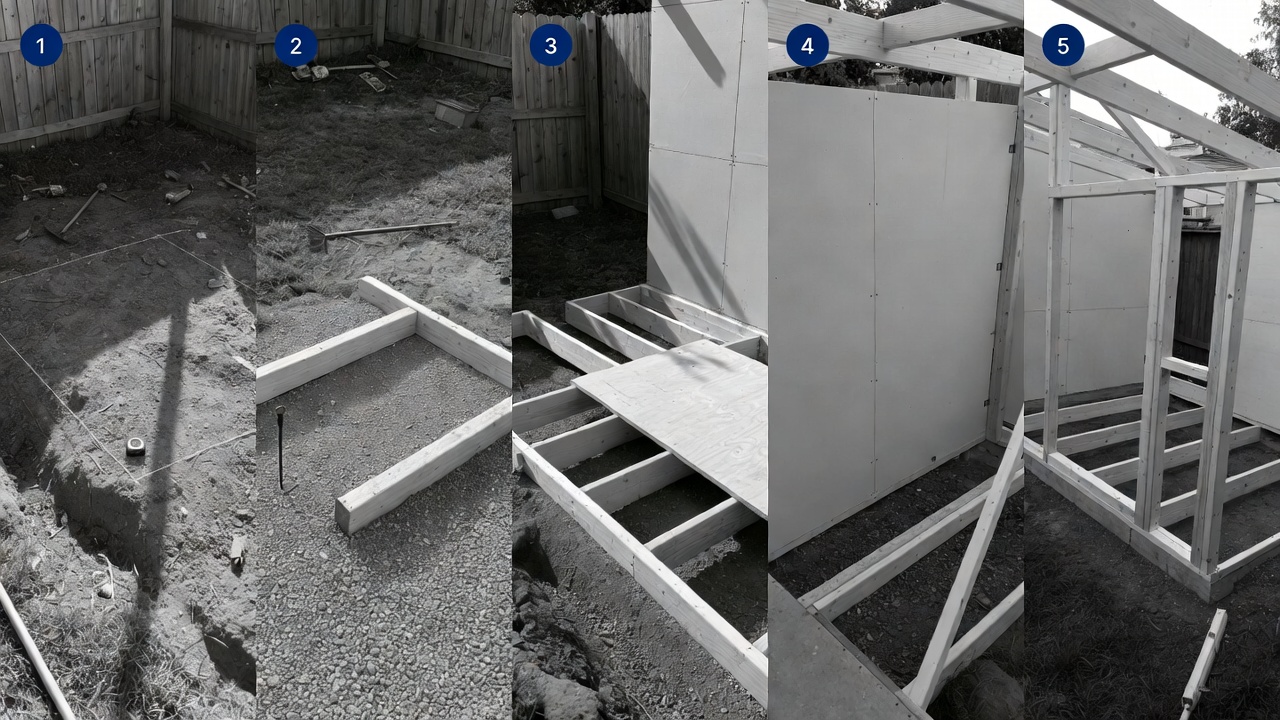
Step 1: Pick a site like you’re building a tiny shed
- High ground wins. If water flows to the coop, you will always fight stink and rot.
- Morning sun, afternoon shade. Summer heat stress is real.
- Access matters. You will carry feed and bedding. Put the coop where your future self won’t swear.
- Wind matters. You want ventilation, not a wind tunnel pointed at the roost.
Step 2: Build a base that stays dry and square
Option A (simple + solid): pressure-treated skids (4×4 or doubled 2×6) on compacted gravel or patio stones.
Option B (very clean): pavers or a small slab (if you’re committed to a permanent spot).
- Square the base by measuring diagonals until they match.
- Anchor it if you get heavy winds (a light coop becomes a kite).
One practical predator detail: raising the coop off the ground helps discourage rats/snakes and makes a drier floor zone.
Step 3: Frame the floor (build it like a deck)
- Use 2×4 or 2×6 joists depending on span (short spans can be 2×4; longer spans feel better with 2×6).
- Deck it with exterior-rated plywood (thicker is nicer to live with).
- Seal the floor. Paint is fine. The goal is: bedding doesn’t soak into wood forever.
Step 4: Frame walls (simple rectangles, then openings)
- Build wall panels flat on the floor, stand them up, screw them together.
- Plan openings now:
- Human door: big enough for you + a shovel.
- Clean-out access: either a full door or a removable panel.
- Pop door: chicken-size, with a secure latch.
Step 5: Roof (this is where dry coops are made)
- Shed roof is easiest: one slope, fewer leaks.
- Give it overhang on sides if you can. This keeps walls drier and extends paint life.
- Use basic roofing that matches your climate and budget (shingles, metal panels, etc.).
Predator-proofing
(the part most “cute coops” fail)
Here’s the hard truth: if something wants in badly enough, it will test every staple, every weak corner, every latch. So you build the coop like it’s getting inspected by an angry raccoon with hands.
Mesh: use the right stuff
- Hardware cloth is for protection. Chicken wire is mainly for keeping chickens in, not predators out.
- Common “no regret” choice: 1/2-inch hardware cloth for openings (vents, windows, run sides) because it blocks small predators better.
Stop diggers: apron or burial
You can either bury fencing/mesh or build an outward “apron.” Many practical guides recommend burying fencing/mesh down into the ground (even 6–12 inches helps), especially around runs.
Latches: assume intelligence
- Use latches that require more than “pull and swing.”
- Put your run door hinges and latch screws into framing (not just thin sheathing).
Roof the run (yes, really)
- Netting or wire over the top blocks hawks and climbing predators.
- It also stops birds from treating your neighbor’s yard like an extension of your run.
Ventilation without drafts
(how to stop winter condensation stink)
People confuse ventilation with “a big hole.” Ventilation is controlled air exchange: moist air out, fresh air in, without blowing cold air directly on sleeping birds.
A well-designed coop needs airflow to remove moisture and ammonia fumes, but you still avoid drafts at roost level.
Simple ventilation layout that works
- High vents (under eaves or near the roof peak) covered with hardware cloth.
- No direct wind line across the roost. Put vents high, not right behind the perch.
- More vent area beats one giant vent (spread it out).
If your coop “sweats” inside in winter, it’s usually: wet bedding + not enough high ventilation + birds breathing moisture into a sealed box. Fix airflow and bedding before you start doing weird heaters.
Interior layout
(this is where daily life gets easy or annoying)
Roosts: make sleeping comfortable and cleaning simple
- Put roosts higher than nest boxes so birds don’t sleep in boxes.
- Give enough linear roost space that low-ranking birds aren’t forced into corners.
- Consider a droppings board under roosts (cleaning becomes a 2-minute scrape, not a full bedding excavation).
Nest boxes: dimension and count (keep it boring and proven)
A practical baseline: about one nest box per four birds, with boxes roughly 12" deep × 12" wide × 12" tall.
If you want the “eggs stay clean and stop getting stepped on” upgrade, roll-away boxes are a legit improvement (especially once your flock grows). Start here for a proven build: a simple roll-away nest box design.
For bigger flocks, multi-bay boxes save wall space and speed up egg collection. Here’s the larger version: a 3-compartment roll-away nest box build.
Cleaning access: design it like you’ll be tired (because you will)
- Make at least one door big enough for a shovel and your shoulders.
- Hang doors so they open outward (more usable interior space, easier cleaning).
- If you can, build the coop tall enough to crouch in—not crawl.
The run
(don’t treat it like an optional accessory)
The run is where your coop either stays clean or becomes a mud-tracking machine.
Run basics that keep your yard from turning into a swamp
- Shade: even a simple tarp roof section changes summer behavior.
- Dry footing: coarse wood chips are a sanity saver in wet seasons.
- Dust bath zone: a dry box of sand/soil keeps birds from digging craters everywhere else.
- Water placement: keep it where spills don’t soak your coop entry.
If you’re not ready for a full coop build yet, or you need a fast temporary setup that’s still safer than “a box in the yard,” use a basic shelter approach and iterate from there: a simple DIY chicken shelter setup.
The 30-minute “will I regret this coop?” test
(do it before you finish)
- Water test: spray the roof/walls with a hose and see where water actually goes. If it runs into the run entry or pools at the wall base, fix overhang/drip edges now.
- Predator test: grab and shake every piece of mesh and every staple line. If it flexes like a screen door, it’s not done.
- Cleaning test: pretend you’re cleaning. Where do you stand? Where does the shovel go? Can you reach corners?
- Vent test: stand at roost height and feel airflow on a windy day. If it’s blasting, reposition vents/baffles.
Common build mistakes
(and the simple fixes)
Mistake: building a “pretty” coop that’s impossible to clean
- Fix: add a real clean-out door, simplify interior, add a droppings board.
Mistake: mesh stapled to thin trim
- Fix: sandwich mesh between framing and a batten strip (screwed, not just stapled).
Mistake: no roof overhang
- Fix: add even a small drip edge or simple awning over doors/vents.
Mistake: “sealed box” in winter
- Fix: increase high ventilation (still protected with mesh) and keep bedding dry.
Short build checklist
(copy/paste)
- Site: high ground, morning sun, not in the runoff path.
- Base: square + dry (skids on gravel/pavers works).
- Floor: exterior plywood + sealed surface.
- Roof: simple slope + real overhang/drip control.
- Ventilation: high vents, protected, no draft on roost.
- Predators: hardware cloth for openings; secure latches; dig protection.
- Interior: roosts above boxes; ~1 box per 4 birds; easy clean-out.
- Run: roof/netting + shade + dry footing.
FAQ
How big should a chicken coop be?
A practical baseline used in extension guidance is around 3 sq ft per bird inside if they have outdoor access, with more room needed if birds are confined without outdoor space.
Do I need to insulate my coop?
In many climates, insulation is less important than dry bedding + good ventilation without drafts. A coop can be cold and still be healthy; a damp, sealed coop becomes a condensation and ammonia problem.
Chicken wire or hardware cloth?
For predator protection, hardware cloth is the safer standard. Chicken wire is commonly treated as “containment,” not real security against determined predators.
How many nest boxes do I need?
A simple, proven ratio is about one nest box for every four birds, with boxes roughly 12"×12"×12" as a baseline.
Should I raise my coop off the ground?
Raising the coop can help discourage some unwanted animals and keeps the floor area drier; some guidance recommends elevating coops and using secure flooring to reduce intrusion risk.
What’s the easiest coop roof?
A shed roof is the simplest to frame and flash. Fewer seams, fewer leaks, easier build day.
What if I still have questions mid-build?
Use a proper FAQ/decision page so you’re not guessing off random comments. Here’s the site’s dedicated reference: chicken coop construction and design FAQs.
What’s next
(so you don’t stall after this page)
- If you want a broader hub page to bookmark (and come back to while you’re building), use the main chicken coop hub.
- If you’re still choosing a style/layout before you commit, go to chicken coop ideas and pick a direction (simple, medium, or “enthusiast build”) before you buy materials.
- If you’re optimizing for cost first, start with cheap coop builds that still last and work upward from there.