

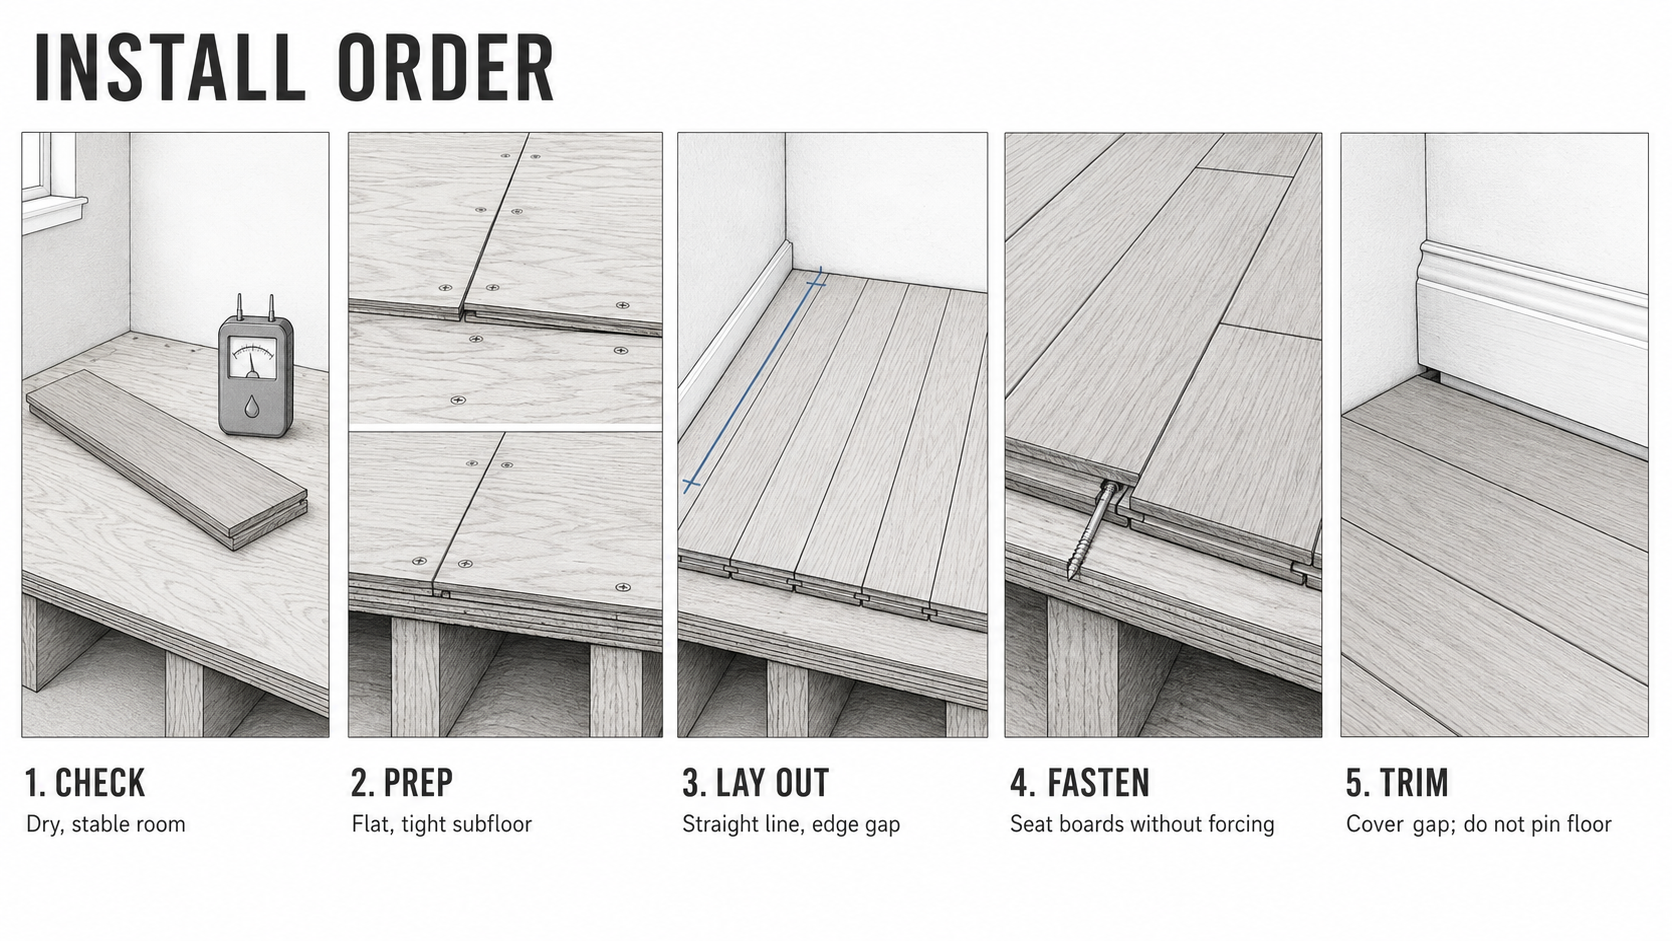
Hardwood flooring can look wrong for years because of one rushed day before the first board goes down. Most of the bad floors I get asked about trace back to that day: a damp crawl space, a loose subfloor seam, a crooked starting line, or a missing expansion gap. The floor may look finished when the installer leaves, but it will still move when the seasons change.
The steps below cover a nailed solid-hardwood floor over a sound wood subfloor in a conditioned room. Engineered hardwood, concrete slabs, radiant heat, glue-down systems, and floating floors need the exact product instructions for that system. Do not borrow a fastening schedule or underlayment detail from a different floor.
Decide whether hardwood is right for the room
Hardwood belongs in dry, conditioned spaces where a real wood surface is worth the upkeep. Living rooms, bedrooms, halls, and many dining rooms are straightforward candidates. Bathrooms, laundry rooms, wet entries, and rooms with unresolved slab or crawl-space moisture are not places to force a solid wood floor.
Choose the material before buying the installation method. Solid boards, engineered hardwood, laminate, vinyl, and tile tolerate moisture, movement, and repair very differently. Start with types of flooring if the room itself is still deciding the material.
Before you start: three things must be true
- The house is at normal living conditions. Heating or cooling is operating, wet trades are finished, and the room is not being used to dry drywall, paint, or concrete.
- The wood, subfloor, and room are dry enough for the product. Use the flooring manufacturer's moisture guidance, not a fixed number copied from another job.
- The subfloor is sound and flat enough for the product. Hardwood can bridge tiny imperfections. It cannot correct movement, loose panels, large humps, or a soft area.
These checks are part of the floor system, not a separate chore. Joists, beams, subfloor, and the finish layer work together; see floor construction for the structure below the boards.
Step 1: inspect the room before ordering or opening flooring
Walk the room slowly. Feel for bounce, squeaks, soft spots, high seams, and changes at doorways. Check the walls and openings too. A sticky door, a cracked tile edge in the next room, or a gap that has opened under the baseboard can tell you the issue is bigger than the floor finish.
Then inspect from below if access exists. Look for active leaks, dark staining, damaged joist ends, failed supports, notches that do not belong, and insulation that is wet or falling. Do not cover a questionable floor system with new hardwood.
If the room has a dip, springy area, or evidence of water, stop here and diagnose it. The broad symptom page, floor problems, will help separate a finish issue from a subfloor, framing, or moisture problem.
Step 2: control moisture and acclimate the product correctly
"Leave the boxes in the room for a week" is not a moisture plan. Wood needs to reach a moisture condition that suits the house it will live in. That starts with a stable indoor environment and actual readings from the flooring and subfloor where the manufacturer calls for them.
Use moisture readings, not a set number of days. For solid strip flooring less than 3 inches wide, NWFA guidance allows no more than a 4-percentage-point difference between the flooring and subfloor. For solid flooring 3 inches or wider, the limit is 2 percentage points. Follow the flooring manufacturer's instructions when they are more restrictive.
Check the areas most likely to be different: exterior walls, plumbing walls, over crawl spaces, near exterior doors, and beside appliances. A single wet zone can be a clue to a hidden leak or damp condition below. Do not hide it under a vapor retarder, patch, or new flooring.
Open and stage the flooring only as the manufacturer directs. Keep it inside the conditioned space, off damp concrete, and away from exterior doors or open windows. For the reason wood changes width and how to manage the room before installation, read wood moisture, acclimation, and movement.
Step 3: repair and prepare the subfloor
The hardwood will copy the base below it. Loose panels squeak, swollen panel edges telegraph into long ridges, a bowed joist can push a row off its line, and a soft patch will keep working the new floor every time someone crosses it.
- Remove staples, nails, adhesive lumps, damaged underlayment, and debris.
- Re-fasten loose subfloor panels into framing with the appropriate fasteners.
- Repair or replace soft, swollen, delaminated, or water-damaged panels.
- Use a long straightedge in several directions to find high seams and low areas.
- Correct the cause of a serious high or low area before treating its surface.
Flat is the goal; level is a different question. Many nail-down products require the subfloor to be flat within 3/16 inch over 10 feet, but the flooring instructions control. Check with a straightedge rather than by eye. A room can be slightly out of level yet still be a good base if it is stable and flat enough for the selected flooring. The detailed subfloor guide covers panel condition, squeaks, seams, and repairs before a finish floor hides them.
Step 4: plan the finished height, direction, and transitions
Measure the combined thickness of the hardwood and every layer below it. Compare that height at hallways, stairs, exterior doors, appliances, and rooms that will keep a different floor. This is when you decide whether a transition is needed—not after the boards have reached the doorway.
For solid strip flooring over a wood subfloor, the board direction often runs perpendicular to the joists. That helps the finish floor bridge the framing. Layout also has a visual job: long boards should carry cleanly through the main sight line, and the final row should not become a useless sliver against a wall.
Find the straightest important line in the room. It may be a hall opening, a long exterior wall, or a deliberate chalk line—not necessarily the drywall. Measure to the opposite wall in several places before committing. Shift the layout if necessary so the first and last visible rows remain practical.
Step 5: install the specified underlayment or moisture-control layer
Underlayment does not fix a bad subfloor; it belongs only where the flooring system calls for it — as a slip sheet, sound layer, approved moisture-control layer, or part of an engineered product's assembly. Use the product instructions for material, overlap, tape, and fastening. Do not add an extra layer because it "seems safer" if it changes the way the floor is meant to move or be fastened.
Keep the surface clean as you work. Grit under an underlayment or in a tongue-and-groove joint can hold boards high and create a future squeak.
Step 6: establish the first rows and the perimeter gap
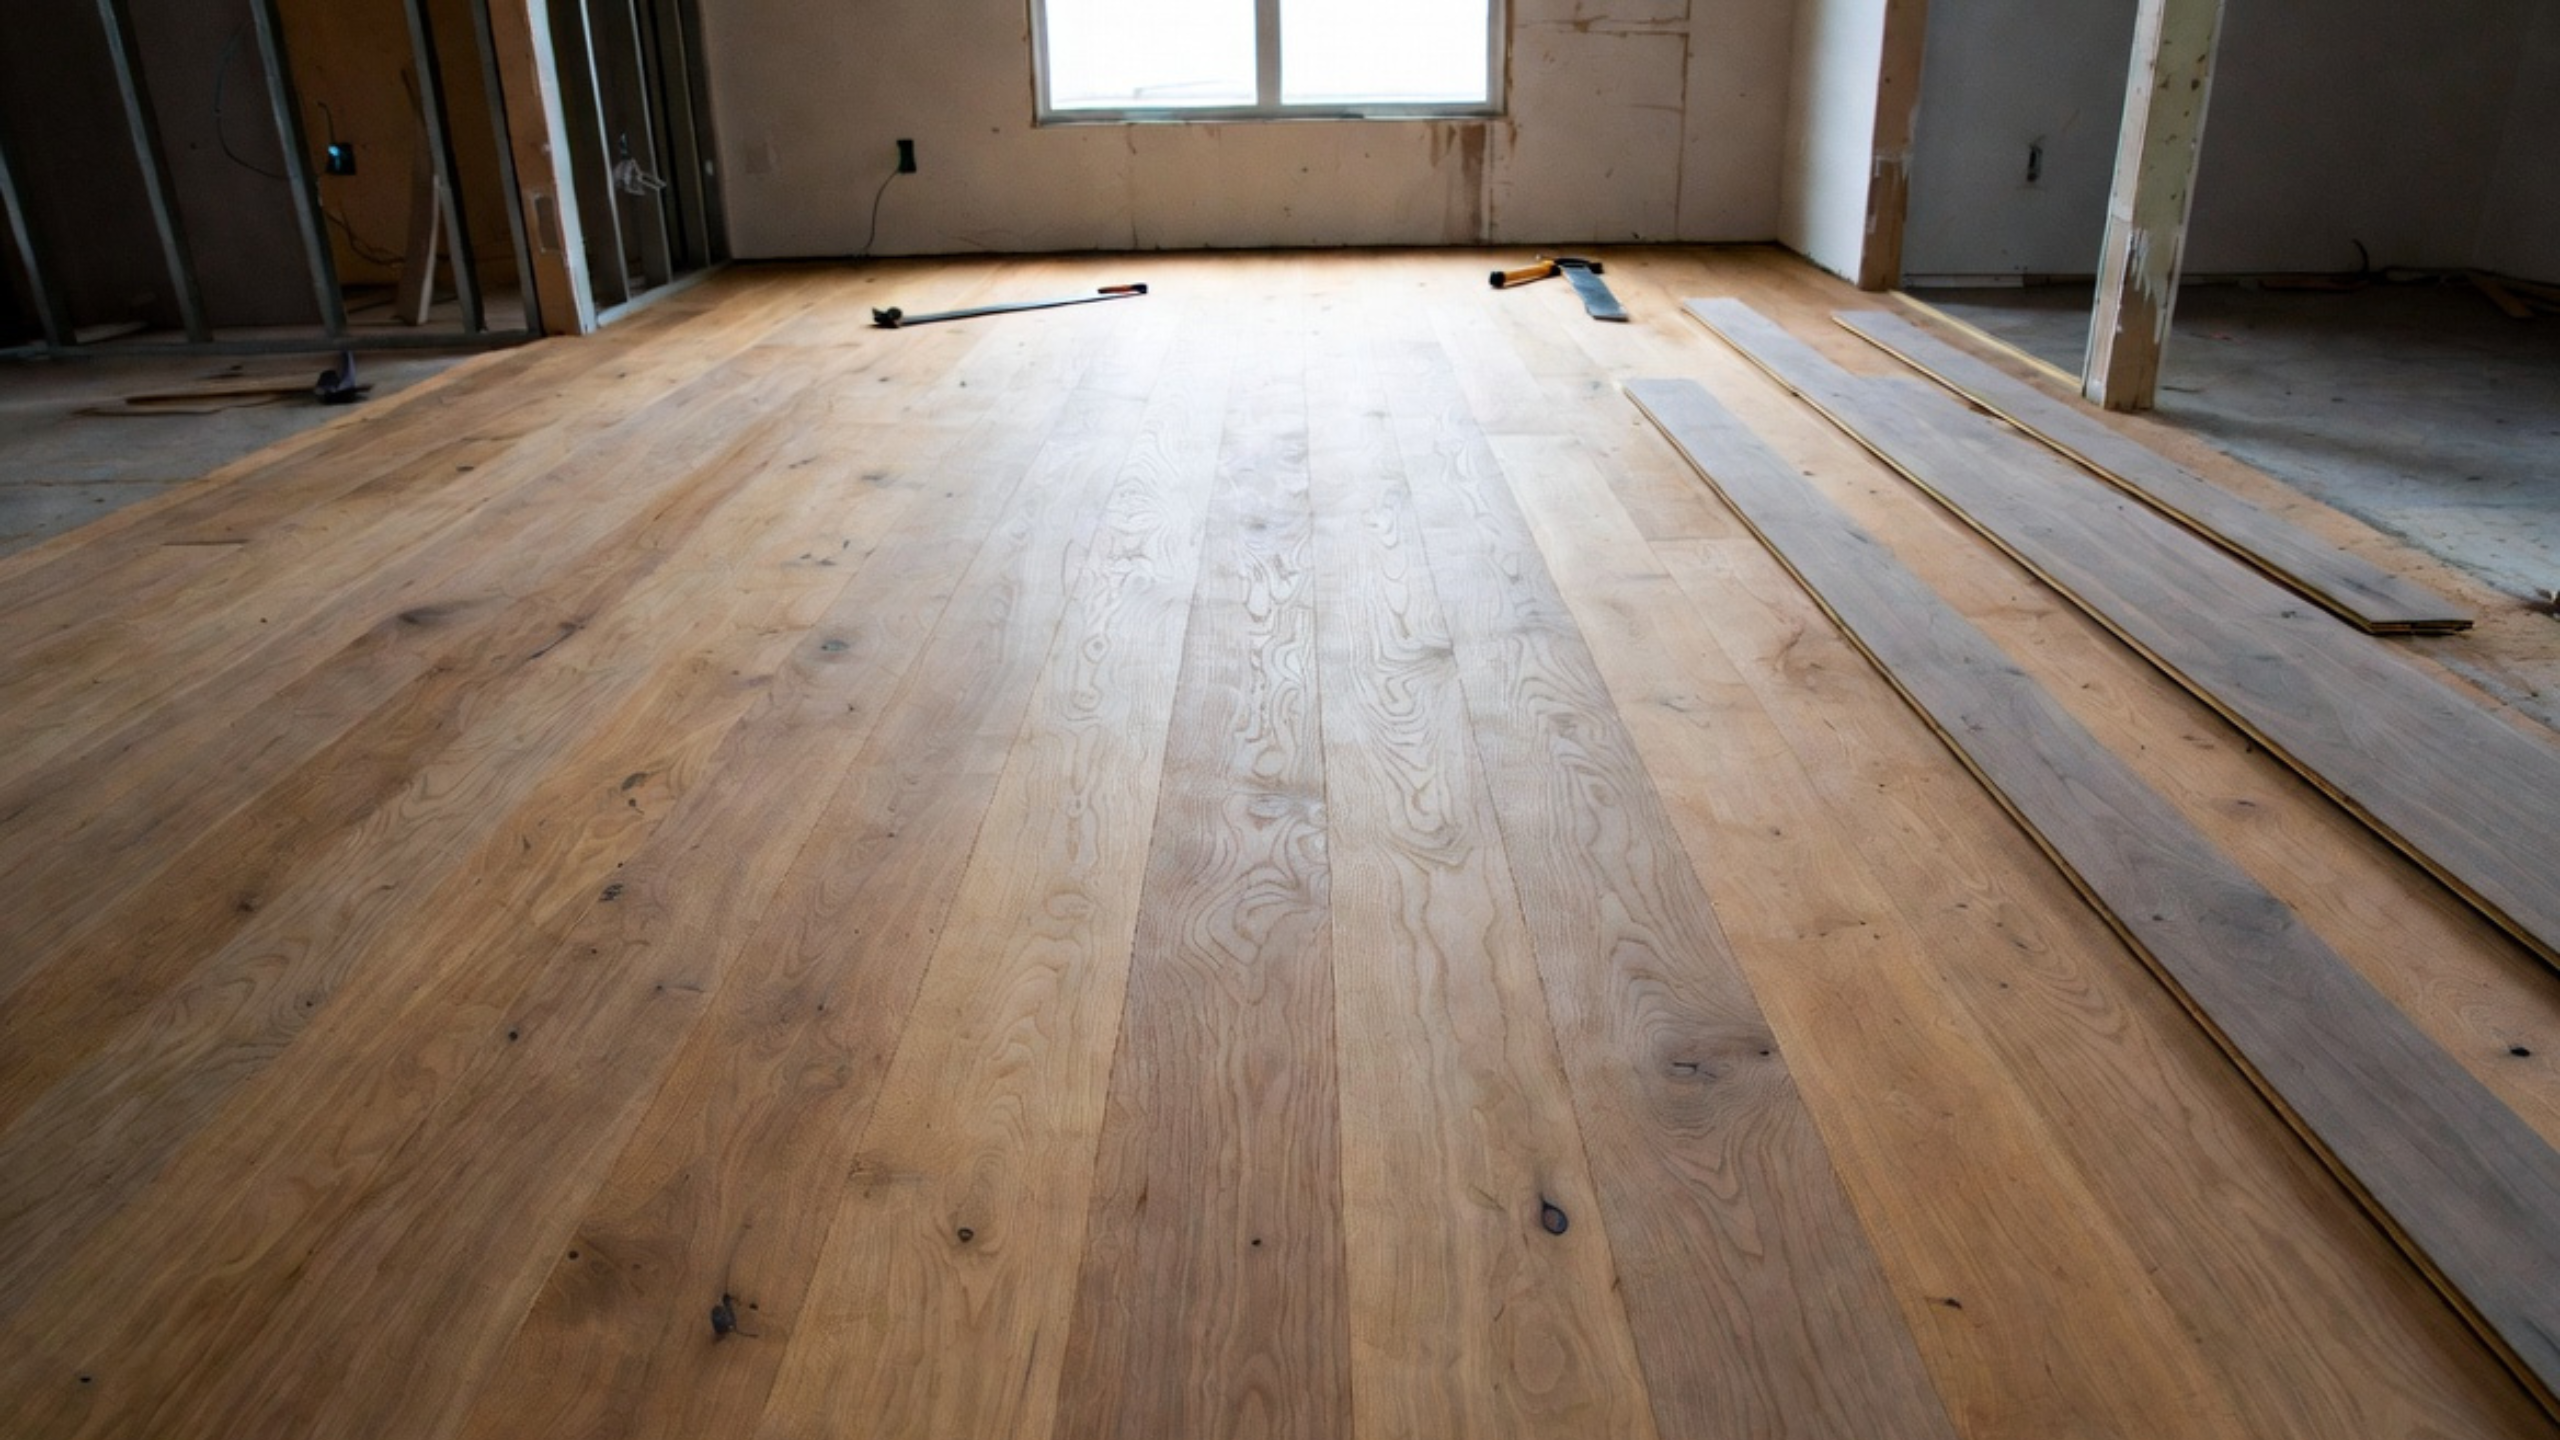
The first rows control every row after them. Dry lay enough boards to confirm the mix of lengths, the joint pattern, the wall gap, and the line. Reject or reserve bowed boards for shorter cuts. Do not force a bad plank through a long field of otherwise straight boards.
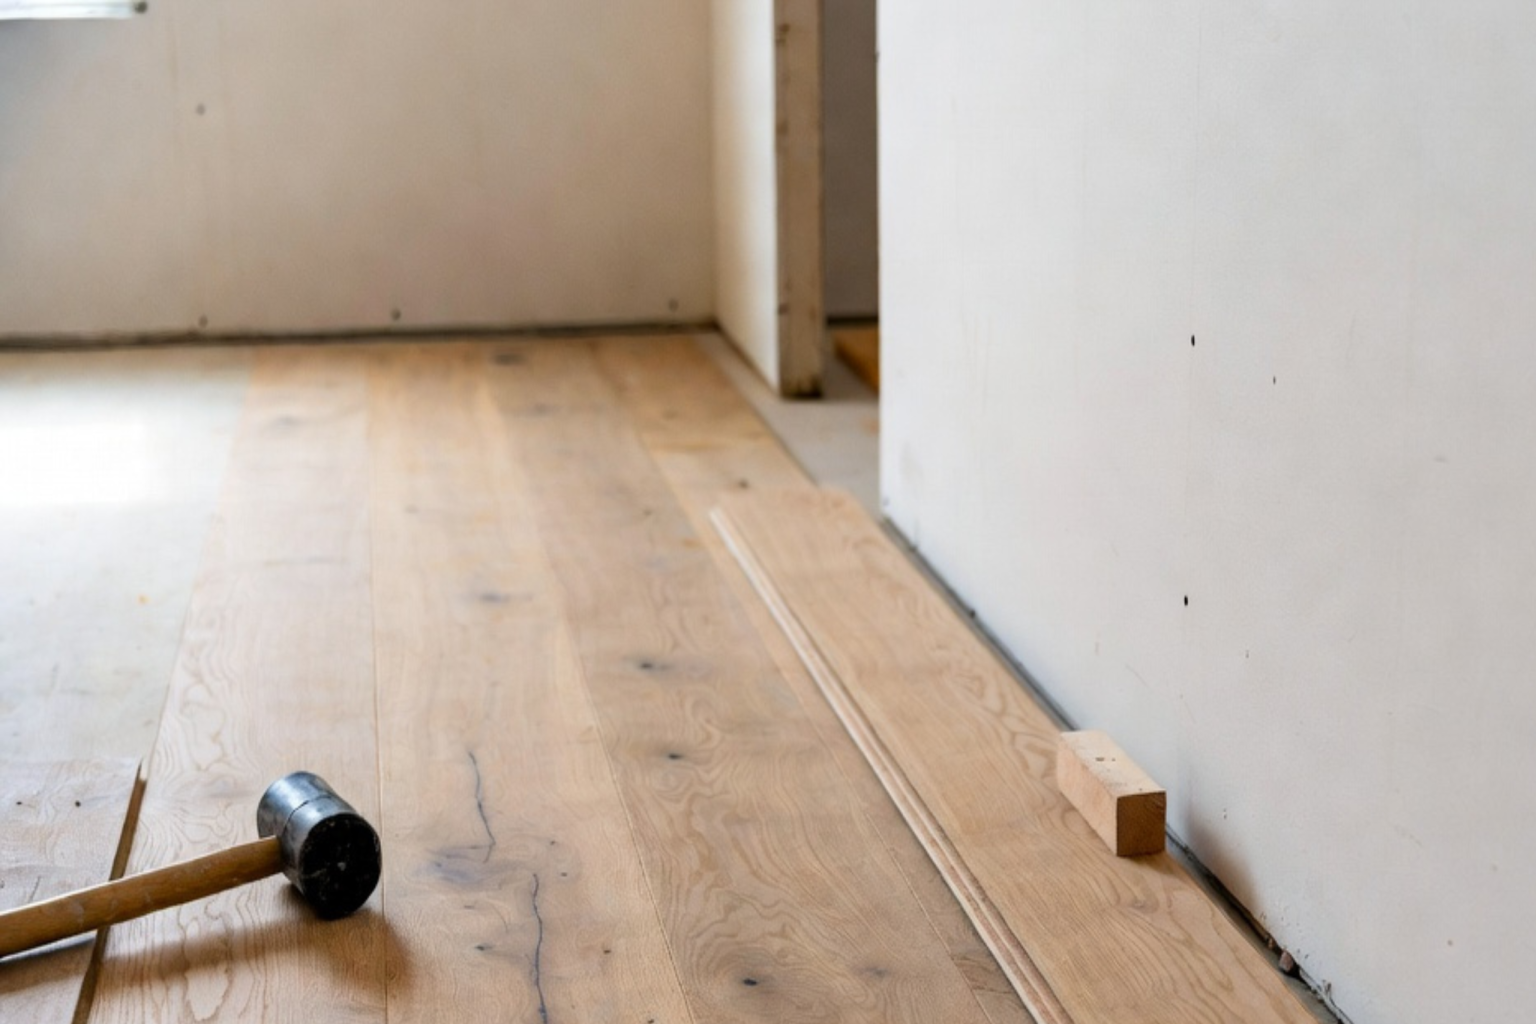
Keep the required expansion space at every wall, column, cabinet edge, pipe, and other fixed obstruction. The exact gap depends on the product, room size, species, width, and manufacturer. Baseboard and shoe molding should cover it later, but the trim must not pin the floor so tightly that the boards cannot move.
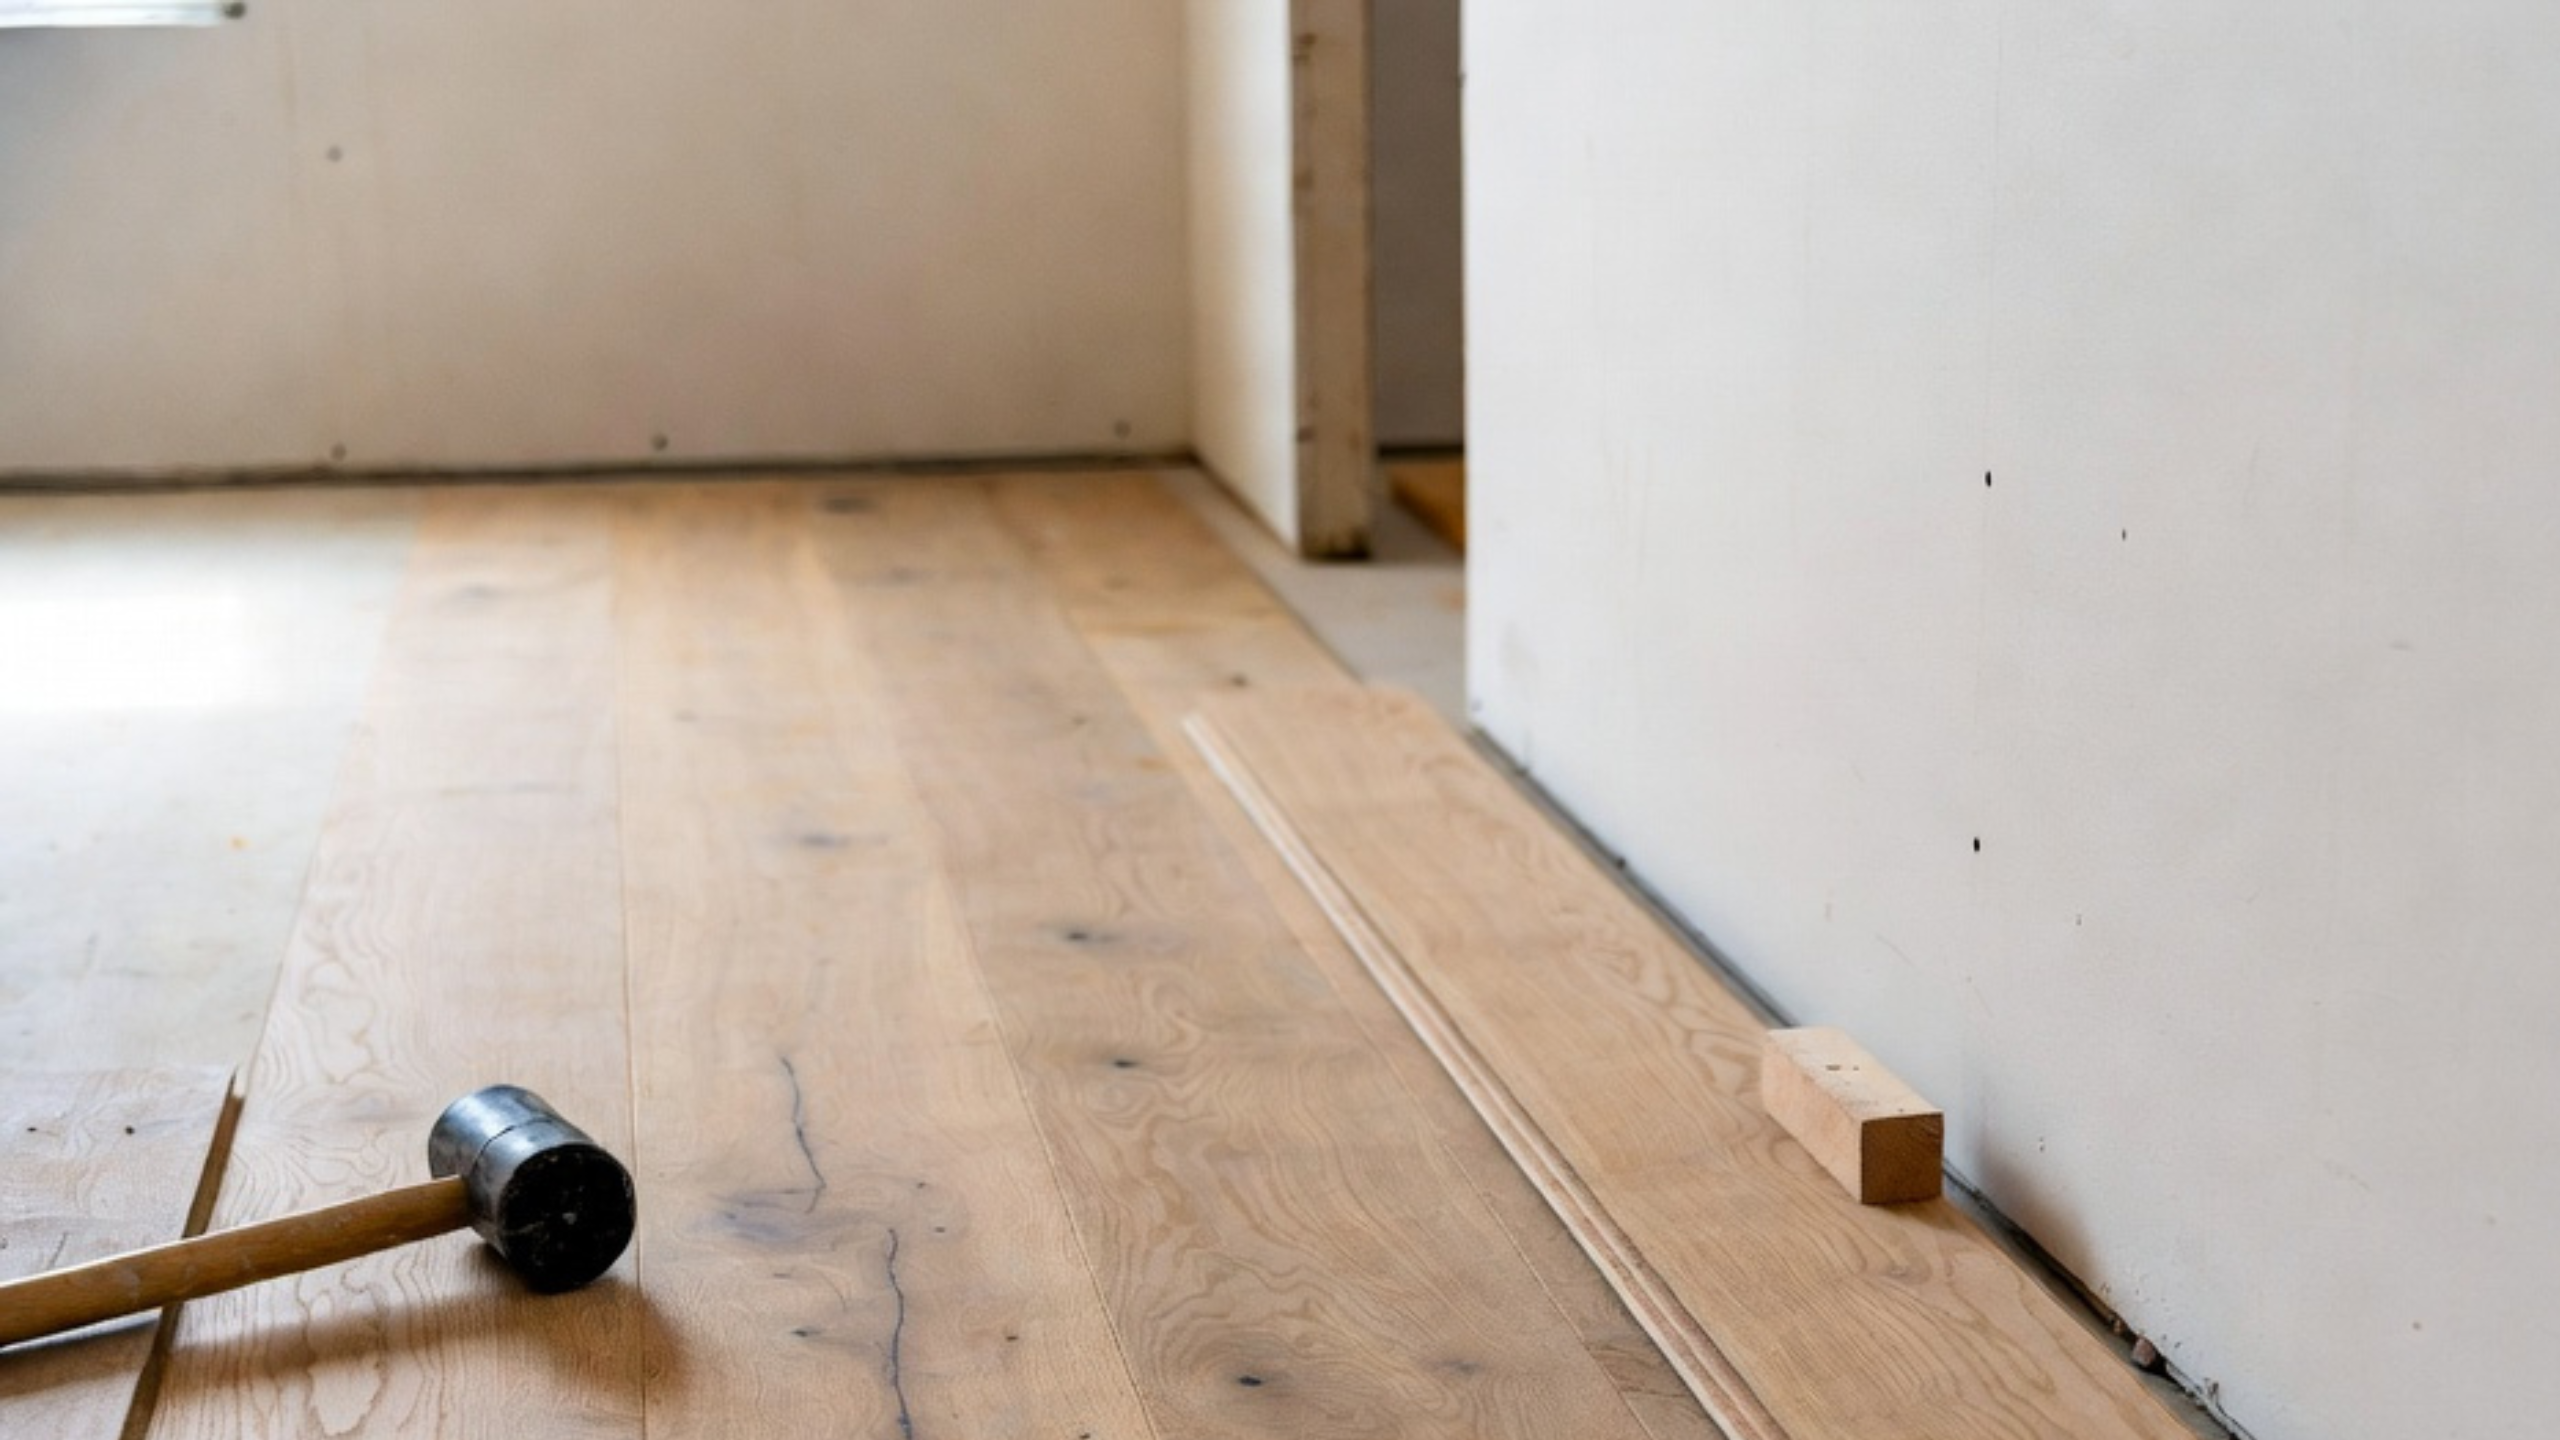
Use a layout line as the reference, not the drywall — I have yet to meet a plaster wall in an old house that runs straight over twenty feet. A good installer makes the first visible run read straight where the eye notices it, then manages the small adjustments at less visible edges.
Step 7: fasten the field without forcing the boards
Once the first rows are true, work across the room in the fastening pattern, fastener type, and spacing specified by the flooring manufacturer. A flooring nailer, stapler, adhesive-assist system, or another method may be correct for one product and wrong for another. Board width, species, subfloor thickness, and job conditions all affect the detail.
Use a sacrificial tapping block or the manufacturer's recommended tool so the exposed board edges are not damaged. Keep joints clean. Stagger end joints as the manufacturer requires and avoid repeating obvious seam patterns. Stop every few rows, sight the run, and check that the floor is not slowly drifting away from its reference line.
A board that will not seat may be bowed, damaged, dirty at the joint, or simply wrong for that location. Pull it out and solve the problem. Beating it into place can split a tongue, throw off the next row, and make the repair worse than discarding one board.
Step 8: slow down at doorways, vents, and the last rows
Door casings, registers, columns, and stair openings are where an otherwise good floor starts to look improvised. Undercut casings where appropriate so the hardwood can slide below the trim with room to move. Dry fit vent cuts and visible end cuts before committing to them. Protect finished boards from tools, hoses, fasteners, and abrasive dust.
The last rows usually cannot be reached with the main flooring nailer. Cut them accurately, keep the expansion space, pull them into place with the right tool, and use approved face fastening only where it will be concealed or properly repaired. Rushing this part creates the most visible gap in the room.
Step 9: install trim without trapping the floor
Reinstall baseboard or add shoe molding to cover the perimeter gap. Fasten the trim to the wall, not through the floor. Do not caulk the floor-to-trim joint in a way that locks a moving wood floor in place. At transitions, use the detail specified for the adjoining material and maintain any required movement space.
Before furniture comes in, walk the whole room under normal light. Check the edge rows, vent cuts, transitions, finish damage, loose boards, and any unexpected noise. A final inspection now is easier than a repair after rugs, appliances, or cabinets are in the room.
The mistakes that cause the callbacks
- Installing over unresolved moisture: the new floor may cup, gap, stain, or loosen while the leak remains hidden.
- Using "acclimation" as a number of days: the goal is stable, appropriate conditions—not a ritual with unopened boxes.
- Covering squeaks and soft spots: hardwood does not fix subfloor movement.
- Skipping the layout: the result is crooked field rows, bad door transitions, and narrow edge cuts in the wrong place.
- Ignoring the required expansion space: wood needs room to change width through the year.
- Mixing installation systems: a solid nail-down floor, glue-down engineered floor, and floating floor each need their own approved details.
How hard is it to install hardwood floors yourself?
Honest answer: the middle of the room is easy, and the edges are the job. Nailing straight boards across an open field is carpentry a careful first-timer can learn in an afternoon — the rental nailer does the fastening, and rows go down fast once the rhythm sets in. The DIY floors I get called to look at are almost never wrong in the field; they go wrong at the doorways, the vents, the last two rows, and the transitions, where the work stops being repetitive and starts being judgment.
A fair difficulty scale by project: a rectangular bedroom with one door is a genuine first project. A hallway that feeds four doorways is not — every casing needs undercutting, every threshold needs a planned height, and the sight lines forgive nothing. Stairs, borders, diagonals, herringbone, and plank wider than about 5 inches, which often adds glue-assist fastening, belong with an installer or a very experienced amateur.
Plan for the physical side too. Expect a full day on your knees for a couple hundred square feet as a first-timer, and expect the moisture and layout work in Steps 2 through 4 to take longer than the nailing itself. The tool list is short: rented flooring nailer, miter saw, jamb saw or multi-tool for casings, tape, chalk line, pull bar, and a moisture meter. If the moisture meter feels like an optional purchase, that is the sign to reread Step 2.
How much does it cost to have hardwood floors installed?
Installed cost changes with species, grade, board width, finish, room shape, local labor, tear-out, subfloor repair, stairs, transitions, and trim. Compare two or three local bids that price the same scope.
DIY removes the installation labor but still adds tool rental, delivery, blades, fasteners, and extra material for cuts and rejected boards.
When this is not a DIY job
Bring in a qualified hardwood-floor installer when the product has a complex warranty requirement, the subfloor needs major repair, the floor crosses several rooms and transitions, moisture readings are inconsistent, or the room needs an engineered solution over concrete or radiant heat. Get structural help first when the floor is bouncy, sagging, soft, water-damaged, or changing over time.
For the material decision behind the installation, see hardwood flooring, species, and real-world uses. It will help you choose the board before you choose the nailer.
Hardwood installation checklist
- Room conditioned and wet work complete
- Product, subfloor, and indoor conditions checked against the manufacturer's instructions
- Moisture source corrected before flooring arrives
- Subfloor clean, dry, sound, flat, and securely fastened
- Finished heights and transitions planned
- Board direction and reference line established
- Required underlayment or moisture-control layer installed correctly
- Perimeter movement space maintained at every fixed obstruction
- Fasteners, adhesive, and spacing match the product instructions
- Trim attached to walls without pinching the floor
Frequently Asked Questions
How hard is it to install hardwood floors yourself?
The field work is learnable in a day; the layout, moisture control, doorways, and final rows are where DIY jobs fail. A rectangular room with one door is a fair first project. Hallways, stairs, and wide plank are not.
Can solid hardwood go over a wood subfloor?
Often, yes. The subfloor must be appropriate for the flooring, dry, sound, and flat enough, and the floor must be installed with the manufacturer's required method.
Should hardwood run with or across the joists?
Solid strip flooring over a wood subfloor commonly runs perpendicular to the joists. Confirm the actual assembly and product instructions before laying out the room.
How long should hardwood acclimate?
There is no universal number of days. The product should be conditioned according to its instructions and the house should be at the indoor conditions it will maintain after installation.
Can I install hardwood over a slightly uneven floor?
Only if the surface is stable and within the product's flatness tolerance. Hardwood can hide a minor visual slope; it cannot correct a moving or weak base.
Read This Next
- Prepare the base correctly: Flooring Installation Prep.
- Understand the layer below the boards: Subfloor.
- Control the condition that moves wood: Wood Moisture Content, Acclimation, and Movement.
- Choose the right wood product first: Hardwood.