
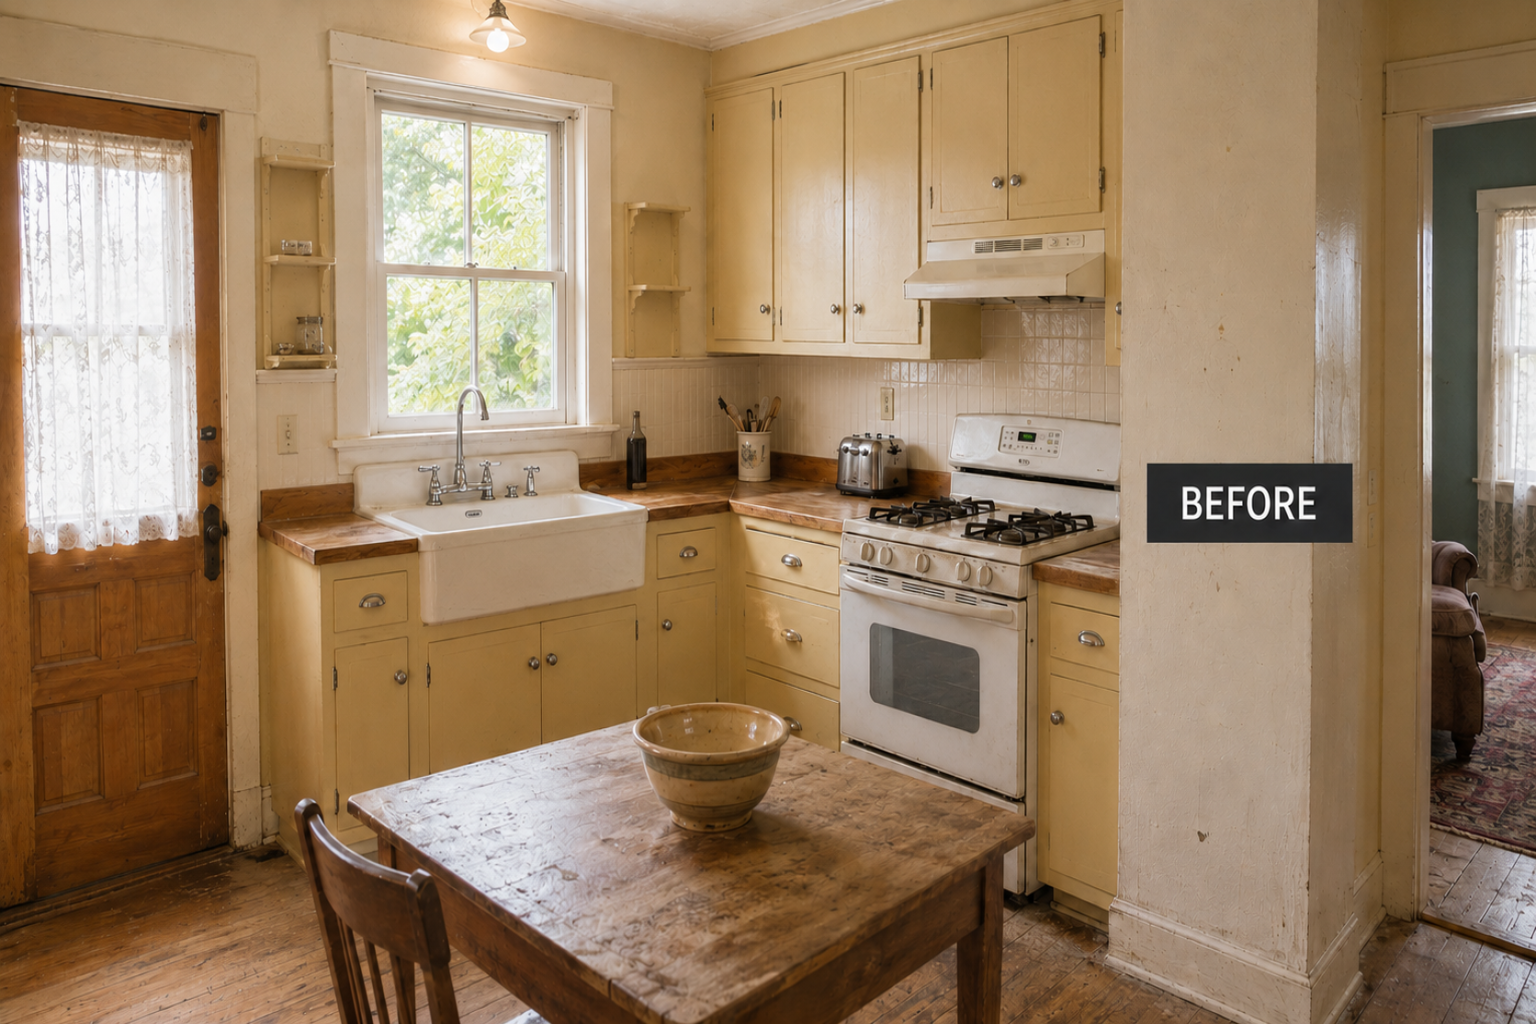


You are standing in the kitchen of a house built around 1900, and almost nothing in it is from 1900. The cabinets look like the 1950s, and the floor has been covered at least twice. Only the window casing and the doorway into the dining room are original. The cabinets are the cheapest thing in this room.
What the job costs is set by three things. The floor under those cabinets, the drain behind the sink, and the wiring in the wall. Work out what still belongs to the house before you price any of it. Room shape, window position, trim, floor direction and old doorway lines outlast every cabinet run that has passed through here.
The Kitchen Is Usually Not the Oldest Thing in the Room
A kitchen in a house built around 1900 may hold an old window, original trim and an early service wall. Add patched flooring, a later sink base, mid-century cabinets, a newer range and a microwave from last decade. That mixture is normal.
There is also no original kitchen to go back to. A house from 1900 was built around an icebox, a coal or gas range and a work table. Electric refrigeration came much later. General Electric introduced the Monitor Top in 1927. Household ownership went from about 10 percent in 1930 to 56 percent by 1940.[1] The room you are standing in was never designed for the appliances you are about to put in it.
So do not judge the room by its cabinets. They are the easiest layer to replace, so they tell you less than the window casing, floor direction, doorway width, chimney location or plumbing wall. Walk it slowly the first time. Find what survived before you decide what looks dated.
What Still Belongs to the House
Start with the pieces that are hard to replace well. Window placement, doorway trim and floor direction all carry weight. So does the way the kitchen connects to the dining room, back door, pantry, stair and service spaces.
Those are facts about how the room was built and how people moved through the house. Ignore them in the cabinet plan and the kitchen can end up looking expensive and wrong at once.
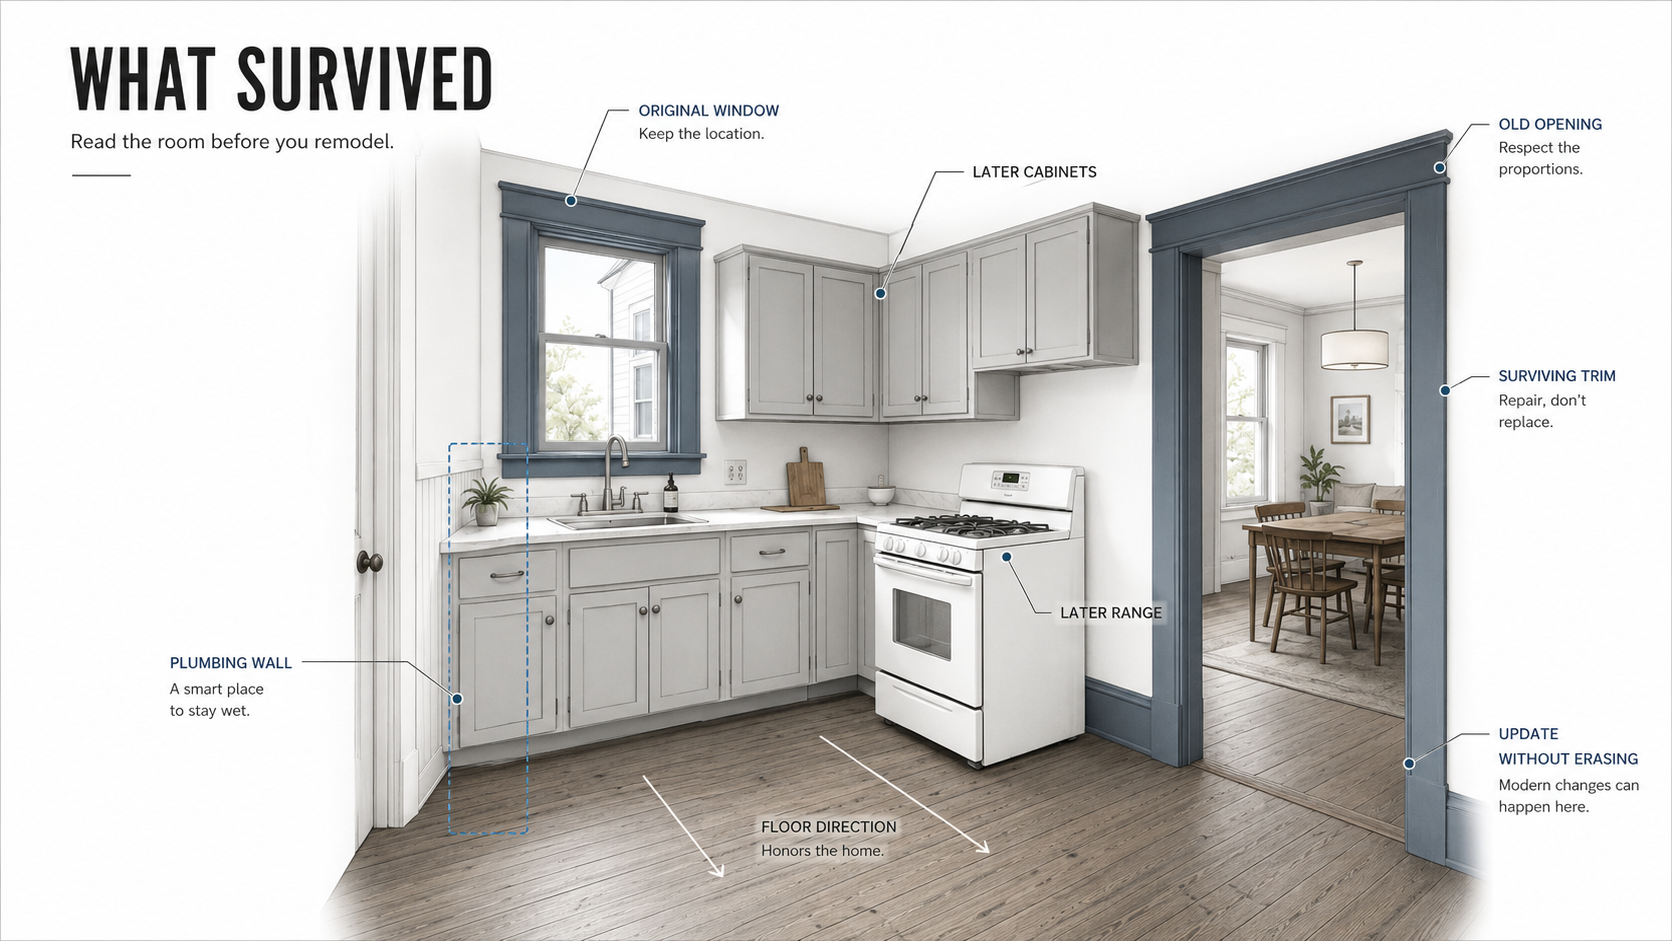
Run one test on each piece before it goes on the demolition list. Take it away in your head and see whether the room still reads as part of this house. Anything that fails is worth keeping, even when it is inconvenient.
The Plumbing Wall Decides More of the Budget Than the Layout Does
Old kitchens kept water close to one wall because that was the practical place for it. The sink may sit under a window, against a back wall, or near a stack shared with a bathroom above.
Moving that sink looks small on a drawing. In the house it means new drain, new venting, floor cuts, wall repair and an inspection. It may mean ceiling repair in the room below. One constraint decides the number.
A kitchen drain is 1½ or 2 inches. That puts it under the rule for pipe 2½ inches and smaller. Horizontal drainage has to run at a uniform slope of at least ¼ inch per foot.[2] Move the sink 12 feet from the stack and the run has to drop 3 inches on the way there, before you count the trap.
Now look at what that pipe passes through. A 1900 house is often framed with 2x8 joists, 7¼ inches deep. The IRC limits a bored hole to one-third the depth of the member. The hole also cannot sit closer than 2 inches to the top or bottom edge.[3] Put a 2-inch drain through that and it clears the limit by a sixteenth of an inch. You are left with under an inch of vertical play across the whole run. At ¼ inch per foot you spend that in under four feet.
Past that, the drain has to drop below the joists. That means a dropped soffit in the kitchen, or the ceiling below comes down. Neither one shows up on a mood board.
Keep the plumbing wall unless moving it solves a real problem. A better sink base, a workable dishwasher position, a longer counter run and proper lighting fix daily use. None of them cut into the oldest framing in the house.
The Floor Tells You What Has Already Happened
A 1900s kitchen floor may have several layers stacked on it. Original boards, old linoleum, plywood, vinyl, tile, leveling compound, and patched subfloor around a sink or a radiator line.
Do not order finished flooring until those layers are understood. A floor that only looks worn can be hiding rot near the sink, old pipe cuts, insect damage or weak patching from a past remodel.
Level and sound are different questions. Old floors slope and stay perfectly stable. A floor that moves underfoot, crumbles at old wet areas or changes abruptly near a patched opening needs a diagnosis first. That comes before tile, stone or any rigid flooring goes down.
This is where the honest answer runs out. The subfloor under the sink base is where a century of small leaks went. You cannot see it until the cabinet comes out. Cabinet lead times push you to lock the layout weeks before demolition exposes that floor. There is no clean way around it. Either open the sink base early and take the disruption, or carry a contingency and accept that the layout may move after the order is placed.
Electrical Work Has to Catch Up
A modern kitchen asks more of the electrical system than a 1900 house was built to give. Refrigerator, dishwasher, microwave, disposal, range, hood, lighting and countertop appliances all want capacity at once.
The IRC requires a minimum of two 20-amp small-appliance branch circuits for kitchen receptacles. Those circuits are not allowed to serve anything else.[4] In a 1900 house where one circuit often feeds half a floor, that alone can mean new home runs back to the panel.
Countertop receptacles have their own rule, and it lands on the cabinet drawing. Any countertop 12 inches or wider needs a receptacle. No point along the wall line can be more than 24 inches from one. Receptacles sit no more than 20 inches above the counter.[5] That works out to an outlet roughly every 4 feet of continuous run. Backsplash tile, a long window, an appliance garage and a full-height stone slab all have to be drawn around those positions.
Local adopted code and amendments set the final requirement. The planning point holds either way. An old-house kitchen remodel is an electrical project before it is a finish project. Settle the receptacle layout while the walls are still open.
Open the Kitchen, but Keep the Room Structure
Opening a 1900s kitchen to the dining room can work well. It can also remove the thing that made the rooms feel deliberate in the first place.
The better opening keeps the boundaries readable. A wide cased opening, a trimmed column, a partial wall or a preserved doorway line connects the two rooms. It does that without turning an old house into one blank space.
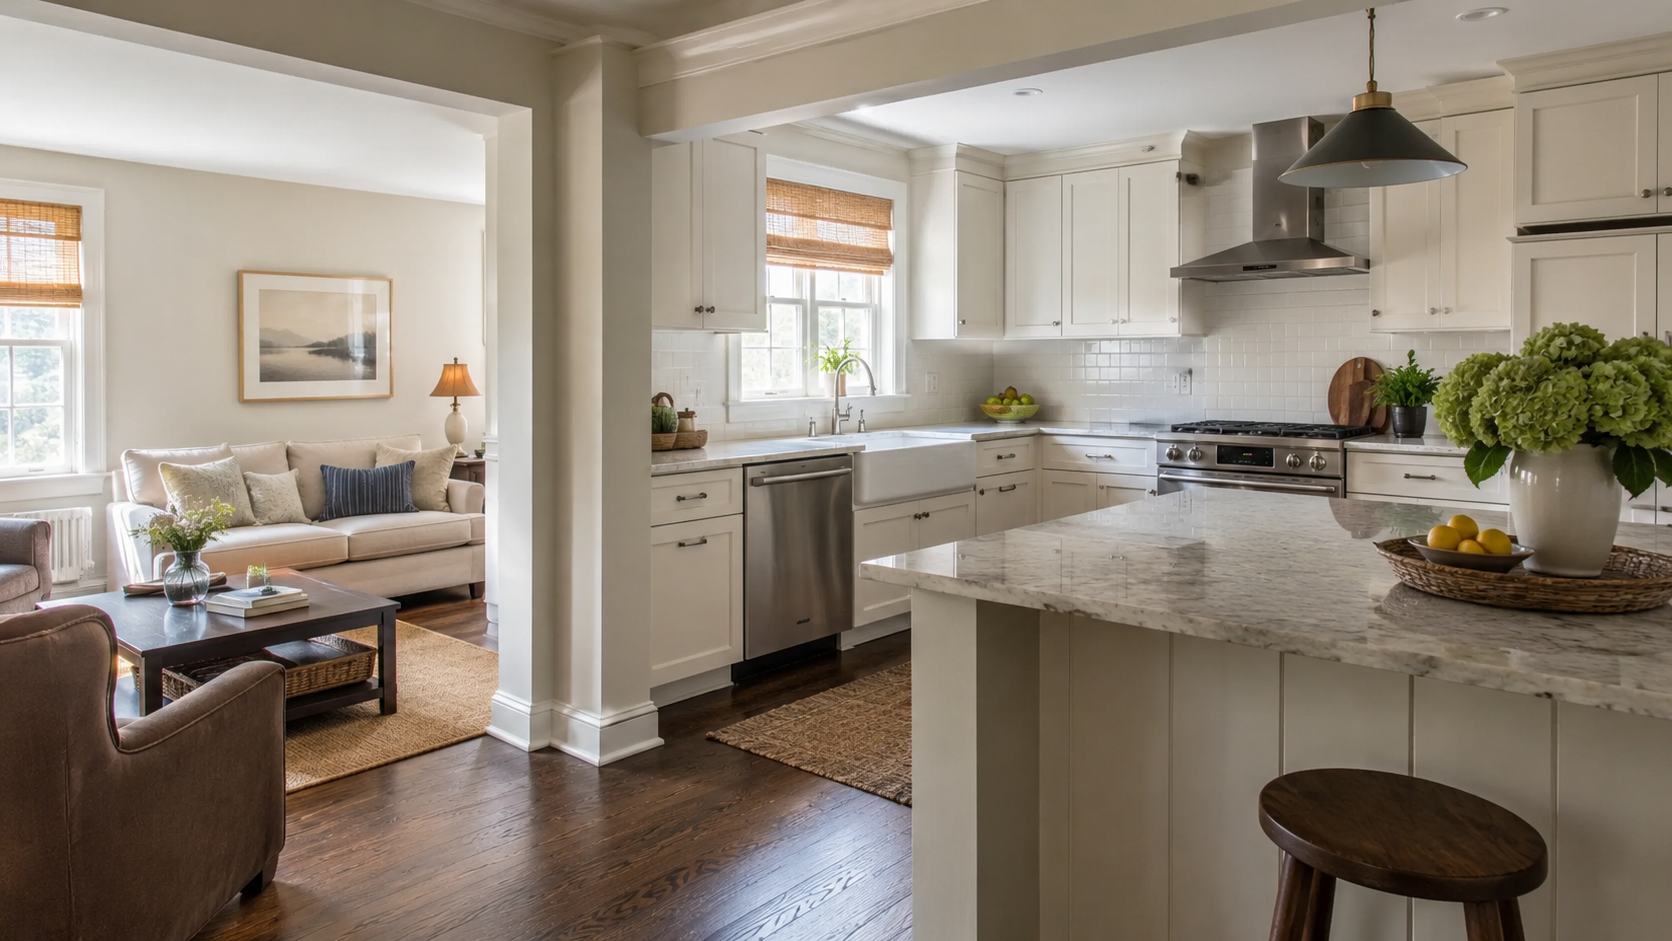
Before removing a wall, confirm whether it carries load, hides plumbing, holds old wiring or supports the floor above. It may also hold chimney mass. In a balloon-framed house the wall can be part of a cavity running the full height of the building.
If the whole house is being planned at once, start with renovating a 1900 house before the kitchen takes the budget.
Cabinets Should Fit the House
New cabinets do not need to copy 1900. In most of these houses there is not enough original kitchen evidence left to copy.
Proportion is what matters. Tall uppers that crush an old window read wrong. So does oversized crown fighting the casing, a large island stuffed into a narrow room, or slab doors in a room full of heavy trim. Expensive materials do not fix any of it.
Let the room set the terms. If the house has deep casing, tall baseboards, dark floors and narrow windows, the kitchen can be modern and still answer that weight. If the house is plainer, painted cabinets and simple trim beat a staged historic look.
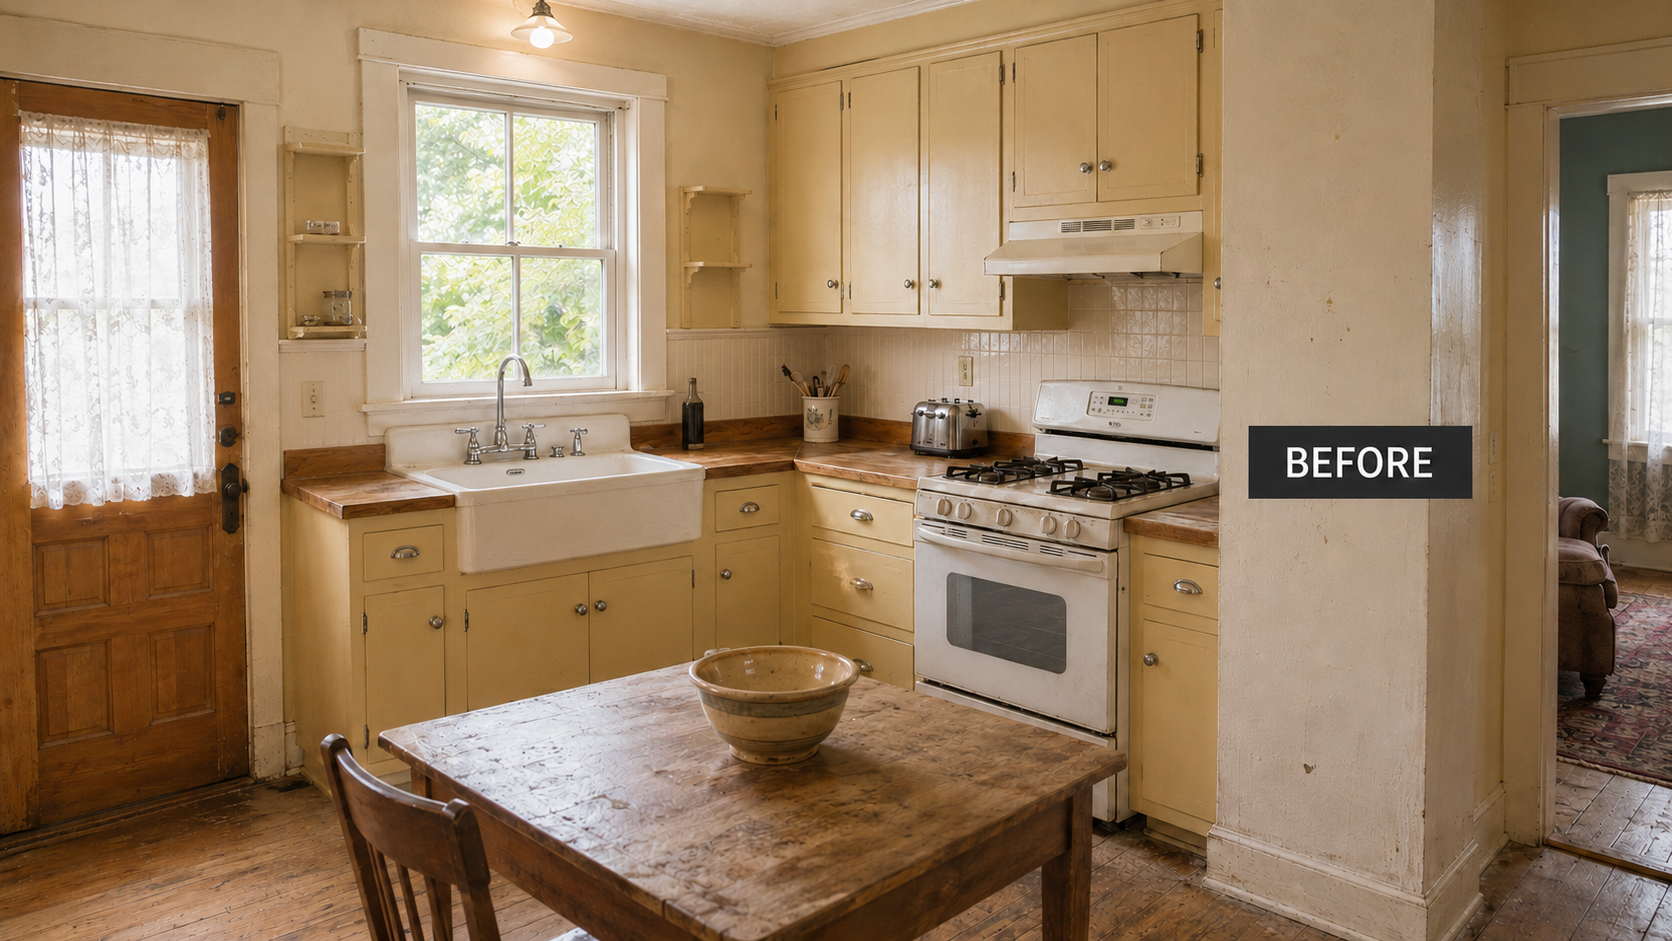
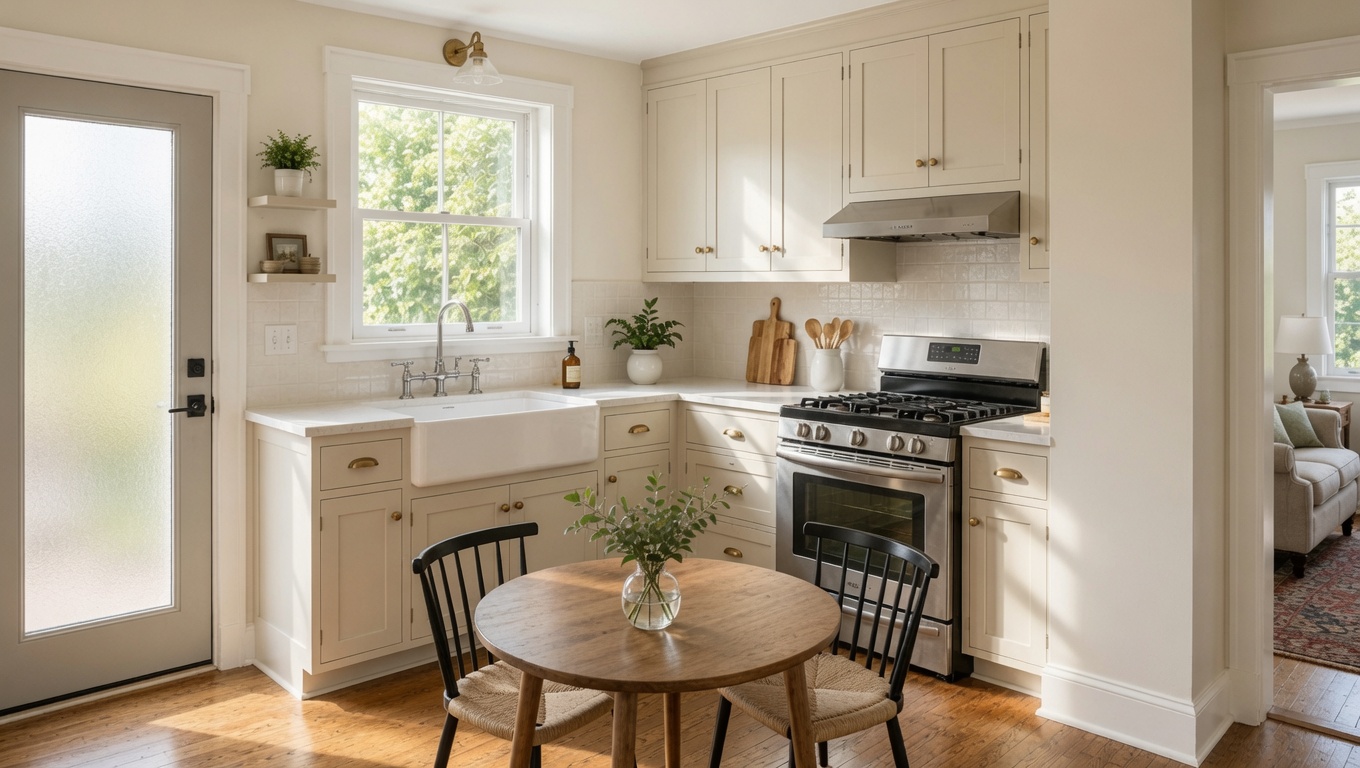
Before-and-After Should Still Look Like the Same House
A strong before-and-after shows a room that works better inside a house that still makes sense. Removing everything old is not the evidence.
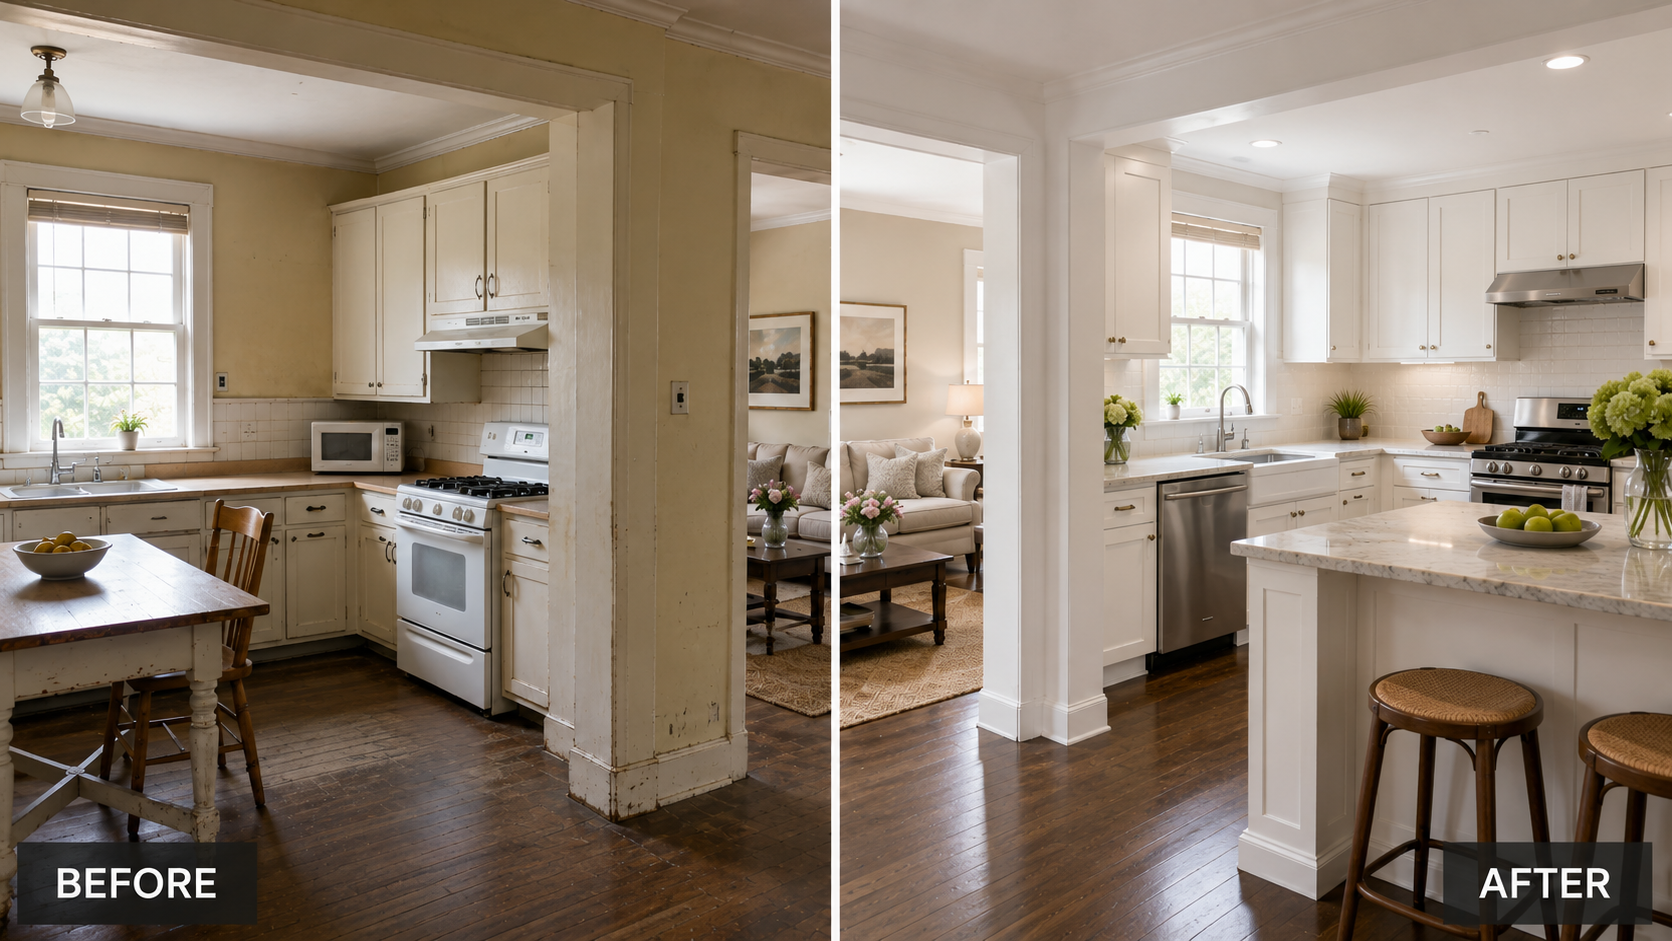
Judge the pair on what the remodel kept. Window rhythm, doorway logic, floor direction, ceiling height, trim scale and circulation. Old against new is the easier comparison and the less useful one.
Modernize Without Replacing Everything
Some kitchens need a full rebuild. Others need a cleaner sequence: repair the floor, fix the wiring, improve the sink run, add better lighting, rebuild a few cabinets, and stop there.
Replacing everything feels decisive, and it erases useful parts along the way. Old wood floors, compact cabinet runs, pantry walls, farmhouse sinks and simple painted woodwork all survive when the plan protects them early.
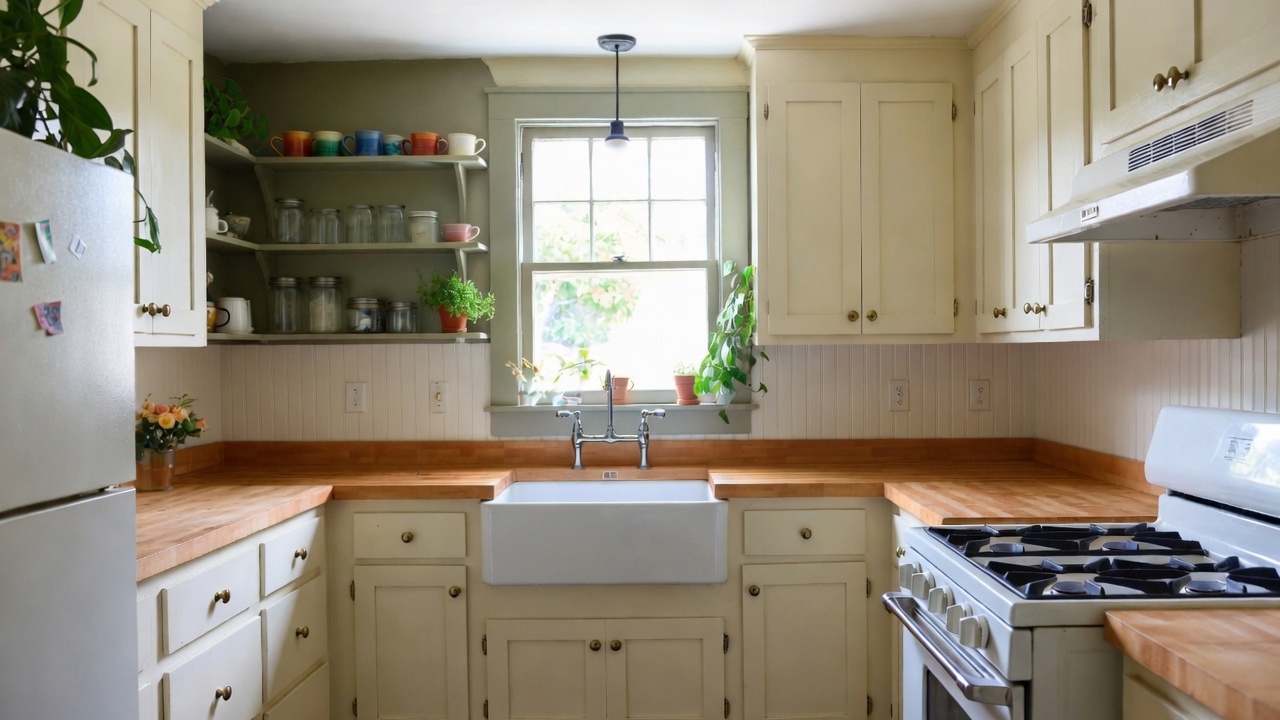
The strongest old-house kitchens hold one clear position. They preserve a lot and update quietly, or they modernize openly while keeping the room structure. The ones that fail are trying to be new, old, rustic and historic in the same room.
Where the Money Goes Wrong
| Decision | What to check first | What goes wrong if you skip it |
|---|---|---|
| Moving the sink | Joist depth, drain fall, venting, ceiling below | Dropped soffit, patched floors, failed rough-in |
| Opening the dining wall | Load path, chimney, plumbing, old wiring, trim return | Sagging, awkward beam work, lost room character |
| Installing new flooring | Subfloor, wet areas, old layers, floor movement | Cracked tile, telegraphing, trapped moisture |
| Ordering cabinets early | Finished dimensions, casing, appliance clearances | Cabinets blocking trim, vents, doors or service access |
| Drawing the backsplash | Receptacle spacing and height above the counter | Outlets cut through a tile pattern or a stone slab |
| Choosing finishes first | Electrical, plumbing, plaster, ventilation, structure | A finished kitchen that has to be opened again |
A wrong decision caught on paper costs a redraw. The same decision caught after the cabinets arrive costs a restocking fee and a delay.
What to Check Before Cabinets Are Ordered
- Measure from finished surfaces rather than rough framing, especially around doors, trim, radiators and window casing.
- Confirm appliance clearances, swing direction and landing space. Check whether the room can carry an island without choking circulation.
- Get the joist direction and depth under the sink run before you commit to moving water.
- Mark receptacle positions on the elevation drawing, not on site after the tile arrives.
- Open enough wall or ceiling to verify plumbing, wiring and framing before locking the layout.
- Decide what trim, flooring, doorway lines and old features are staying before demolition starts.
A 1900s kitchen remodel starts with the room, the house around it, and the parts still worth protecting. The catalog comes later.
FAQ
Should a 1900s kitchen look historically original?
Only if enough original evidence survives, and it rarely does. A better goal is a kitchen that respects the room shape, trim, windows, floors and scale of the house. It also has to meet current safety and daily-use needs.
Is it bad to remove a wall between the kitchen and dining room?
Not always. The problem is removing it without checking structure, plumbing, old wiring, trim returns and floor transitions. Check what the opening does to the room sequence too.
Should I keep the old wood floor?
Keep it if it is sound, repairable and compatible with the kitchen plan. Replace or rebuild where old leaks, patched plumbing, rot or movement make the floor unreliable under new finishes.
How much does it cost to move a kitchen sink in an old house?
It depends on where the joists run and how deep they are. If the new drain can hold ¼ inch of fall per foot inside the existing framing, the cost is moderate. If it cannot, you are paying for a dropped soffit or for opening the ceiling below. That changes the number a lot.
Can a modern white kitchen work in a 1900 house?
Yes, if the proportions are controlled. White cabinets work when they respect the old window placement, trim depth, doorway lines, ceiling height and floor character. They fail when the room is flattened into a generic new-build kitchen.
What should come before tile, cabinets and counters?
Water damage, floor structure, plumbing, electrical capacity, ventilation, wall condition and appliance layout. Then the decision about what earlier work is staying.
Sources and data
- The Henry Ford, General Electric "Monitor-Top" Refrigerator: GE's Monitor Top sold widely in the late 1920s and early 1930s; US household refrigerator ownership was about 10 percent in 1930 and 56 percent by 1940.
- International Residential Code, P3005.3: horizontal drainage piping at a uniform slope of not less than ¼ inch per foot for diameters of 2½ inches and less.
- International Residential Code, R502.8.1: bored holes in solid lumber joists limited to one-third the depth of the member and no closer than 2 inches to the top or bottom edge.
- International Residential Code, E3703.2: a minimum of two 20-ampere small-appliance branch circuits for kitchen and dining area receptacles, which are permitted to serve no other outlets.
- International Residential Code, E3901.4: a receptacle at each countertop 12 inches or wider, no point along the wall line more than 24 inches from a receptacle, and receptacles not more than 20 inches above the countertop.
- Adopted code editions, historic-district rules and inspection standards vary by jurisdiction. Confirm local requirements before opening walls, moving plumbing, ordering cabinets or changing electrical work.