
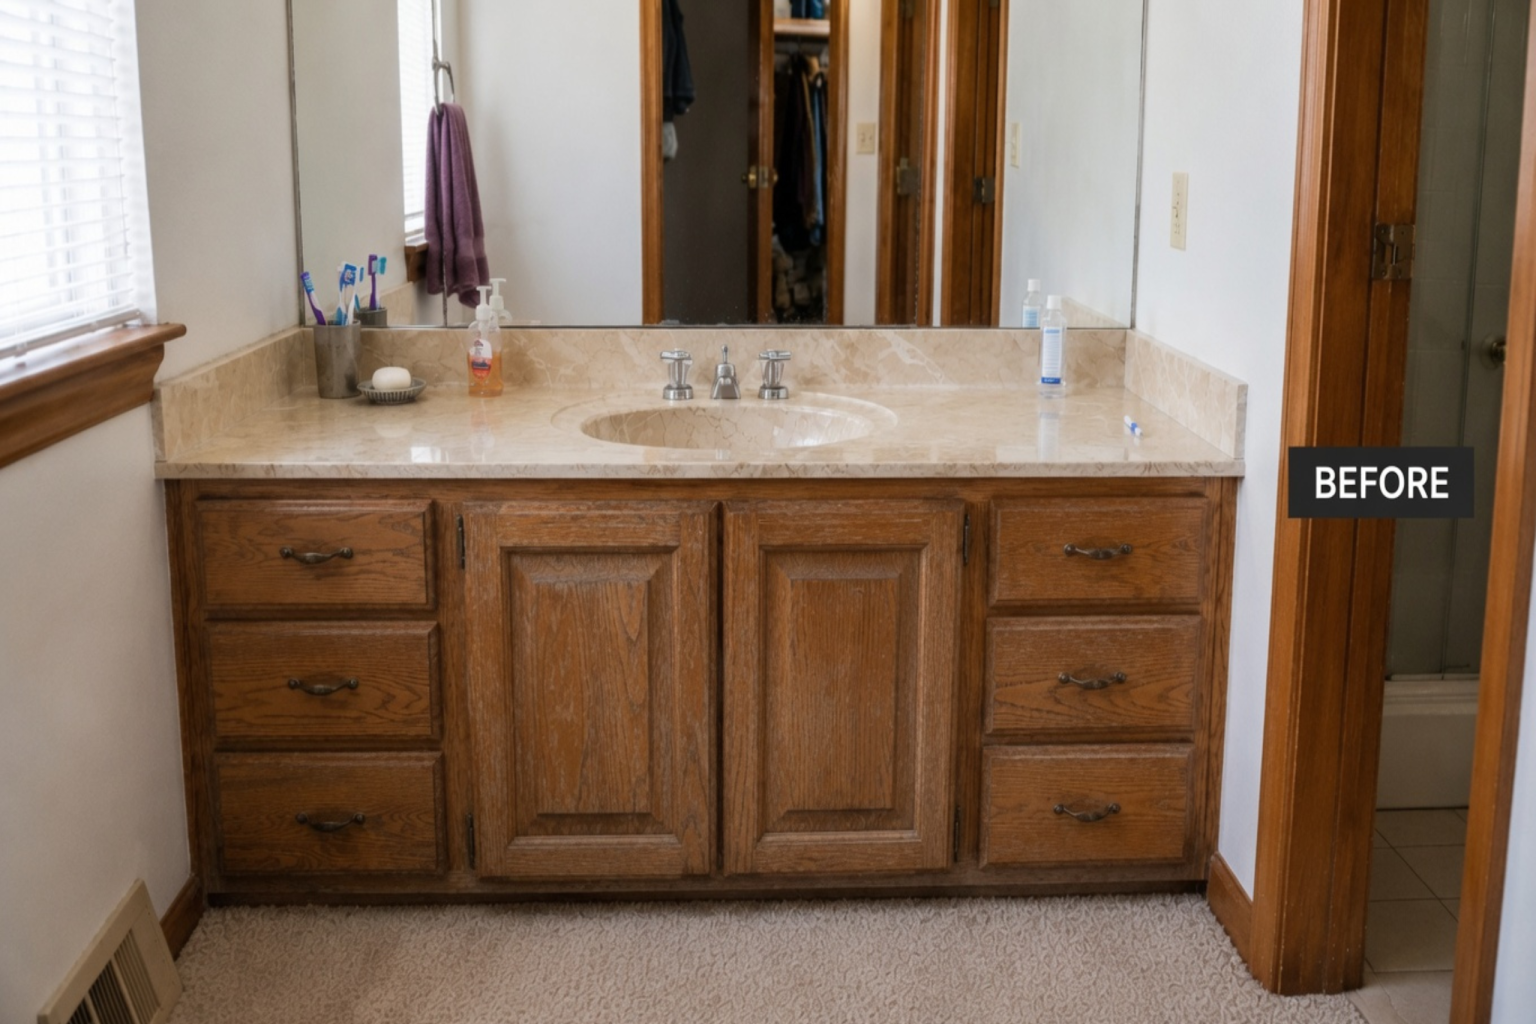


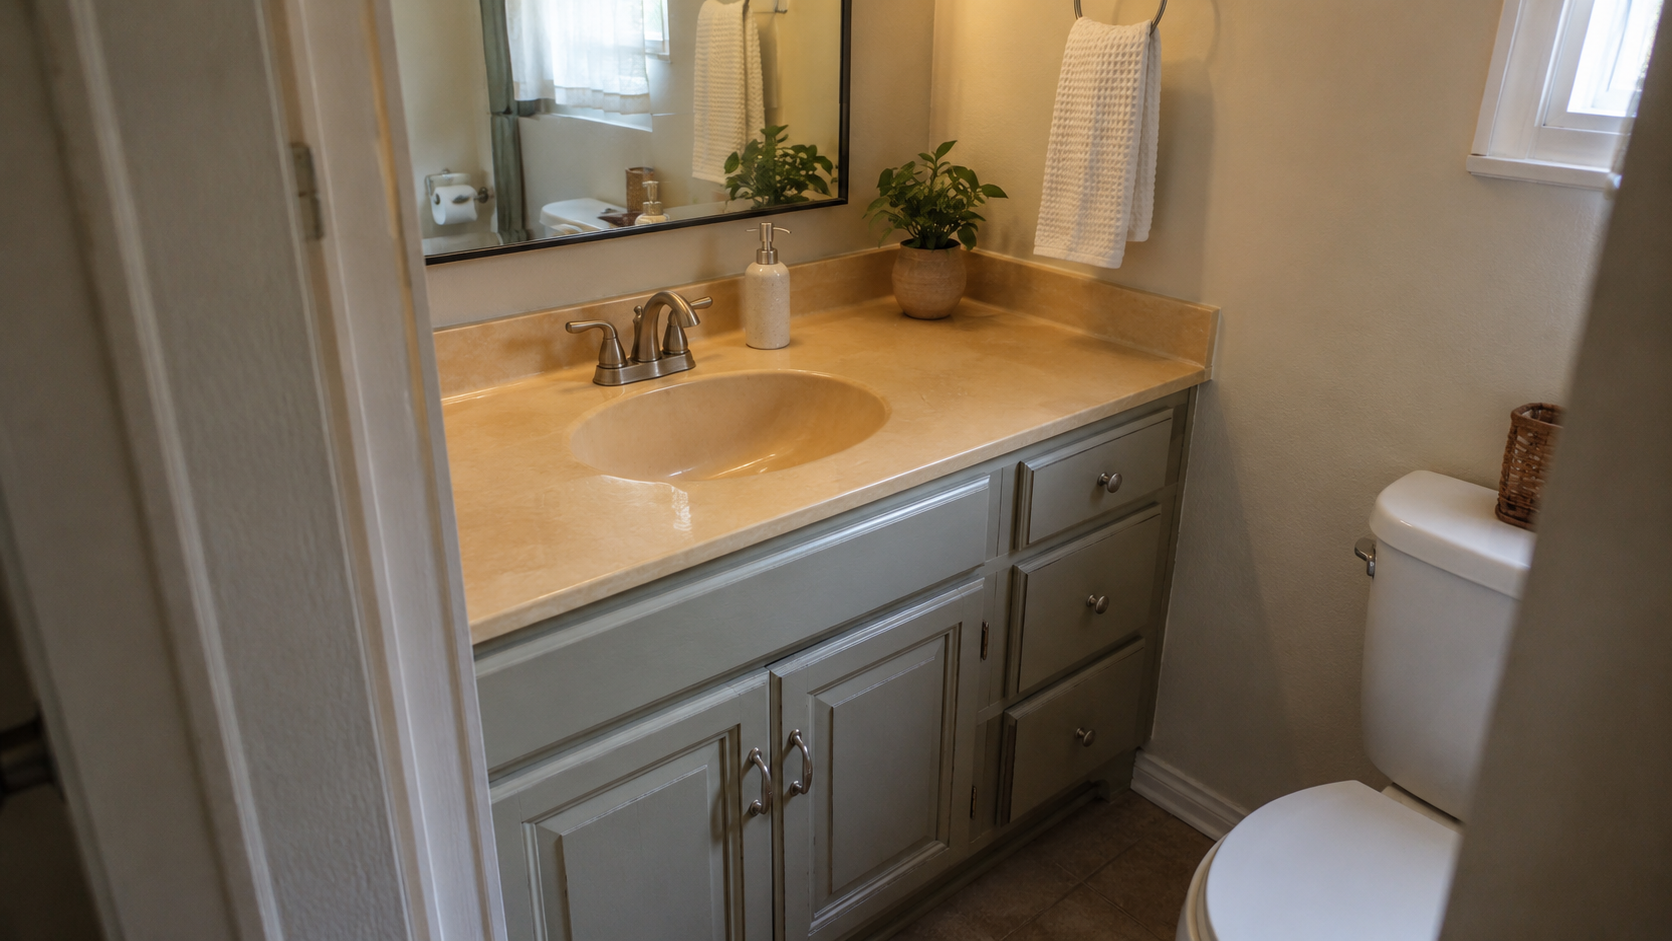
When the yellow top is the only thing you can point to, the quote comes back for a new top. That is rarely where the money goes. It goes into what comes off with it: the mirror on the wall behind the backsplash, the shutoff valves under the sink, and the cabinet floor you cannot see with the doors closed. Open the doors and press on the base of the cabinet before you price a countertop.
For the whole room in order, see 1980s bathroom remodel. What follows stays on the vanity wall.
What a Cultured Marble Top Is Made Of
Most 1980s vanity tops are cultured marble. It is cast from polyester resin mixed with limestone dust and pigment, then finished with a clear gel coat. The sink bowl and the backsplash are usually molded into the same piece.
The structure matters more than it sounds. On top is the clear gel coat, which manufacturer repair guidance puts at 30 to 50 mils, or 0.030 to 0.050 inch. A US dime is about 0.053 inch thick. Beneath the clear gel coat is the pigmented resin-and-mineral composite that forms the top. The exact distribution of color and veining varies by manufacturer, so the material should not be treated like uniformly colored natural stone.
That explains what polishing can and cannot do. Rubbing and polishing compounds, and light wet sanding with very fine paper, are normal repair methods. They bring back gloss on a top that has gone dull and they take out shallow scratches. They will not reliably reverse age-related yellowing in the resin or coating, although surface deposits and stains should be cleaned off before the condition of the top is judged.
The risk is in how hard you go. Sand through the clear coat and you are into the color layer, where an even finish is difficult to get back without professional refinishing. So a top that has gone flat is worth polishing. A top you dislike the color of is a different problem, and polishing will not solve it.
Reglazing Puts the Coating Where It Wears Fastest
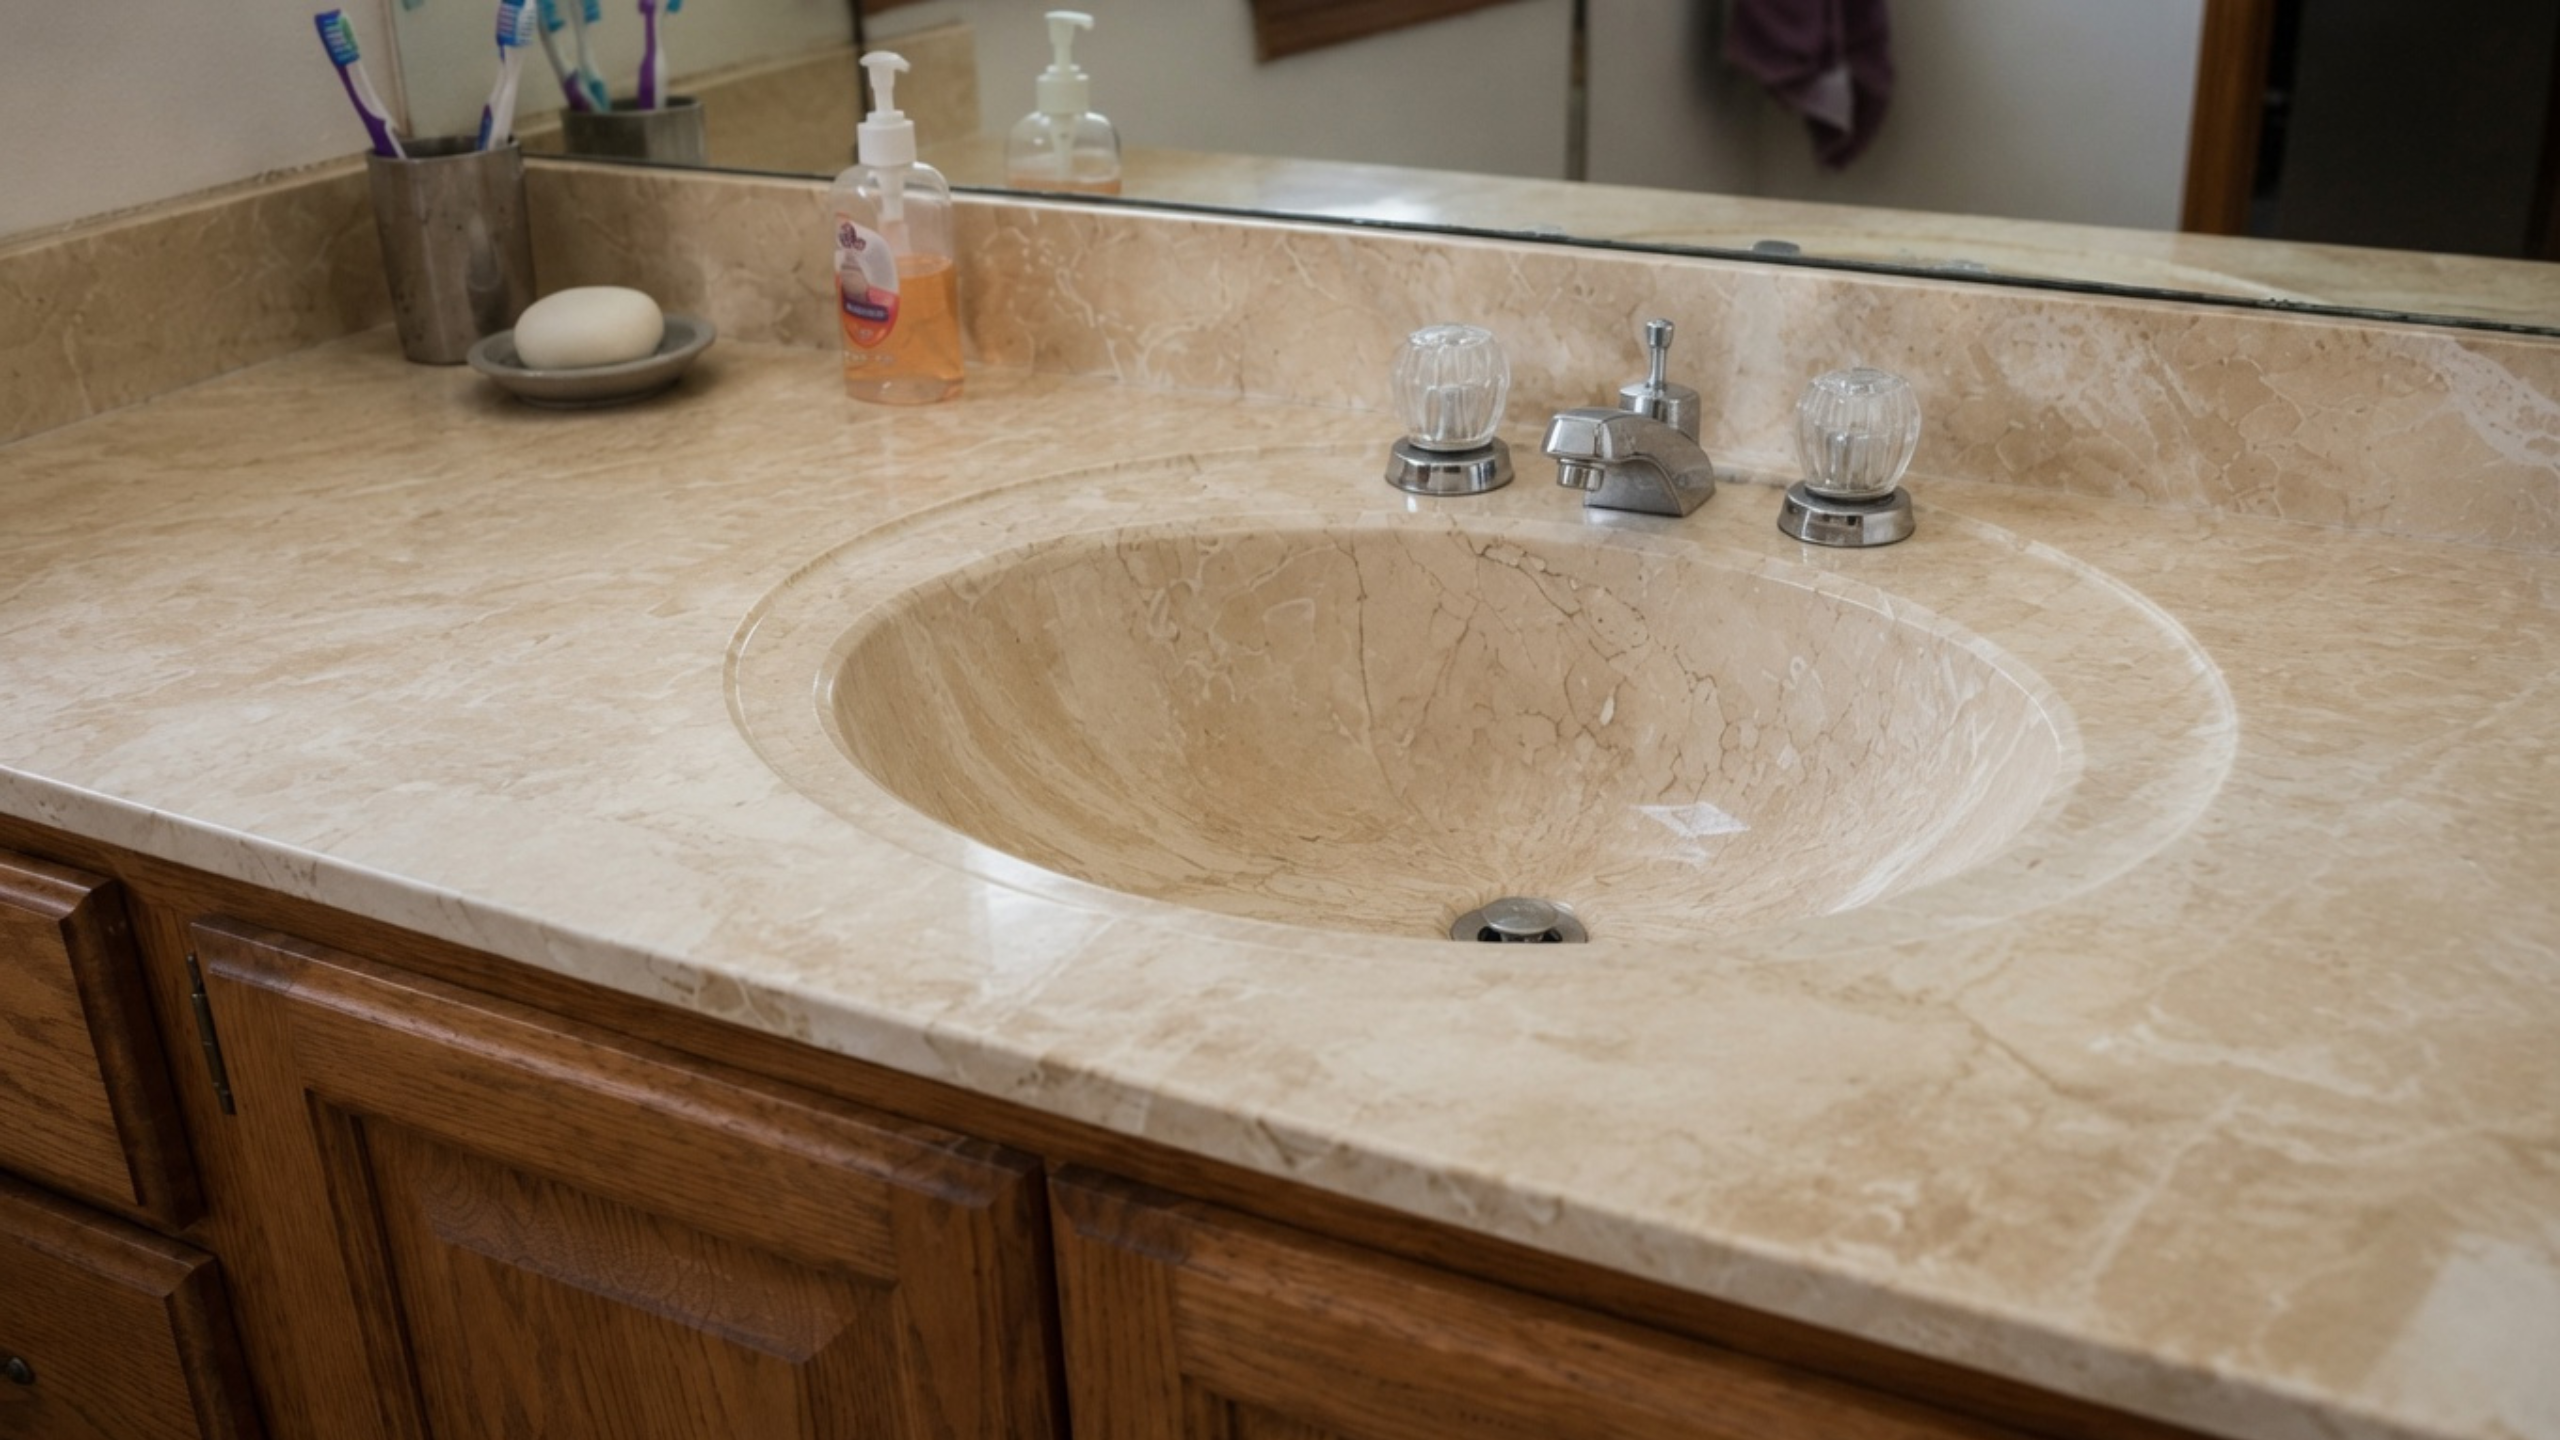
Refinishing a cultured marble top is real work and it can look good. A sprayed coating goes over the old surface and the color changes.
Where it wears out is worth knowing before you book it. The deck holds up reasonably well. The bowl does not. Standing water, toothpaste, and daily scrubbing all land in the same few square inches around the drain.
So if the bowl is the part you dislike most, reglazing puts your new finish where it has the shortest life. On a top where the deck is stained but the bowl is sound, the odds are better.
Press on the Cabinet Floor Before You Choose Anything
Many 1980s builder-grade vanity boxes are particleboard with oak doors and drawer fronts hung on the front. The oak is what you see. The box is not oak.
Particleboard fails in a specific way. Water breaks the resin bond holding the chips together, the panel swells, and it does not come back when it dries. A cabinet floor that has been wet stays weaker, whatever it looks like after a fan has run on it for a week.
Open the doors and press with your thumb in three places: the cabinet floor at the back corners under the trap, the toe kick, and the side panel where it meets the wall. Look for swelling at the edges, dark staining, and a finish that has lifted.
If the base gives under thumb pressure, do not paint over it. A soft cabinet floor or toe kick can often be cut out and replaced while the rest of the box stays, which is worth pricing before you write off the whole cabinet. Paint over a swollen panel is what fails, because the swelling telegraphs through and the edges go first.
The Mirror Is the Part That Can Cost You
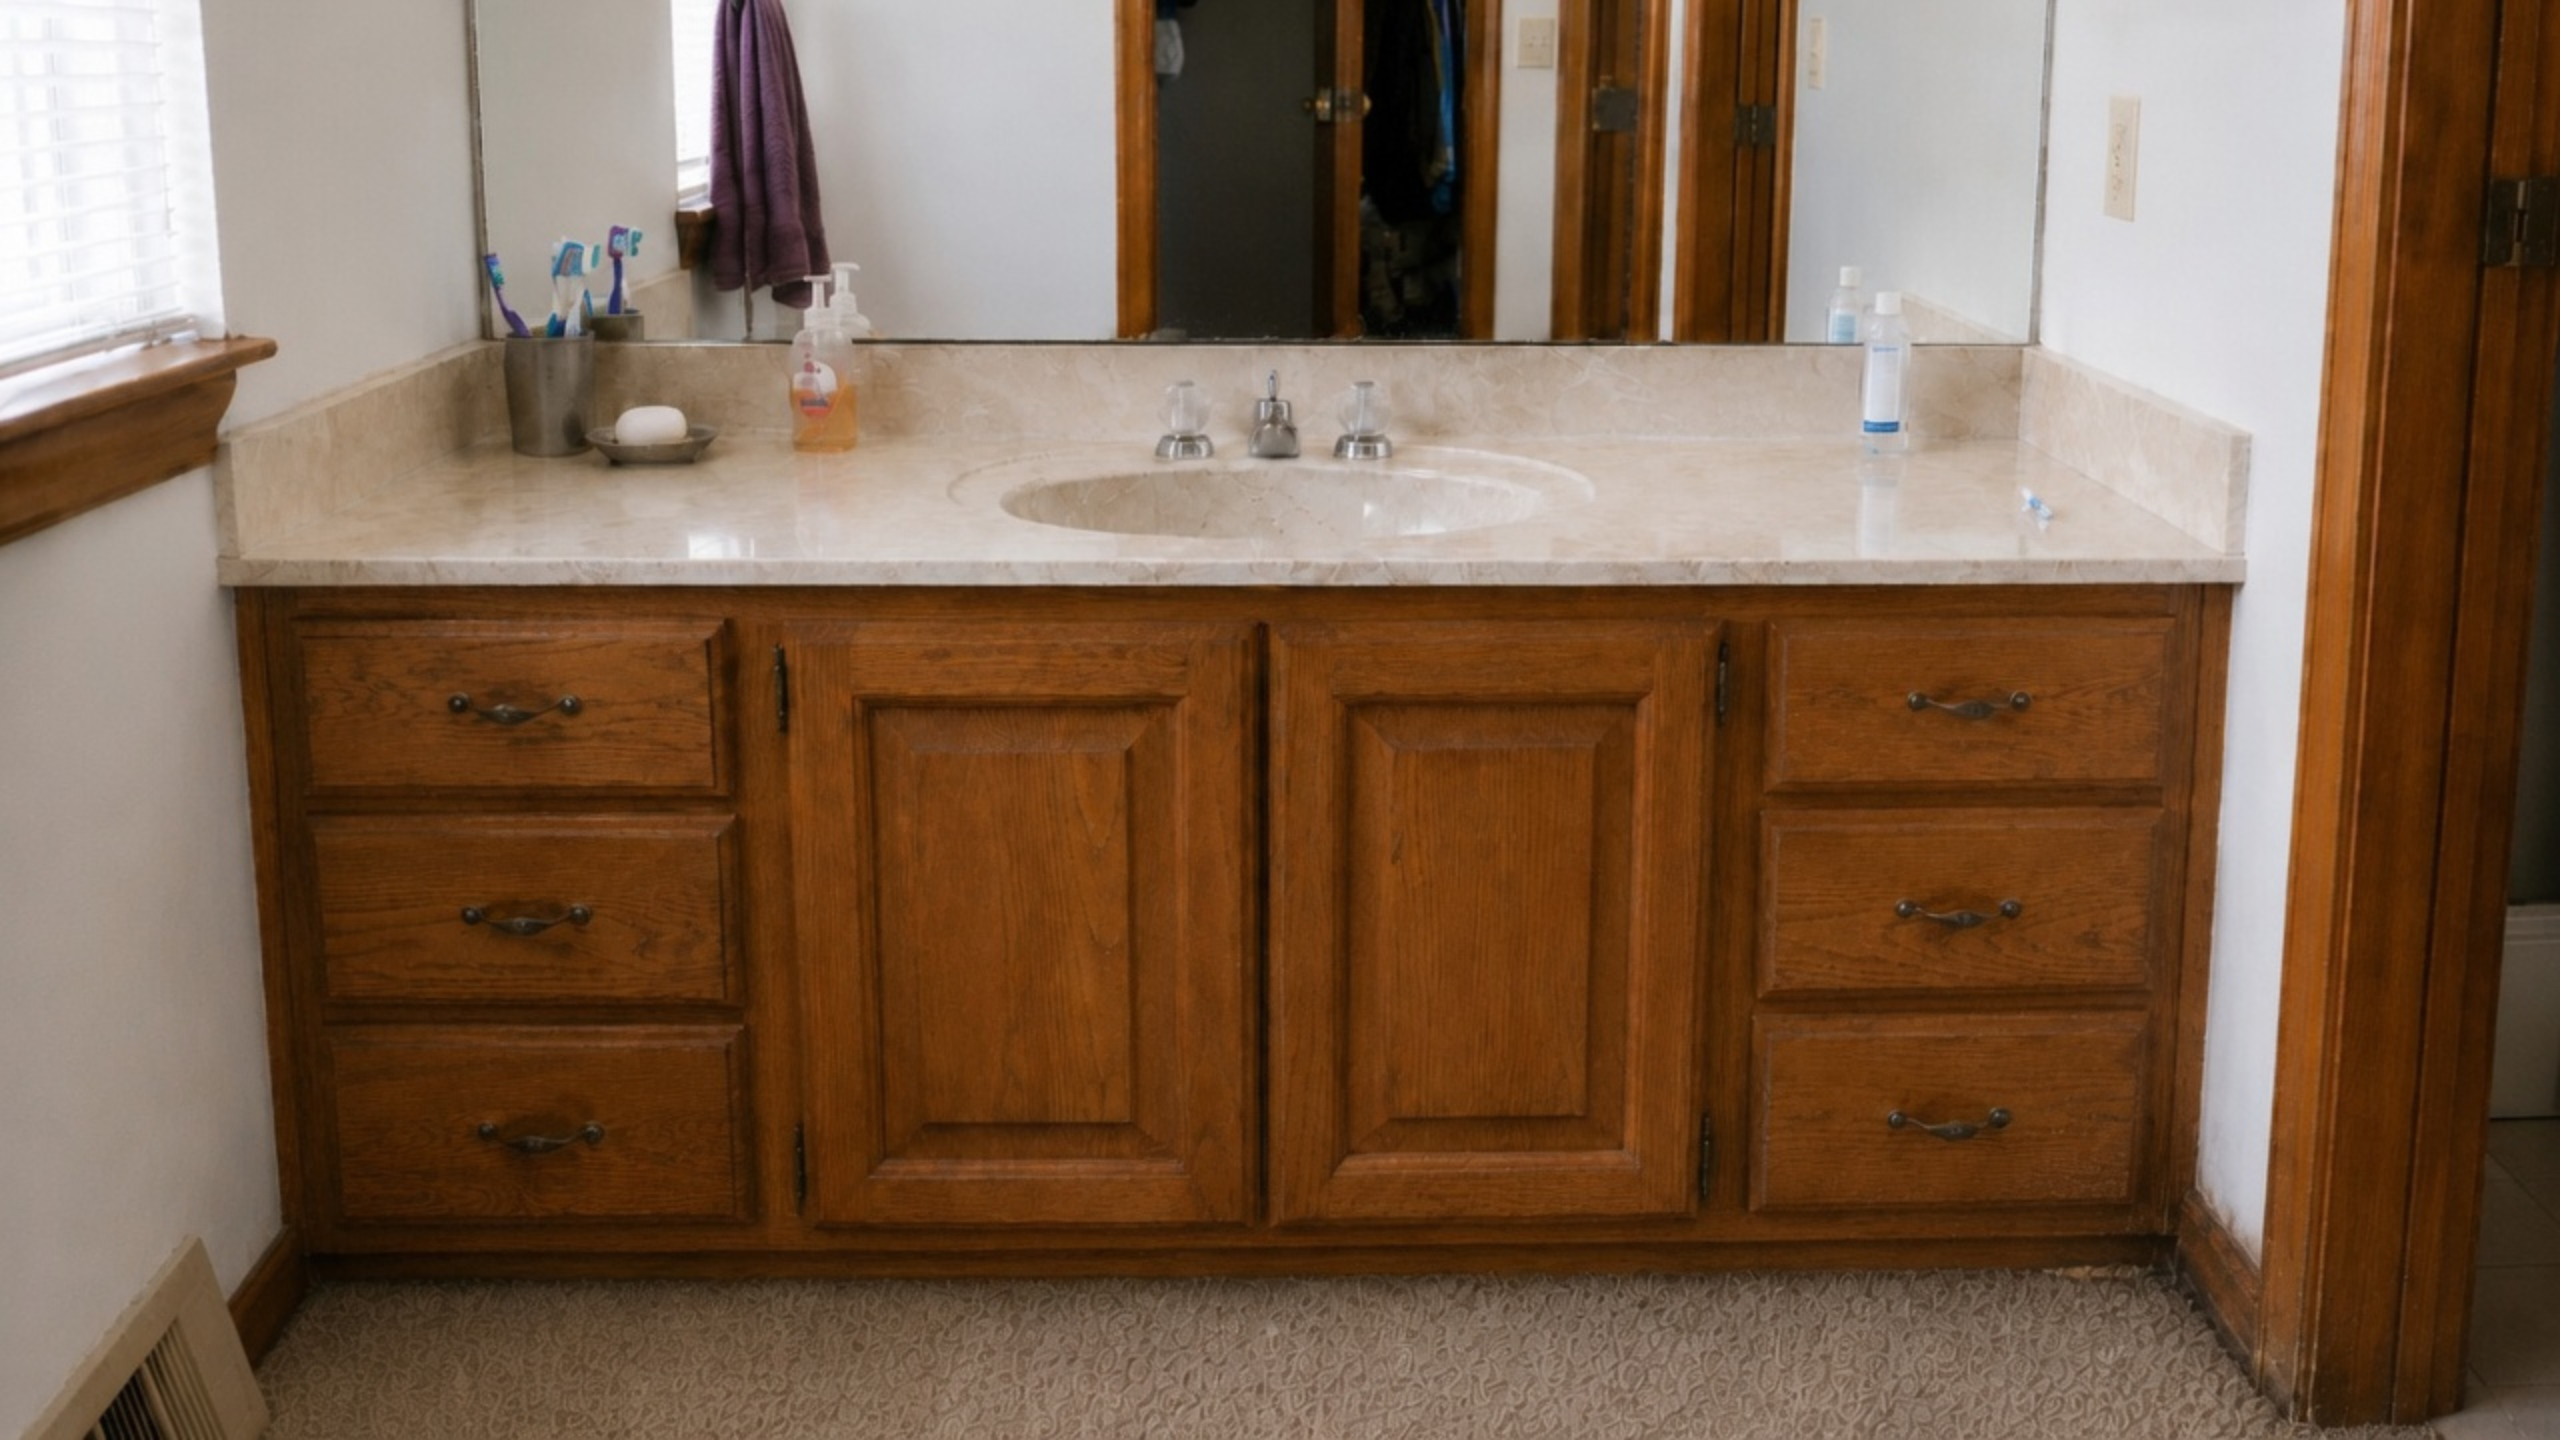
Builder mirrors from this period were usually set in mastic, sometimes with J-channel or clips at the edges. Mastic is an adhesive rather than a fastener, and it holds hard.
Taking one down often breaks the glass, and the mastic can pull the paper facing off the drywall behind it. Where that happens the repair is skim coating the mirror footprint, or cutting the drywall out and hanging new, then priming and painting. Mirrors held mainly by clips or J-channel with only spot adhesive sometimes come off whole. You will not know which one you have until it starts to move.
Two things follow regardless. The mirror usually sits down on the backsplash, so if the top comes off the mirror gets disturbed whether you planned it or not. And the mirror and light bar date that wall harder than the countertop does, which is why replacing the top on its own often leaves the room looking much the same.
Carry the wall repair in the budget from the start. If the mirror comes off clean, that money comes back.
Test the Shutoff Valves Before You Buy a Faucet
A faucet swap is a short job until the stops under the sink will not close.
The valves in a 1980s bathroom are usually multi-turn compression stops. The packing and the seat washer harden with age and with never being turned. The handle still spins. The water keeps running.
Then it becomes a bigger job. With no working stop, you shut off the branch or the house main. If the main is an old gate valve that has sat open for decades, it may not seat either, and the job reaches the curb stop and a plumber for what started as a $180 faucet.
Test it now rather than on installation day. Close both stops, open the faucet, and watch for a minute. A drip that does not stop means the stops get replaced first. Quarter-turn ball valves are the usual replacement and they cost little next to the disruption of finding out late.
Faucet Holes Are Drilled, Not Adjustable
The holes in a cultured marble top were set when it was made. There are three common patterns: a single hole, 4-inch centerset, and 8-inch widespread. Measure center to center between the outer two holes before you buy anything.
A widespread faucet will not fit a 4-inch top. A single-hole faucet on a three-hole top needs a deck plate to cover the two you are not using, which is fine as long as it is part of the plan rather than a surprise at the counter.
The other limit is the bowl. When the sink and deck are one molded piece, there is no way to change the bowl shape or depth without changing the top.
A New Vanity Usually Sits Higher Than the Old One
Vanities from this period are commonly 30 to 32 inches to the top of the counter. Much of what is on the shelf now is 34 to 36 inches, sold as comfort height.
A few inches of change reaches further than most people expect. The backsplash lands higher, exposing the old paint line, a wallpaper edge, or an unpainted strip behind the previous splash. The mirror sits lower in relation to the new deck, and the light above it can end up looking too high. The drain and supply stubs may need to move. The footprint of the old cabinet on the floor rarely matches the new one, which matters if you were hoping to leave the flooring alone.
How much that weighs depends on the mirror. If the mirror and light are being replaced anyway, height is mostly a plumbing question. If you were planning to keep them, height is what quietly forces you to change them.

What Goes Under the Vanity Depends on the Flooring
Carpet at a bathroom sink holds water at the vanity base and around the toilet, and the pad underneath keeps it against the subfloor. Pulling it up is worth doing for the subfloor alone.
What replaces it changes the order of work, and this is where plans go wrong. Tile and glue-down sheet vinyl can run under a cabinet without trouble. Floating floors cannot. Click-lock luxury vinyl plank and laminate are held together only at the joints and move as one sheet with humidity, so manufacturer instructions call for expansion space at every fixed object and generally tell you not to set cabinets on top. A vanity fastened down on a floating floor pins it in place, and the joints buckle or separate somewhere else in the room.
The practical sequence runs opposite to what most people assume. With a floating floor, the vanity goes in first and the flooring is fitted around it with an expansion gap and a trim piece to cover it. With tile or glue-down, the floor can run underneath and the cabinet sits on finished flooring.
Check the instructions for the specific product before ordering either one. The warranty follows them, and they vary between manufacturers.
If You Are Painting the Cabinet, the Prep Is the Job
Painting an oak vanity works when the box is sound. Most failures come from skipped steps rather than the wrong paint.
- Identify what you are painting. Solid oak doors and drawer fronts take paint well. A laminate or thermofoil face is a different substrate and needs a primer rated for it, if it is worth painting at all.
- Degrease first. Bathroom fronts carry hairspray, lotion, and soap film that will stop paint bonding. Clean with a degreaser or de-glosser and rinse.
- Repair before priming. Replace soft panels, refasten loose joints, and fill damage. Primer hides none of it.
- Scuff sand. Dull the existing finish so the primer has something to grip. Open oak grain will read through paint, so grain filler is the step to add if you want a smooth face.
- Bonding primer. A dedicated bonding or adhesion primer, not wall primer.
- Cabinet-grade enamel. A waterborne alkyd or acrylic-alkyd trim and cabinet enamel, applied thin, in two coats, respecting the recoat window on the can.
- Let it cure. Dry to the touch is not cured.
That last step is the one people get wrong. Benjamin Moore puts full cure for its waterborne alkyd at about five days, against three to four weeks for a latex acrylic. Until the film hardens, a door closed against the frame can stick and pull the finish. Leave the doors off or propped open for at least a week on a bathroom cabinet, and longer in a damp room, because humidity slows the cure.
If the Light or an Outlet Changes, the Circuit Comes Into It
A like-for-like fixture swap is usually just a fixture swap. Adding a receptacle, moving a box, or a larger permitted remodel can bring the wiring into scope.
Three sections set the shape of that. NEC 210.8(A)(1) requires GFCI protection for bathroom receptacles. NEC 210.11(C)(3) requires at least one 20-amp branch circuit supplying them. NEC 210.52(D) requires a receptacle within 3 feet of the outside edge of each basin.
Bathroom receptacles had been subject to NEC GFCI requirements since 1975, although local adoption dates, later alterations, and deficient work mean an older bathroom may still lack effective protection. Protection may sit at the breaker or at an upstream receptacle, so a plain outlet with no test buttons tells you little on its own. A plug-in tester or an electrician will. The adopted code edition and local amendments decide what applies to your job.
The Four Paths
| Option | When it makes sense | What can go wrong |
|---|---|---|
| Keep and clean | Top and cabinet are sound, and the complaint is color | The room can look unchanged if the mirror, light, and wall color stay as they are |
| Paint the base | The box is dry and solid, or the soft parts can be replaced | Skipped prep and doors closed before the enamel cures |
| Replace the top | The cabinet is sound but the top is cracked, stained, or wrong for the faucet | The mirror is disturbed, which can bring wall repair and paint |
| Replace the vanity | The box is soft beyond repair, the size is wrong, or the plumbing and floor need work anyway | A taller stock unit exposes the old paint line and can force mirror, light, and flooring changes |
Order of Work
- Cabinet box. Press the floor, toe kick, and side panel. This decides keep or replace before anything else.
- Top and bowl. Check for cracks, a worn or lifted gel coat, and the faucet hole spread.
- Stops, supplies, and trap. Test the valves and replace them before any cosmetic work.
- Mirror, light, and wall. Plan these with the top, not after it.
- Floor. Decide the type first, because a floating floor goes in after the cabinet and tile can go before.
- Paint, hardware, faucet. Last, with cure time built into the schedule.
What Keeping the Top Saves, and What It Does Not
The keep-it route has an honest case. A warm beige top can read as a neutral once the oak is painted, the wall color is calmer, and the brass is gone. It is not a compromise on every wall.
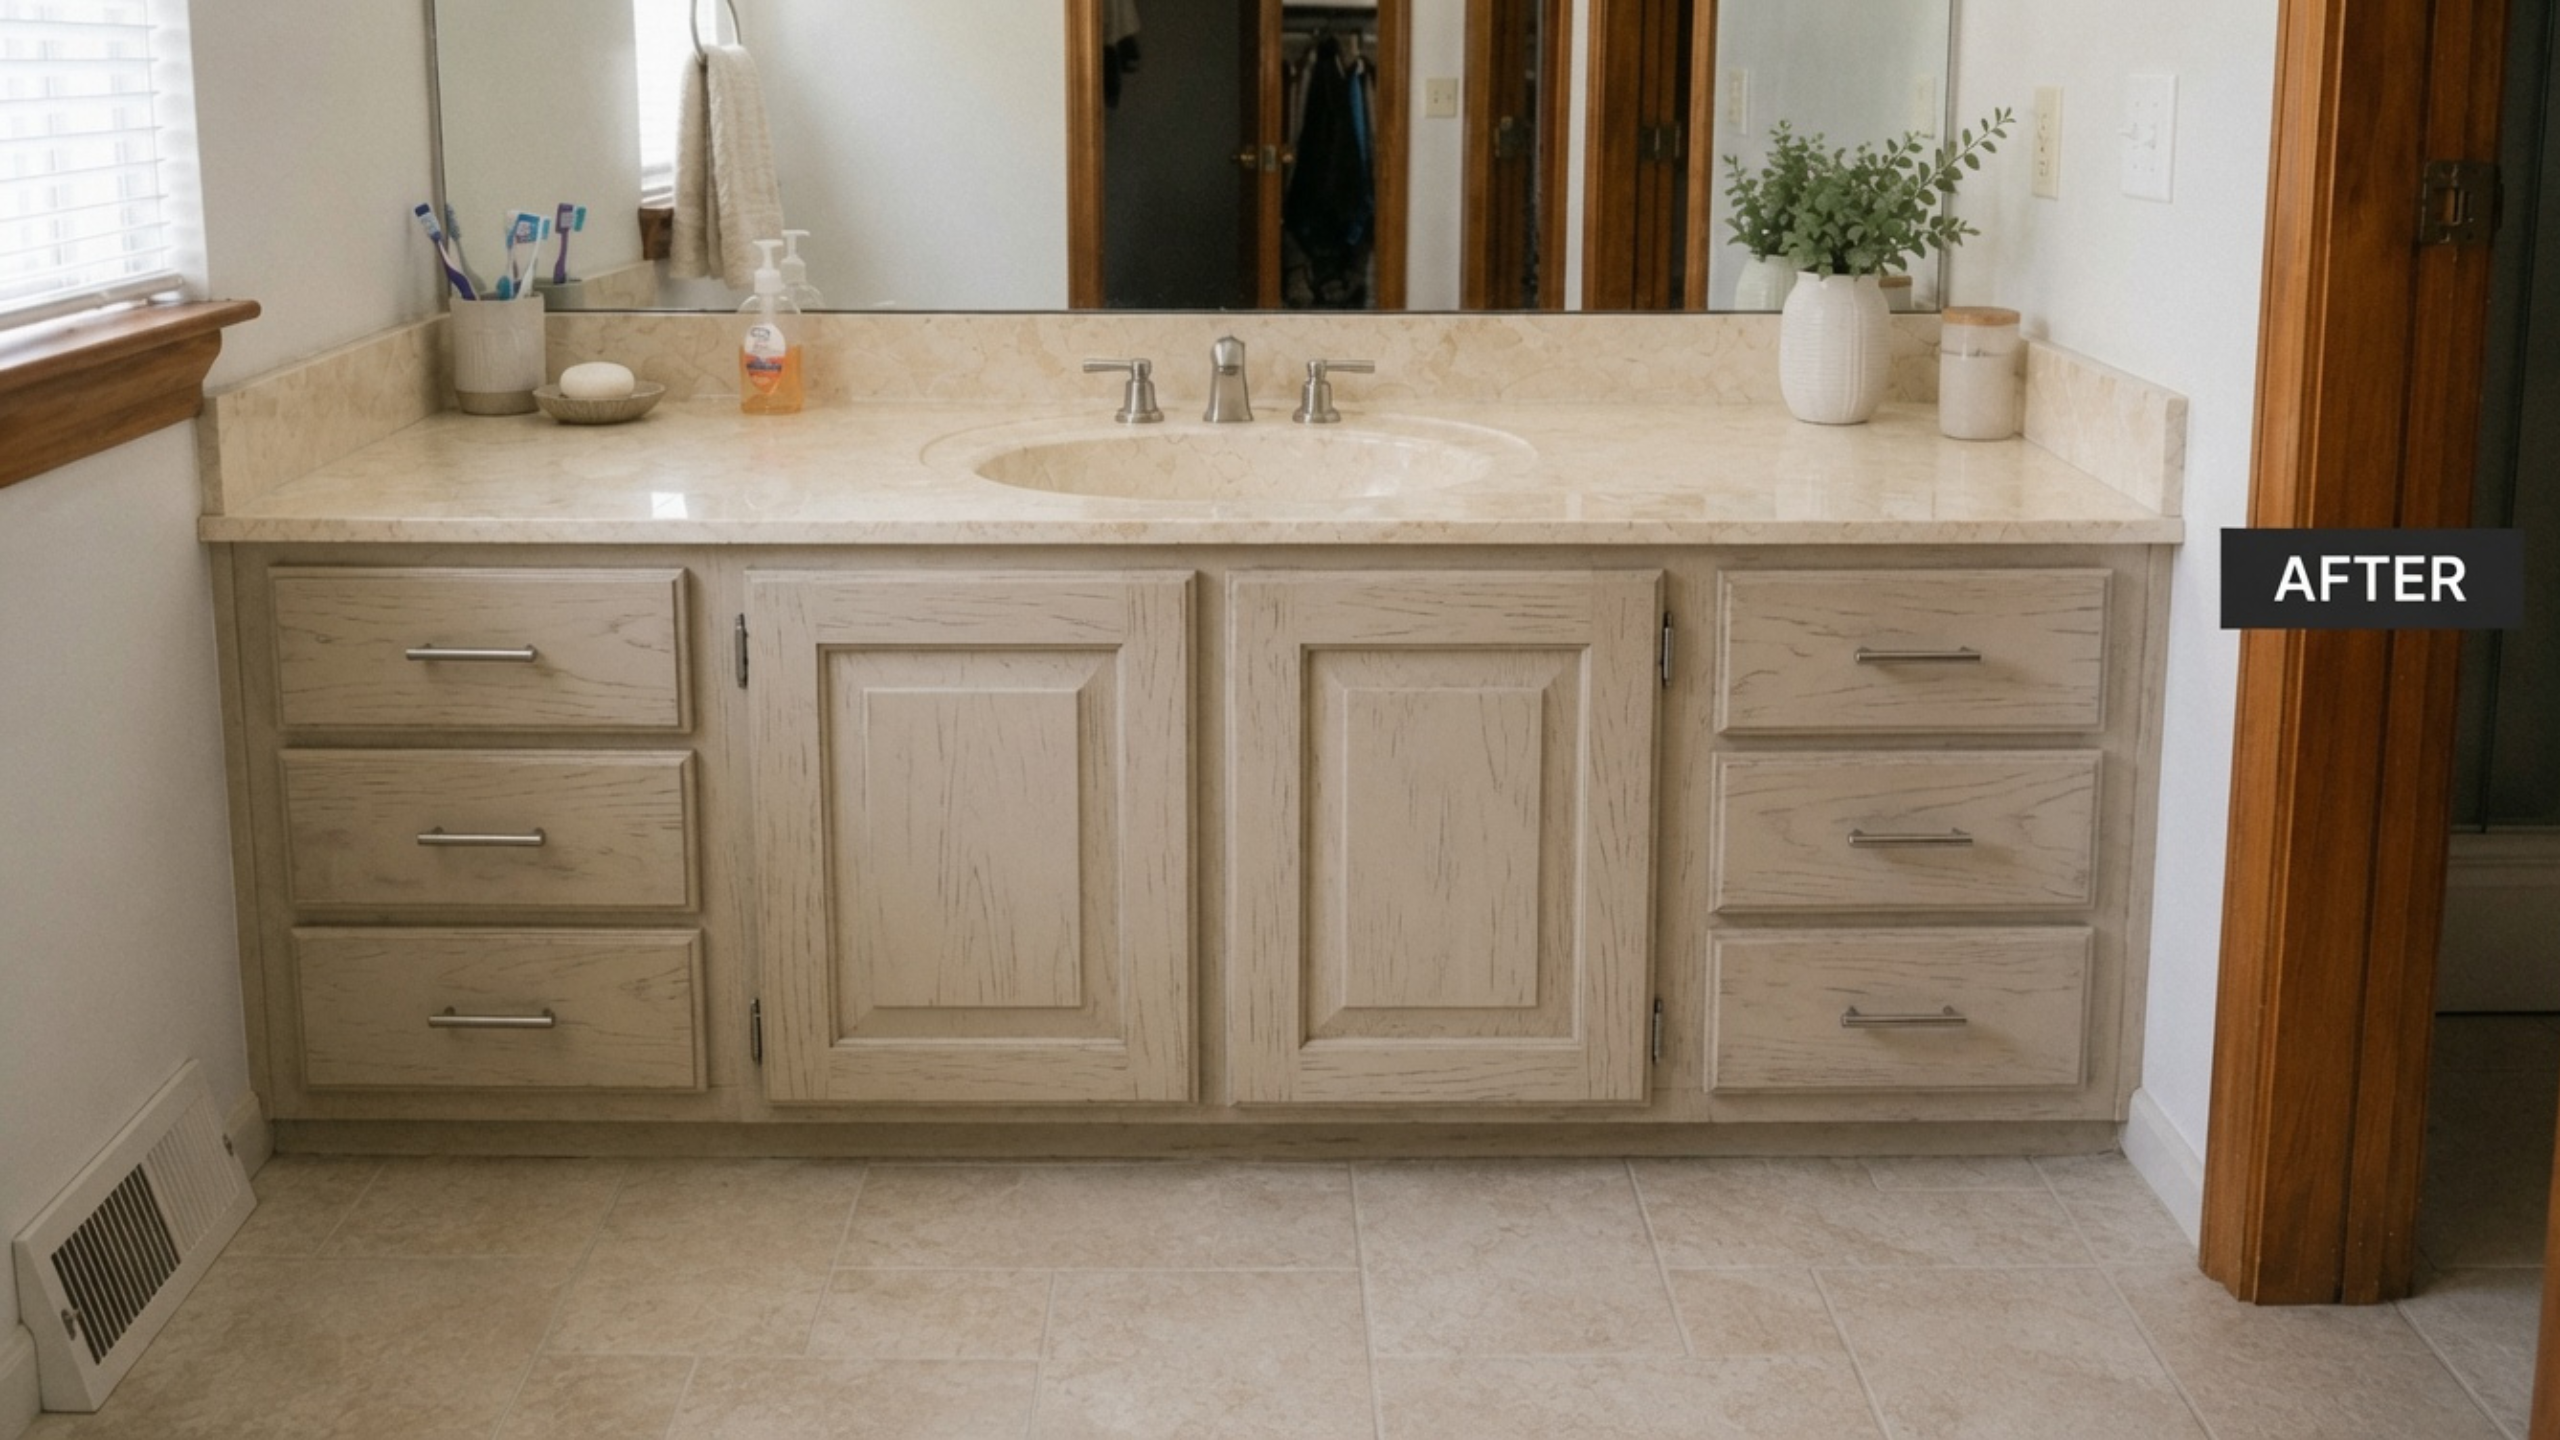
Keeping the top may also allow the plumbing and mirror to remain undisturbed. If you decide to replace the mirror or light bar, wall repair, primer, and paint become additional costs, but they are not unavoidable parts of keeping the countertop.
There is also no test that tells you in advance how you will feel about the result. Some people stop noticing the yellow within a month of the noise around it being removed. Others look at it every morning and pay for the top two years later. That one stays unresolved until the work is done, which is worth knowing before you choose the cheaper route for the reason that it is cheaper.
Where These Jobs Go Wrong
The complaints show up a few weeks in, not on the first day. The new faucet goes on and the old stop weeps behind the cabinet door. The base gets painted and the swollen toe kick still reads as swollen. The new top goes in an inch higher and there is a bare strip of wall above the old paint line. The mirror comes down and the light is no longer centered on anything.
None of these are hard problems on their own. They are expensive because each one turns up after the step that would have made it easy.
Common Questions About 1980s Bathroom Vanities
Can the yellow be polished out of a cultured marble top?
No. Polishing compounds and light wet sanding can restore gloss and remove shallow scratches, which is normal repair work. They will not reliably reverse age-related yellowing in the resin or coating, although surface deposits and stains should be cleaned off before the condition of the top is judged.
How thick is the gel coat on a cultured marble vanity top?
Manufacturer repair guidance puts it at 30 to 50 mils, or 0.030 to 0.050 inch, about the thickness of a dime. Beneath the clear gel coat is a pigmented resin-and-mineral composite, but the exact distribution of color and veining varies by manufacturer.
Is reglazing a vanity top worth it?
Sometimes. It holds up better on the deck than in the bowl, because standing water and daily scrubbing concentrate around the drain. If the bowl is your main complaint, the coating is going where it wears fastest.
Can I paint a 1980s oak vanity?
Yes, if the box is sound or the soft parts are replaced first. Degrease, repair, scuff sand, use a bonding primer, then a cabinet-grade enamel. Leave the doors off until the finish cures, which takes days rather than hours.
Why can replacing just the countertop get expensive?
The mirror usually rests on the backsplash and is often glued to the wall with mastic. When it does not come off clean, the job grows to include wall repair, primer, and paint.
Will a new faucet fit my old top?
Measure center to center between the outer holes first. Single-hole, 4-inch centerset, and 8-inch widespread are the common patterns, and they are not interchangeable without a deck plate or a new top.
Does the flooring go under the vanity?
It depends on the flooring. Tile and glue-down vinyl can run underneath. Floating click-lock floors need expansion space at fixed objects and should not be trapped under a cabinet, so the vanity goes in first and the floor is fitted around it.
Is it cheaper to replace the top or the whole vanity?
It depends on the box. A new top is cheaper when the cabinet is sound and the height is staying the same. Full replacement is usually better value when the base has failed, since a new top on a failing cabinet buys nothing.
Sources and data
- Cultured marble repair procedures, Multi Tech Products: clear gel coat of 30 to 50 mils over the colored surface, and accepted repair methods.
- Countertop Specialty, cultured marble repair: polishing and wet-sanding practice, and the consequence of sanding into the color layer.
- NFPA 70, National Electrical Code: 210.8(A)(1) GFCI protection, 210.11(C)(3) bathroom branch circuit, 210.52(D) receptacle location at the basin.
- Leviton, GFCI installation history: bathroom receptacle GFCI requirements and the 1975 NEC change.
- Shaw Floors, vinyl planning and installation guidance: expansion space required around fixed objects for floating installations.
- Benjamin Moore, waterborne alkyd guidance: approximately five days to full cure, against three to four weeks for latex acrylic.
- Adopted code editions, local amendments, and manufacturer instructions vary. Confirm all three before ordering materials or starting work.