Site Analysis in Architecture: The Work You Do Before You Draw
A straight, practical guide to reading a site so your design actually fits the place.
Why the Site Comes First
Most bad projects fail long before the drawings. They fail when someone shrugs at the site and says, “We’ll figure it out later.”
Later usually means: surprise rock, surprise water, surprise neighbors, surprise costs.
Good site analysis is simple: you walk the land, you listen, you measure, you ask questions, and you let the answers change your design. It is the cheapest insurance you have against headaches during construction.
It also ties straight into the rest of the groundwork work you do on real projects: soil, foundations, drainage, and access. That whole cluster sits in our main hub here: Construction Site & Groundwork Guide.
Who this is for
Students, juniors, and working architects who want something more useful than a pretty “sun and wind” diagram.
What Site Analysis Actually Is
Forget the textbook definition. In practice, site analysis is you asking one basic question:
“If we build here, what will fight us and what will help us?”
You are looking at the real forces on the site: ground, water, sun, wind, people, rules, and existing structures. Then you decide:
- What to protect.
- What to avoid.
- What to use.
- What to fix before it breaks the project.
On the technical side, this merges straight into foundation design, soil analysis, and site investigation. If the ground is wrong or the water is misread, everything else is decoration.
What You Always Check
The Core Things You Read on Every Site

- Slopes, high spots, low spots.
- Natural drainage paths.
- Signs of movement, erosion, or previous cut and fill.
Weather and sun

- Where the sun hits hard in summer.
- Where you can steal free heat in winter.
- Prevailing winds and ugly wind tunnels between buildings.
Access and movement
- How people actually arrive, not how the drawing says they do.
- Service and emergency access that will be a problem if you ignore it.
- Desire lines: the short cuts people already take.
Neighbors and context
- Heights, massing, and rooflines around you.
- Windows facing you, noise sources, smells.
- Views worth framing. Eyesores worth hiding.
Rules and hidden limits
- Zoning, setbacks, height caps.
- Easements and rights of way.
- Flood zones, heritage rules, weird local quirks.
Utilities and structure
- Where you can tap water, sewer, storm, power, and gas.
- How that ties back into structural choices and cost. This is where a lot of the work overlaps with your structural analysis.
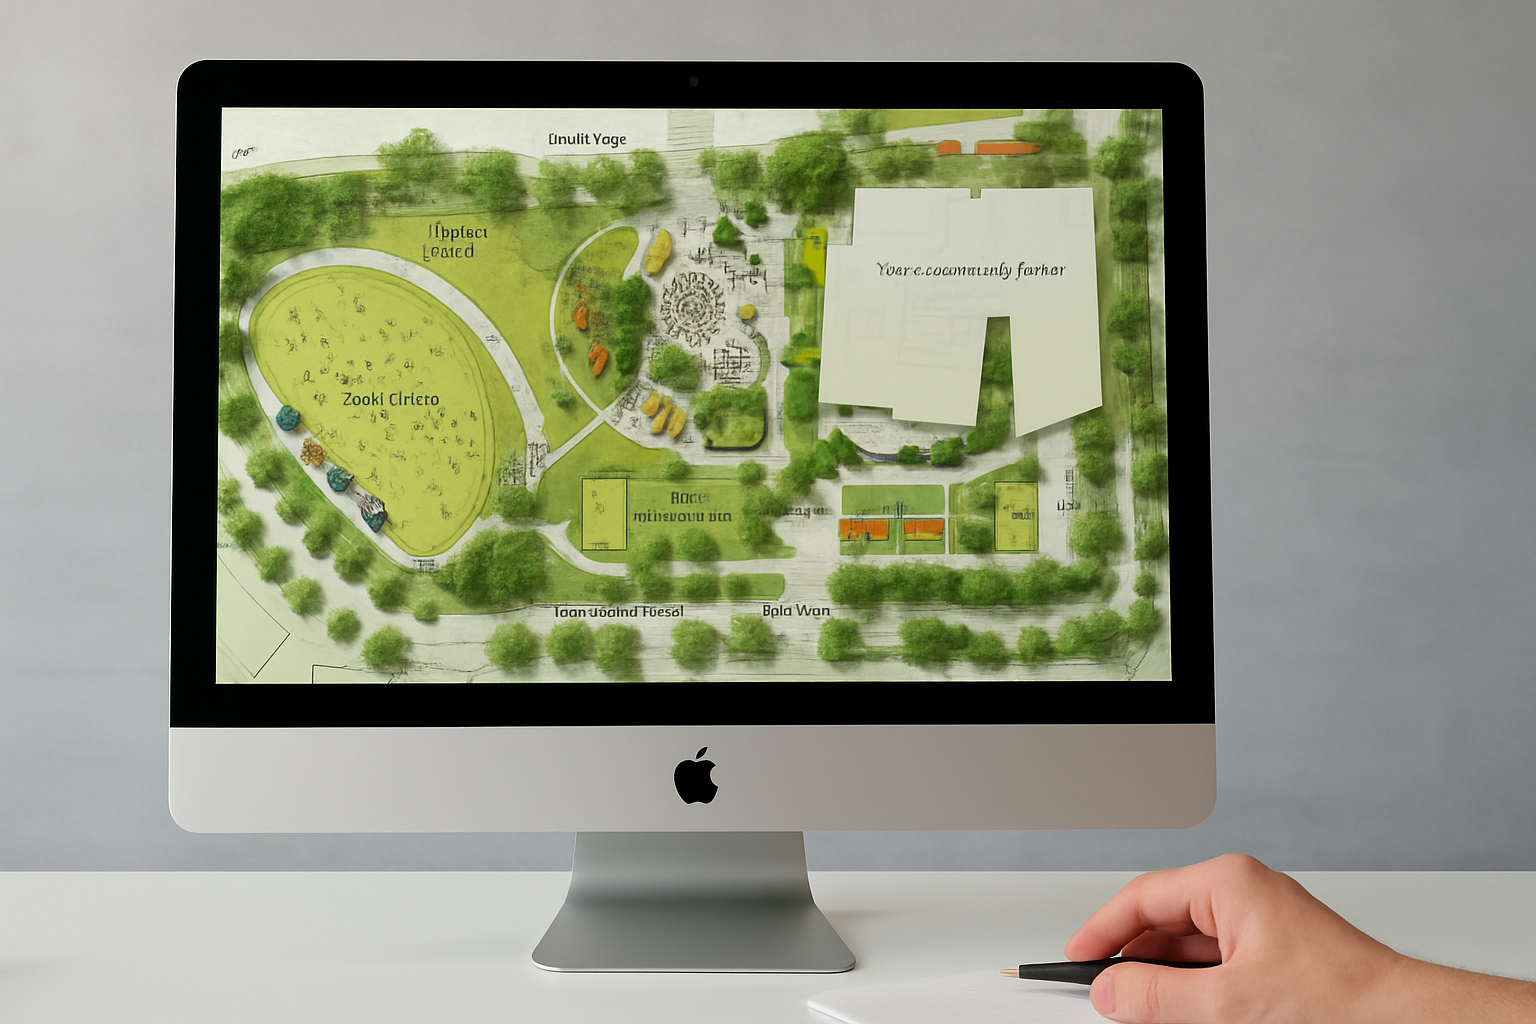
How You Turn a Messy Site Into a Clear Drawing

On site, everything feels noisy – slopes, mud, random paths, neighbors, trucks. On paper, it has to read clean in 10 seconds. This is how I go from “what is this mess?” to a simple, honest site diagram that actually helps design decisions.
If you want the deeper architectural side of this (climate, context, and zoning), have a look at this site analysis guide for architecture students once you’ve nailed the basics.
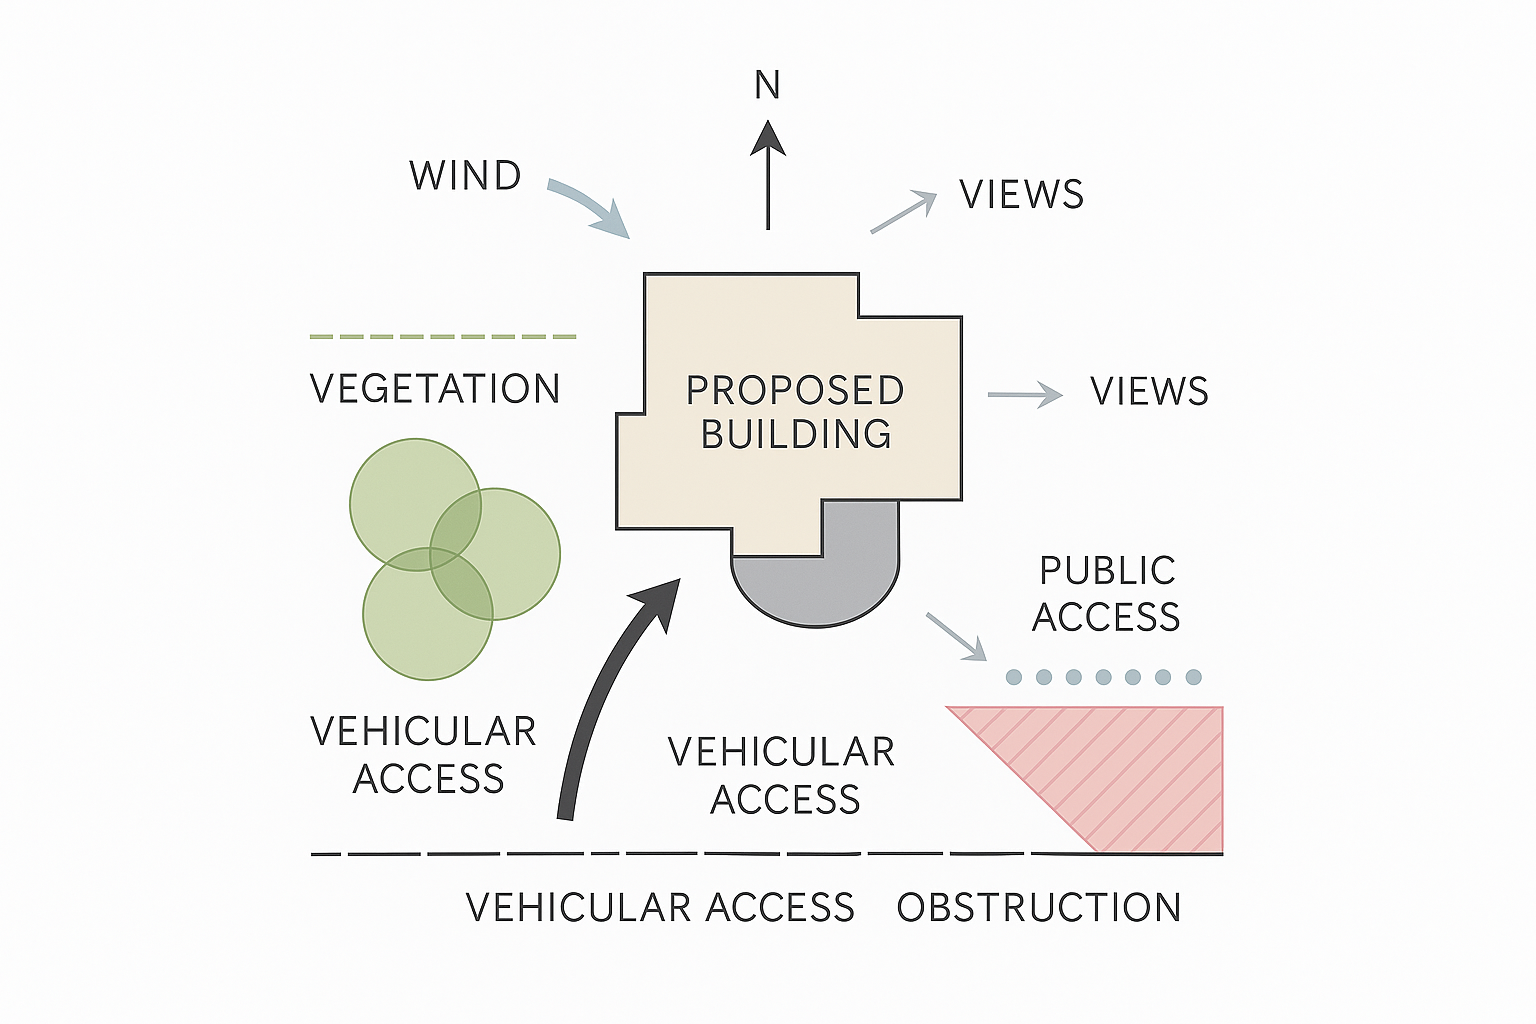
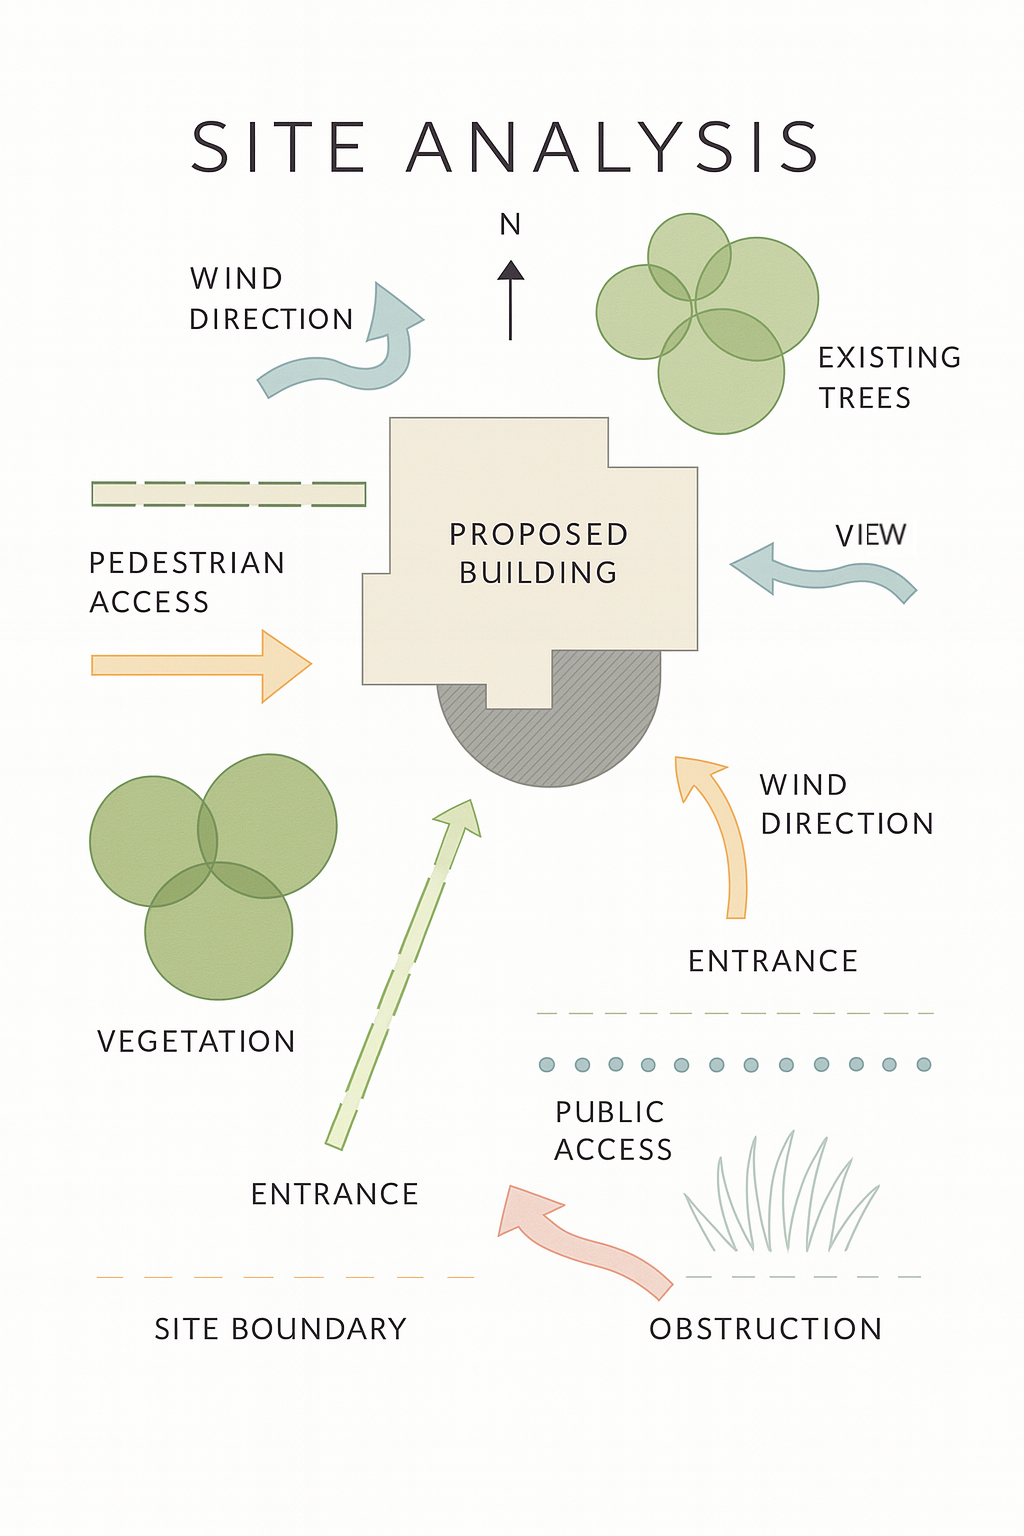
1. Start with the boundary
Don’t begin with trees. Don’t begin with buildings. Start with the legal box.
- Draw the site outline first.
- Use a clear dashed line and label it: SITE BOUNDARY.
- Keep everything – slopes, access, utilities, views – inside or right around that frame.
If the boundary is wrong or vague, every dimension and setback check later becomes pain.
2. Lock in north and scale
Next thing: make the drawing honest.
- Add a north arrow that’s obvious, not a tiny decoration.
- Drop in a simple scale bar (no need to get fancy: 0–5–10 m or 0–20–40 ft works).
- Check that north on your drawing matches reality (survey, map, or GIS).
If north or scale are wrong, every sun, wind, and shadow decision you make after is a lie.
3. Pin the real access points
Forget the ideal “architectural entry” for a second. Draw how people and vehicles actually show up.
- Mark PUBLIC ACCESS where visitors, clients, or users really enter.
- Mark SERVICE / EMERGENCY ACCESS if trucks, garbage, loading, or fire trucks matter.
- Use simple arrows and short labels – don’t over-illustrate it.
On a good site plan, you can tell in two seconds where a delivery truck would go and where a kid would walk.
4. Map sun and wind, not vibes
This isn’t about “nice light” – it’s about where you’ll cook in July and freeze in January.
- Draw a simple sun path: morning → midday → evening.
- Shade or hatch areas that get hammered by summer sun or stay cold and dark in winter.
- Add one strong arrow for prevailing wind. That’s usually enough.
Later, when you’re placing patios, glazing, or entry doors, this simple diagram saves you from a lot of regret.
5. Show how land and water actually behave
Now you deal with ground – slopes, highs, lows, and water. This is the part that will hurt you if you ignore it.
- Mark high spots and low spots with quick notes or small spot elevations.
- Use short arrows to show the natural drainage paths – where water wants to go when it rains.
- Highlight any pooling areas, erosion scars, or obvious previous cut and fill zones.
This is where good grading and foundations start. If you want to see how this ties into actual footing and foundation choices, this foundations overview is a good next step.
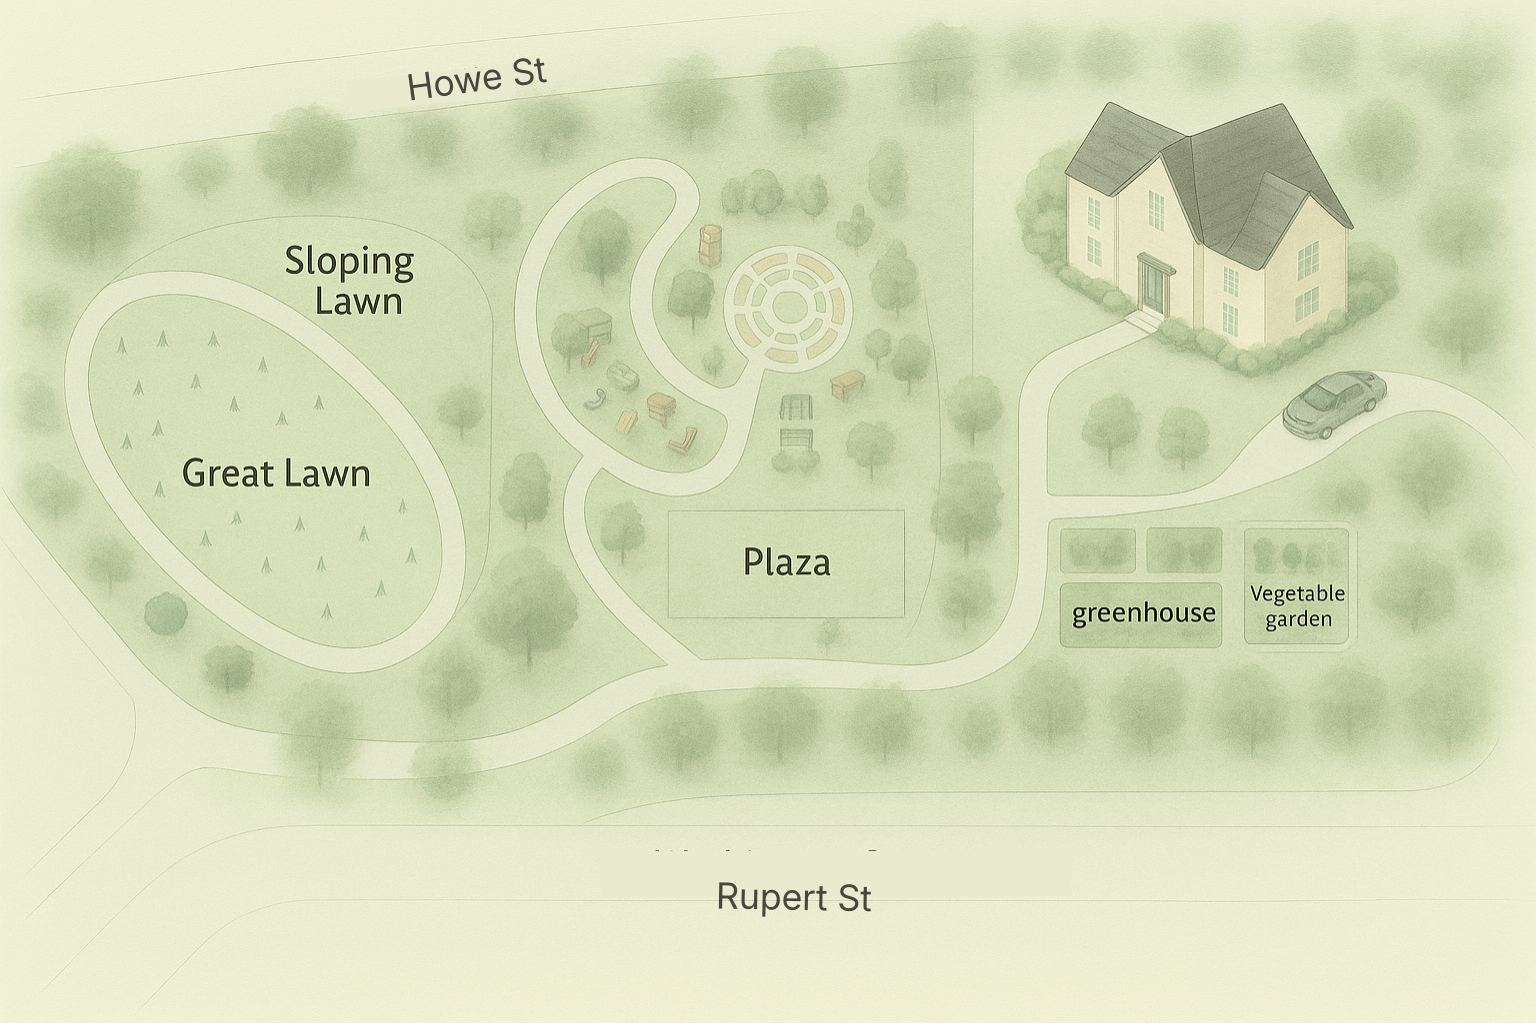
6. Drop in the big stuff, not every leaf
Don’t draw every bush. Draw what affects the building.
- Outline neighboring buildings and, if relevant, note approximate heights.
- Add major trees, landscape zones, and “do not touch” items (protected trees, utilities, easements).
- Show noise, smells, and views with simple icons and few arrows: LOUD ROAD, GOOD VIEW, UGLY BACKSIDE, etc.
You’re not making an artistic rendering. You’re making a fast decision tool for orientation, privacy, and massing.
7. Label like you’re explaining to a tired studio critic
Assume the person reading this had a long day and zero patience.
- Keep labels short and blunt: MAIN ACCESS, TRUCK LOADING, NOISE FROM HIGHWAY, GOOD VIEW, STRONG WEST SUN.
- Use one font, one basic text size, and a clear hierarchy (titles bigger, notes smaller).
- Make sure your drawing can be read from a distance – decent contrast, no grey-on-grey.
If a stranger can understand your site in 10 seconds without you talking, the drawing is doing its job.
8. Stop before it turns into a wall of ink
The last step is knowing when to put the pen down.
- If everything is bold, nothing stands out.
- Let a few things speak loudly: boundary, access, sun, wind, and slope.
- Keep extra details light so the main story is clear.
You’re not trying to show everything the site has. You’re trying to show the 10% that actually changes your design and your foundation decisions.
Zoom Out, Then Zoom In
Macro and Micro: Two Scales, Same Site

Macro: Where the Site Sits in the World
Macro site analysis is the wide shot. Region, city, climate, big moves. It lives in things like:
- Climate zone and weather patterns.
- Regional topography and flooding patterns.
- Major roads, transit, and infrastructure.
- Zoning, long-term plans, future development pressure.
If you want a dedicated deep dive, we have a separate piece on this: Macro Site Analysis.
Micro: The Actual Plot You Will Touch
Micro analysis is the close-up. The exact ground your foundation will sit on, not the whole district:
- Where water really runs after a storm.
- Where the soil is soft, hard, filled, or questionable.
- Which trees are worth keeping.
- Which neighbor windows stare straight into your bedrooms.
- Noise, dust, smells, and delivery patterns.
Macro tells you if the project belongs in this area at all. Micro tells you how to shape it so it works on this exact patch of land.
10 Steps That Keep You Out of Trouble
How to Run a Site Analysis in Real Life
Here is a simple sequence you can repeat from job to job. Use it as a spine, not a prison.
- Go to the site.
Walk it. Listen. Notice smells, noise, mud, wind. This first visit is where most of your instincts come from. - Document everything.
Photos, videos, quick sketches, rough dimensions. Label shots the same day or you will forget what you were looking at. - Get the hard data.
Survey, soil reports, zoning maps, flood maps, utility plans. This backs up or corrects what your eyes guessed. - Map constraints.
Property lines, setbacks, easements, height limits, bad soil zones. Draw a simple “no-go / maybe / good” diagram. - Trace sun, wind, and water.
Rough sun paths, dominant winds, obvious drainage lines. Mark hot spots, cold corners, and places that always stay wet. - Study access and circulation.
How cars arrive, where pedestrians actually cross, truck turning circles, and emergency access routes. - Read the neighbors.
Heights, window positions, material language, and any sensitive edges like backyards or schools. - Check utilities and services.
Where can you connect, and what needs upgrades. Ugly reality, but it drives a lot of planning and cost. - Look at culture and community.
Who is here now. How they use the surroundings. Any regular events, markets, or patterns that touch the site. - Simplify into a few design rules.
For example: “Build high on the north edge, protect the existing tree, keep parking away from neighbors, capture the sunset view.” These rules then steer your first massing options.
If you want to see this done step by step on a real residential lot, with photos and diagrams, have a look at: Step-by-Step Site Analysis for Residential Architecture. It shows the full process on a single house site.
People, Culture, Daily Life
Cultural and Social Context: Designing for Real Humans
A site is never just dirt. It is routines, shortcuts, arguments, and habits. If you ignore that, you end up with a technically correct building that nobody loves or uses properly.
What to watch for
- Who passes by during the day and night.
- Where people pause, smoke, talk, wait, or gather.
- Who might feel pushed out by your project if you get it wrong.
Sometimes this is as simple as talking to three local shop owners and one neighbor. They will tell you more in ten minutes than a week of abstract “community diagrams.”
From “Empty” Lot to Anchor Detail
Seeing Potential in Small Things
Every architect has seen the “boring” site. Flat, scrubby grass, nothing special. Easy to write off.
Do not do that too quickly.
You might have a lone tree, a rock outcrop, a slight rise, or a glimpse of a distant skyline. One small decision, like framing that tree in a key window or wrapping a path around that rock, can give the whole project a memory hook.
You do not design the entire building around one stone. But you learn to notice these details and ask, “Is there something here I can use instead of wiping it out and starting from zero?”
Why This Work Should Take Time
Do Not Rush the Site Walks
One visit gives you a rough picture. Two or three visits at different times will change your mind.
- Morning: glare, school traffic, deliveries.
- Midday: heat, shade, noise at its worst.
- Evening: shadows, security, how the place feels when it is quiet.
I have seen “perfect pool locations” turn into drainage bowls after a rain. I have seen quiet corners that become terrifying at night. None of that shows up in a single sunny afternoon visit.
Quick Checklist and Fast Answers
Site Analysis Essentials at a Glance
Checklist you can print and take to site
- Topography: high and low points, slopes, drainage paths.
- Soil and ground: visible fill, rock, soft spots, wet areas.
- Sun: where you get harsh exposure, where you can capture light.
- Wind: directions, shelter, problem corners.
- Noise and smell: roads, industry, bars, schools.
- Views: what to frame, what to hide.
- Access: pedestrian routes, cars, deliveries, emergency access.
- Neighbors: heights, windows, sensitive edges.
- Rules: zoning, setbacks, height caps, easements, flood zones.
- Utilities: water, sewer, storm, power, gas, telecom.
Tools That Make It Easier
Tools Architects Actually Use for Site Analysis

On site
- Phone camera and video. Take more photos than you think you need.
- Sketchbook. Fast sketches beat perfect drawings at this stage.
- Basic measuring tools. Laser measure, tape, and a level.
- Survey gear if you are in the field with a crew. For a full list of typical tools, see: Surveying Tools and Equipment.
Back at the desk
- Google Earth or similar for aerial views.
- Simple 3D tools like SketchUp or BIM to test massing on the site.
- Basic overlays in Photoshop or similar for sun, wind, and circulation diagrams.
- GIS or local open data when you need flood maps, soil maps, or zoning.
You do not need every fancy tool on earth. Start with a clean set of photos, simple sketches, and one honest 3D massing model. Add heavier software only when the project really needs it
FAQ
What is the very first move?
Go to the site with no drawings and no agenda. Walk, look, listen, and write down what bothers you and what you like. That first raw list is often the most honest.
How detailed should my report be?
Detailed enough that another team member can understand the site without ever visiting, and short enough that they actually read it. One clean summary, a handful of clear diagrams, and a photo set are usually enough.
Which tools should I start with as a student?
Phone photos, a sketchbook, Google Earth, and a simple 3D model in SketchUp or your BIM tool. Learn to read the site with your own