Most 1910s houses do not get wrecked by age first. They get wrecked by bad renovation.
The house does not need to stay frozen in time. It does need the right parts left alone. A lot of people miss that, gut too much, and lose the thing that made the house worth buying.
The better move is selective. Keep what gives the house its shape and weight. Fix what is failing. Know the difference before you start tearing things out.
If you have not looked at the risk side yet, start with common problems in 1910s houses. That page explains where the money usually goes wrong. This page picks up after that and deals with how to update the house without flattening it.
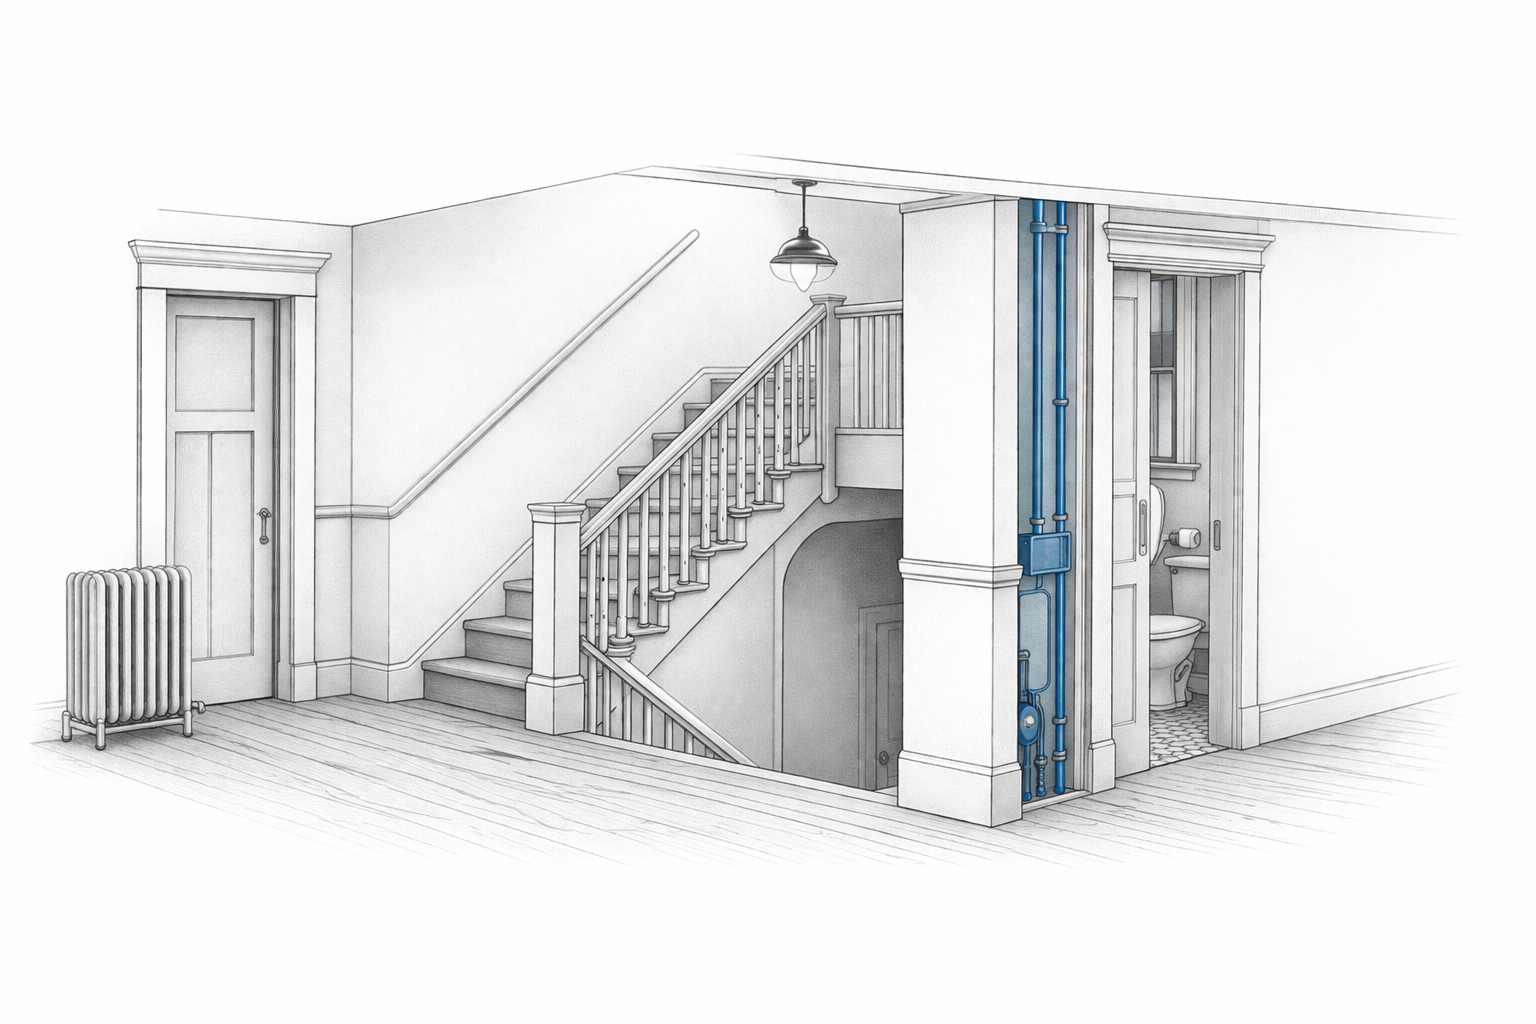
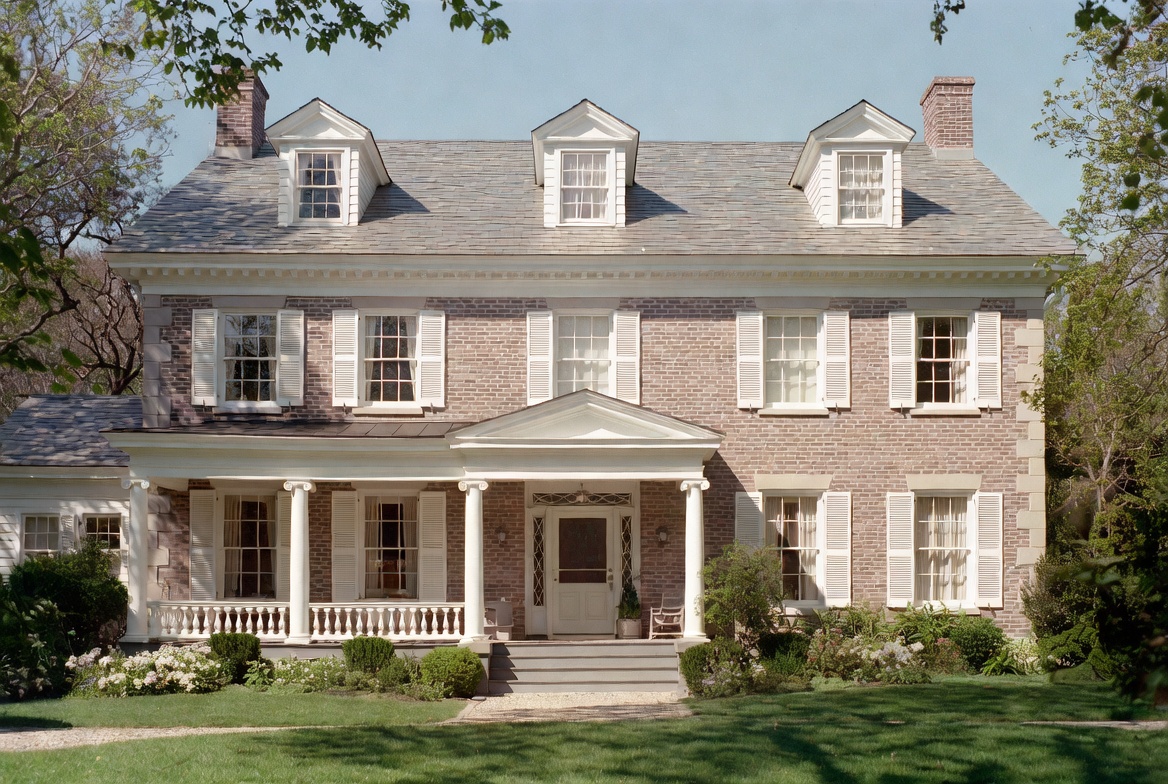
Illustration by ArchitectureCourses.org. A preservation-minded service upgrade inside a 1910s house, keeping the original interior legible while improving only one targeted wall zone.
What Should Stay and What Can Change
| Keep first | Can change carefully | Usually gets ruined too fast |
|---|---|---|
| Original trim, doors, built-ins, stairs, flooring, fireplace surround | Electrical, plumbing, insulation, kitchen work zones, bathroom service areas | Room sequence, porch character, window proportions, wall thickness, facade depth |
| Original plaster when stable | Damaged wall sections where systems need access | Whole-house drywall replacements done for convenience |
| Original windows when repairable | Selective replacement where condition truly requires it | Cheap insert windows that shrink the glass and flatten the house |
| Old room hierarchy | Openings that solve real circulation problems | Full open-plan gut moves that erase the house |
The point is not to preserve everything. The point is to stop tearing out the parts that give the house its weight.
Start With the Parts That Decide Everything Else
The first round of work should almost never be cosmetic. It should be the parts that decide whether the rest of the renovation makes sense.
That usually means:
- water entry and drainage
- roof edges and porch condition
- electrical system mapping
- plumbing condition and service locations
- foundation or floor movement if active
- insulation and air leakage paths
People get into trouble when they spend early on paint, flooring, cabinets, and decorative finish work before they know whether the wiring, drains, or roof edges are about to force the walls back open.
That is why old-house renovations so often feel expensive twice. The first budget goes into what shows. The second goes into what should have been checked first.
If your house already shows signs like patched service rooms, weak pressure, soft porch trim, or repeated wall cracking, go back to common problems in 1910s houses before you finalize any finish decisions.
Better Fixes, Worse Mistakes
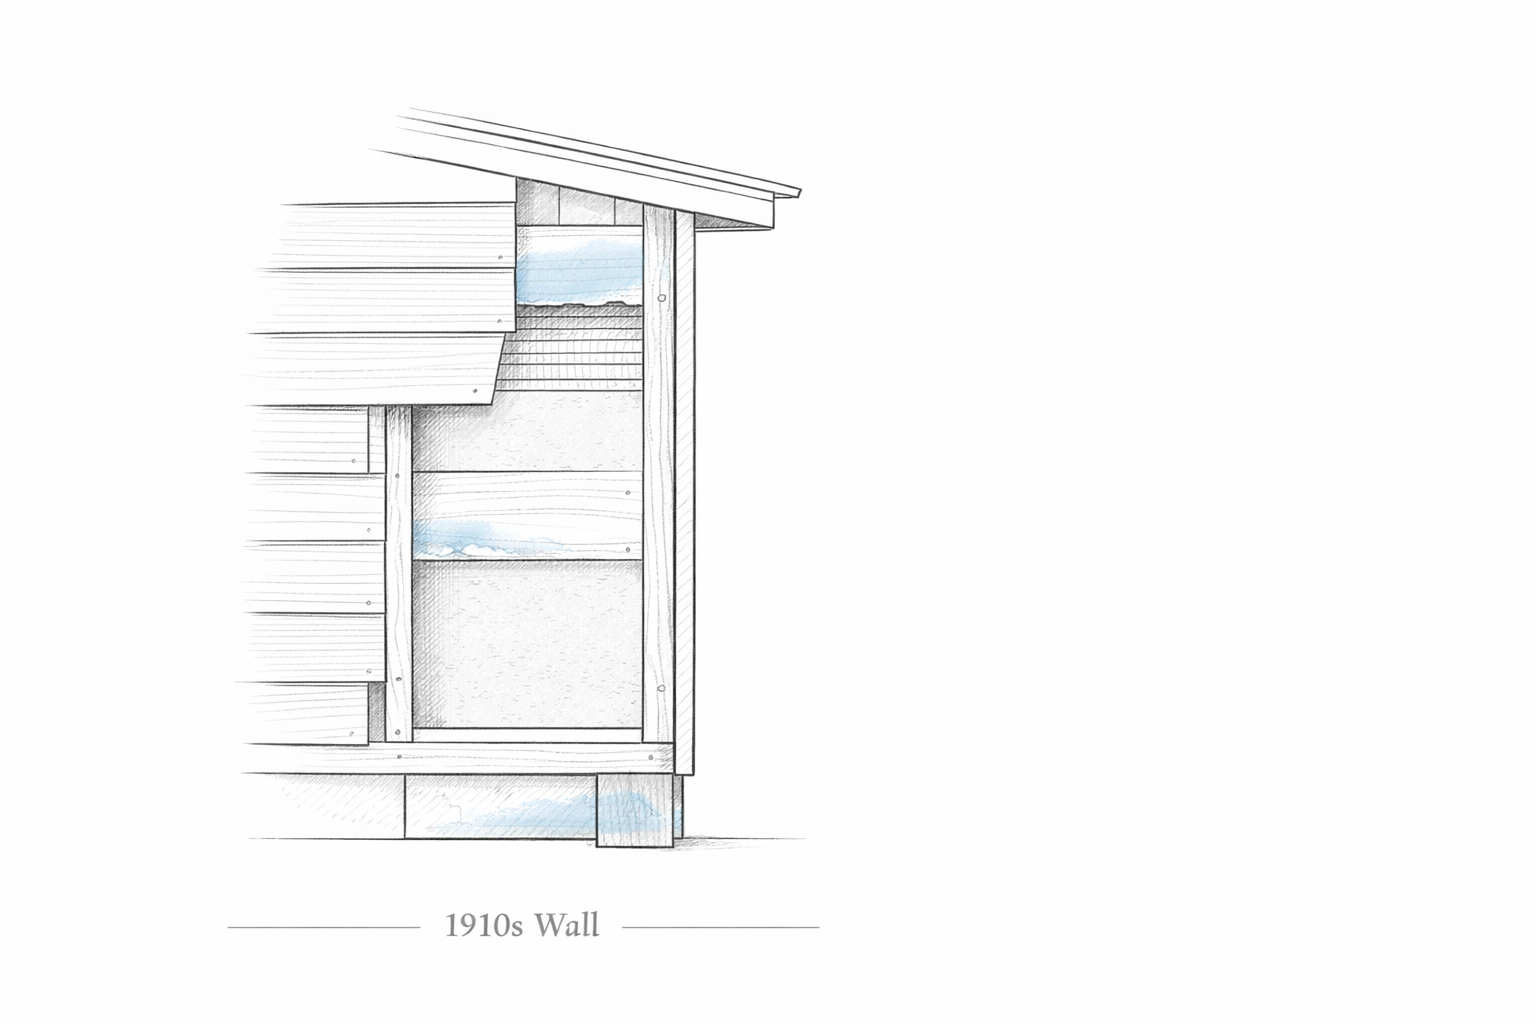
Illustration by ArchitectureCourses.org. Typical 1910s wall section showing where repeated wetting and trapped moisture often build up.
| Do this | Instead of this | Why |
|---|---|---|
| Fix water entry and porch structure first | Repaint and re-floor before the envelope is stable | Cosmetic work does not survive hidden moisture problems |
| Open one strategic wall to understand the house | Assume the framing and services are straightforward | Wrong assumptions are what make the scope jump |
| Keep original windows where condition allows | Replace all windows in one batch on reflex | The wrong windows can damage both comfort and facade quality |
| Preserve room sequence unless there is a real circulation problem | Open everything because open-plan feels newer | A 1910s house often depends on separation and framed transitions |
| Upgrade kitchens and bathrooms around service logic | Move fixtures and walls without respect for the original layout | That is how costs rise and rooms get awkward |
Keep the Parts That Carry the House
In a 1910s house, some elements matter more than others. Not because they are romantic, but because they do most of the work in how the house reads.
The parts worth fighting for are usually:
- door and window trim with real thickness
- built-ins and stair details
- original flooring where it can be repaired
- fireplace surrounds
- porch columns, rails, and entry framing
- plaster walls that are still stable enough to keep
- older doors with better proportions than replacements
Once those pieces go, the house starts reading like a remodel inside an old shell. That is the point where many 1910s renovations stop feeling grounded and start feeling generic.
This matters whether the house leans toward bungalow, Craftsman bungalow, Prairie School, or a simpler revival form. The style language changes a little. The rule does not.
Do Not Flatten the Plan Without a Reason
One of the easiest ways to wreck a 1910s house is to confuse old room separation with bad planning.
These houses were often built with clearer room sequence than later open-plan houses. You move from porch to hall, hall to living room, living room to dining room, dining room to kitchen or stair. That chain gives the house rhythm. It also gives each room a job.
When people start removing walls without understanding that, the house loses its center fast. A dining room stops holding its ground. A stair hall stops being a transition. A living room loses the fireplace wall that organized it. Everything starts looking bigger, but often works worse.
That does not mean you can never open anything. Some openings help a lot. Especially where a kitchen was cut off badly by later service changes. But the move should solve a real problem, not just copy a newer house type.
If you want to understand why older room logic still works, it helps to read the main 1910s house page alongside the earlier house line through 1890s house styles and 1900 house styles. The 1910s did not get rid of room sequence. It simplified it.
Illustration by ArchitectureCourses.org. A typical 1910s house facade showing the first visible exterior changes that usually start to shift the house away from its original character.
Kitchens Should Be Updated Around Service Logic
A lot of 1910s kitchens were work rooms first. That is not a weakness by itself. The problem is that many of them were updated badly in stages, so the room now carries old layout logic, mid-century plumbing decisions, later cabinet moves, and a modern expectation that it should behave like a brand-new open kitchen.
The better move is to update around the service logic instead of fighting it. Keep the working wall where possible. Keep pantry relationships if they still exist. Avoid moving every fixture just because a showroom plan wants a different arrangement.
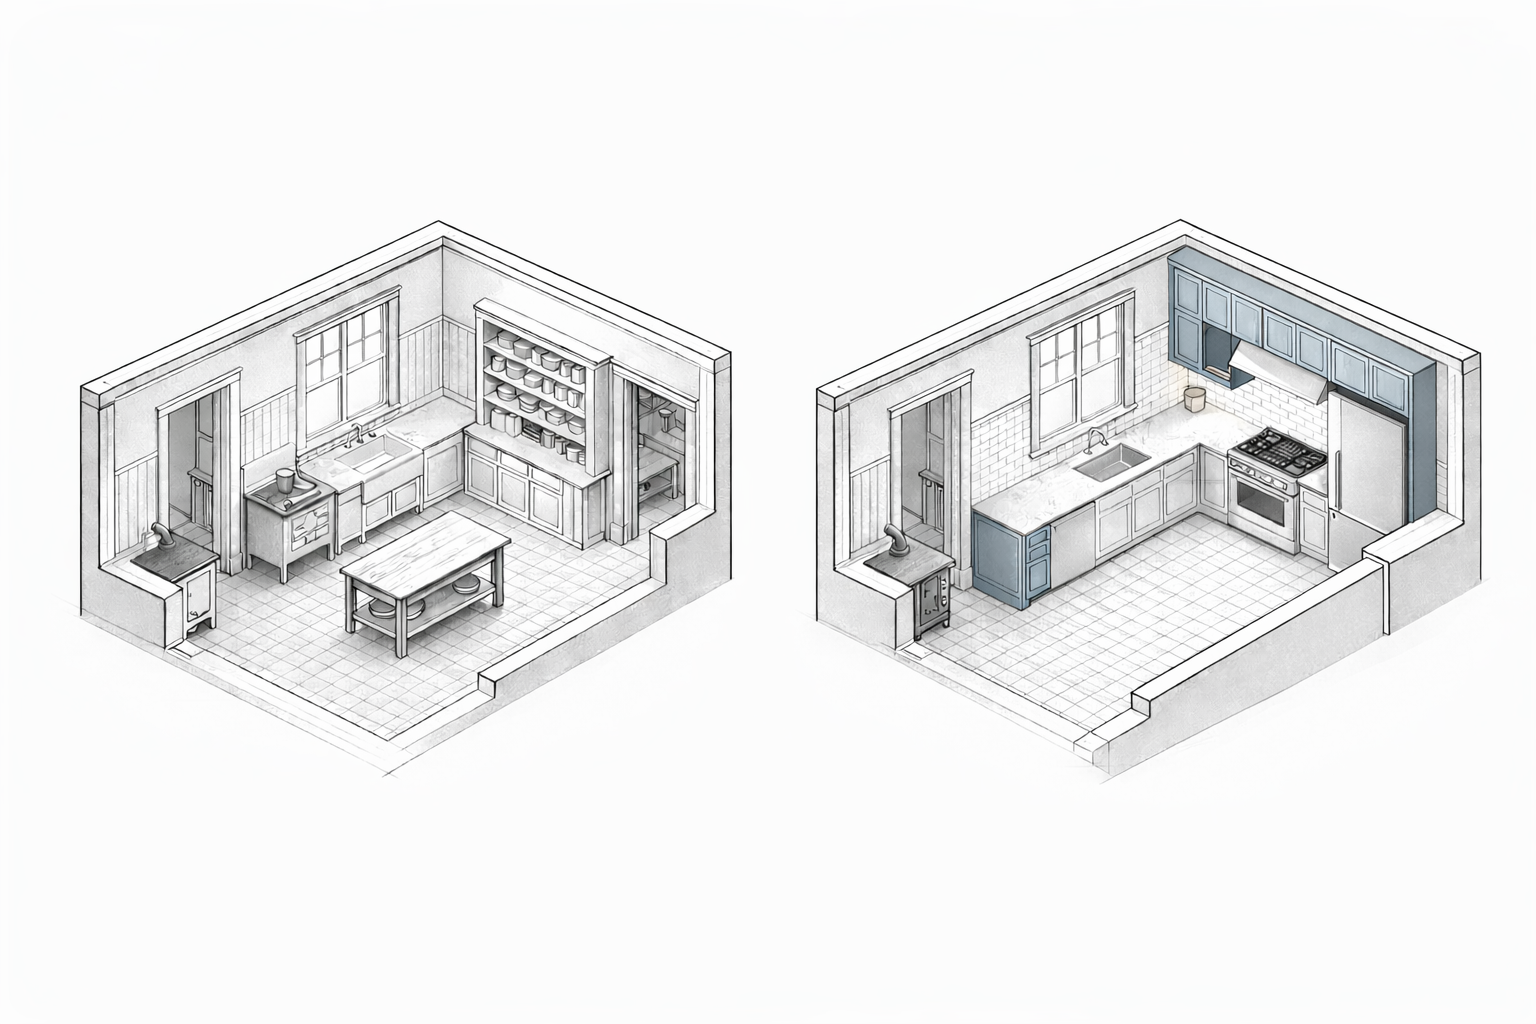
Original kitchen logic on the left, careful 1910s-style update on the right. Image by ArchitectureCourses.org.
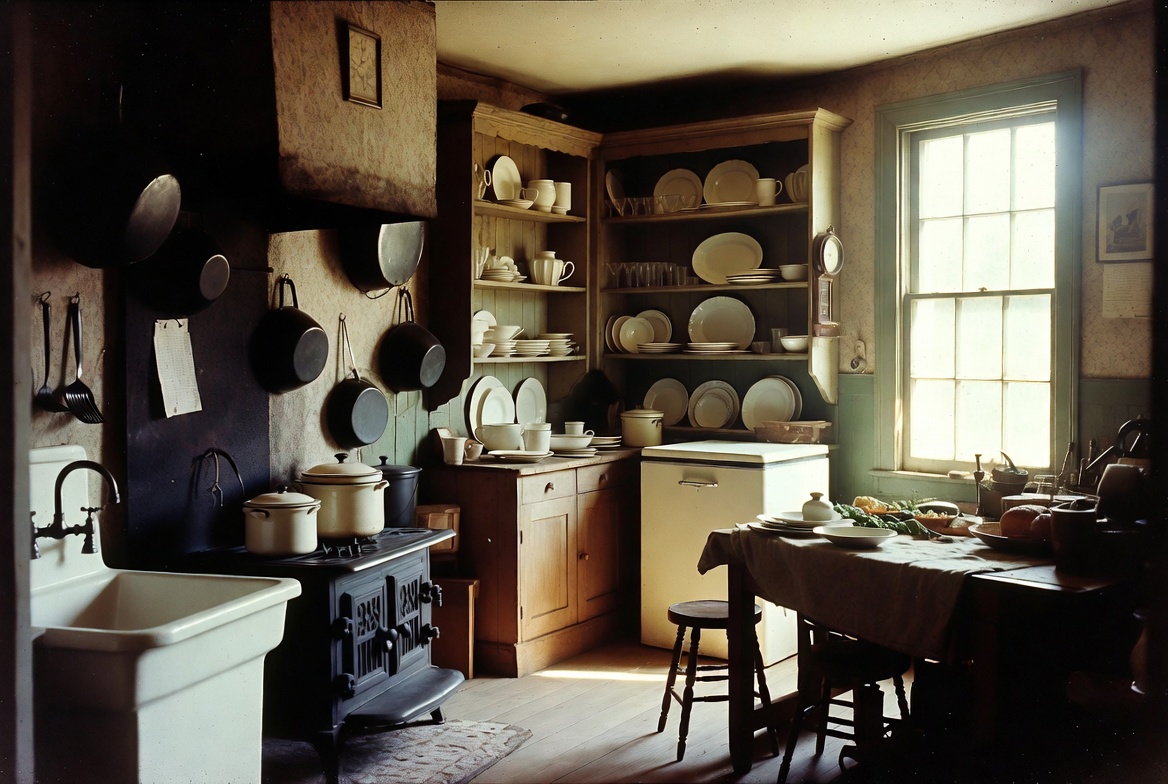
A practical early-20th-century kitchen with a cast-iron range, open shelves, and work-focused storage. Image by ArchitectureCourses.org.
If the room is already compromised, you may need a harder reset. But if the shell still makes sense, the best updates usually make the kitchen work better without pretending it was always supposed to be a giant entertaining space.
Bathrooms Need Restraint More Than Drama
Bathrooms in 1910s houses are usually small because the plumbing logic was compact. Fixtures were grouped tightly for a reason. The room was not meant to sprawl.
That is why a lot of bad bathroom renovations in these houses feel awkward. The designer is trying to force a larger, newer room type into a smaller service shell. Fixtures get crowded. Circulation gets worse. Storage becomes clumsy. Original proportions disappear.
The stronger move is to work with the tight plumbing logic where you can.
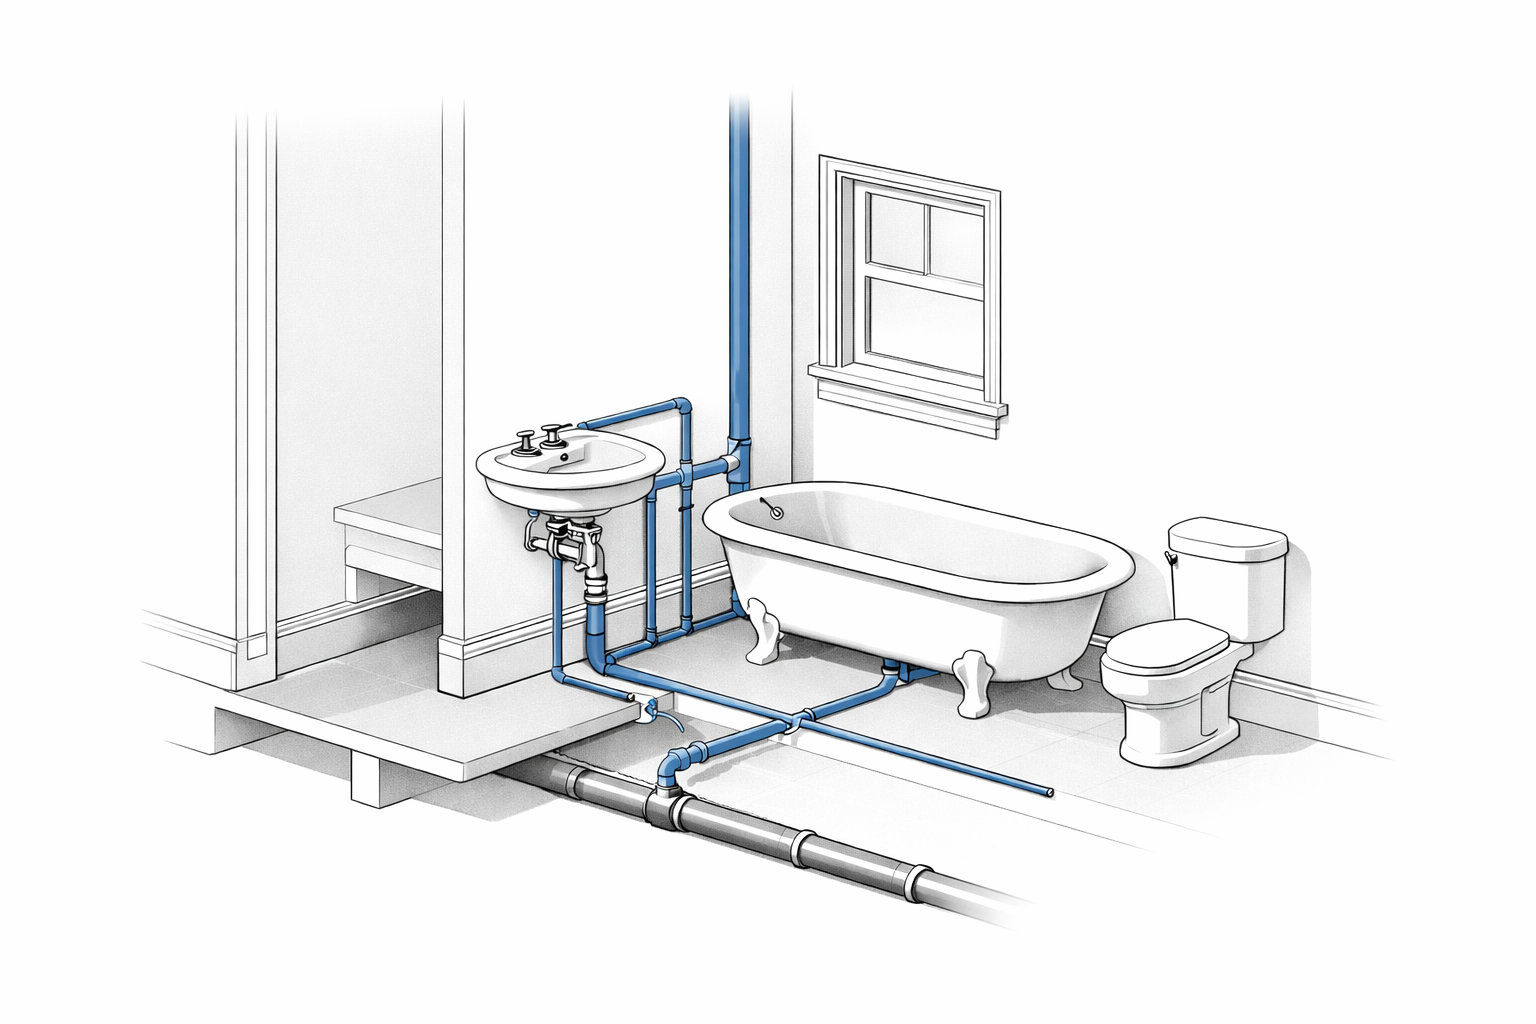
Illustration by ArchitectureCourses.org. A typical 1910s bathroom grouped fixtures close to one plumbing stack to keep waste and supply runs short and practical.
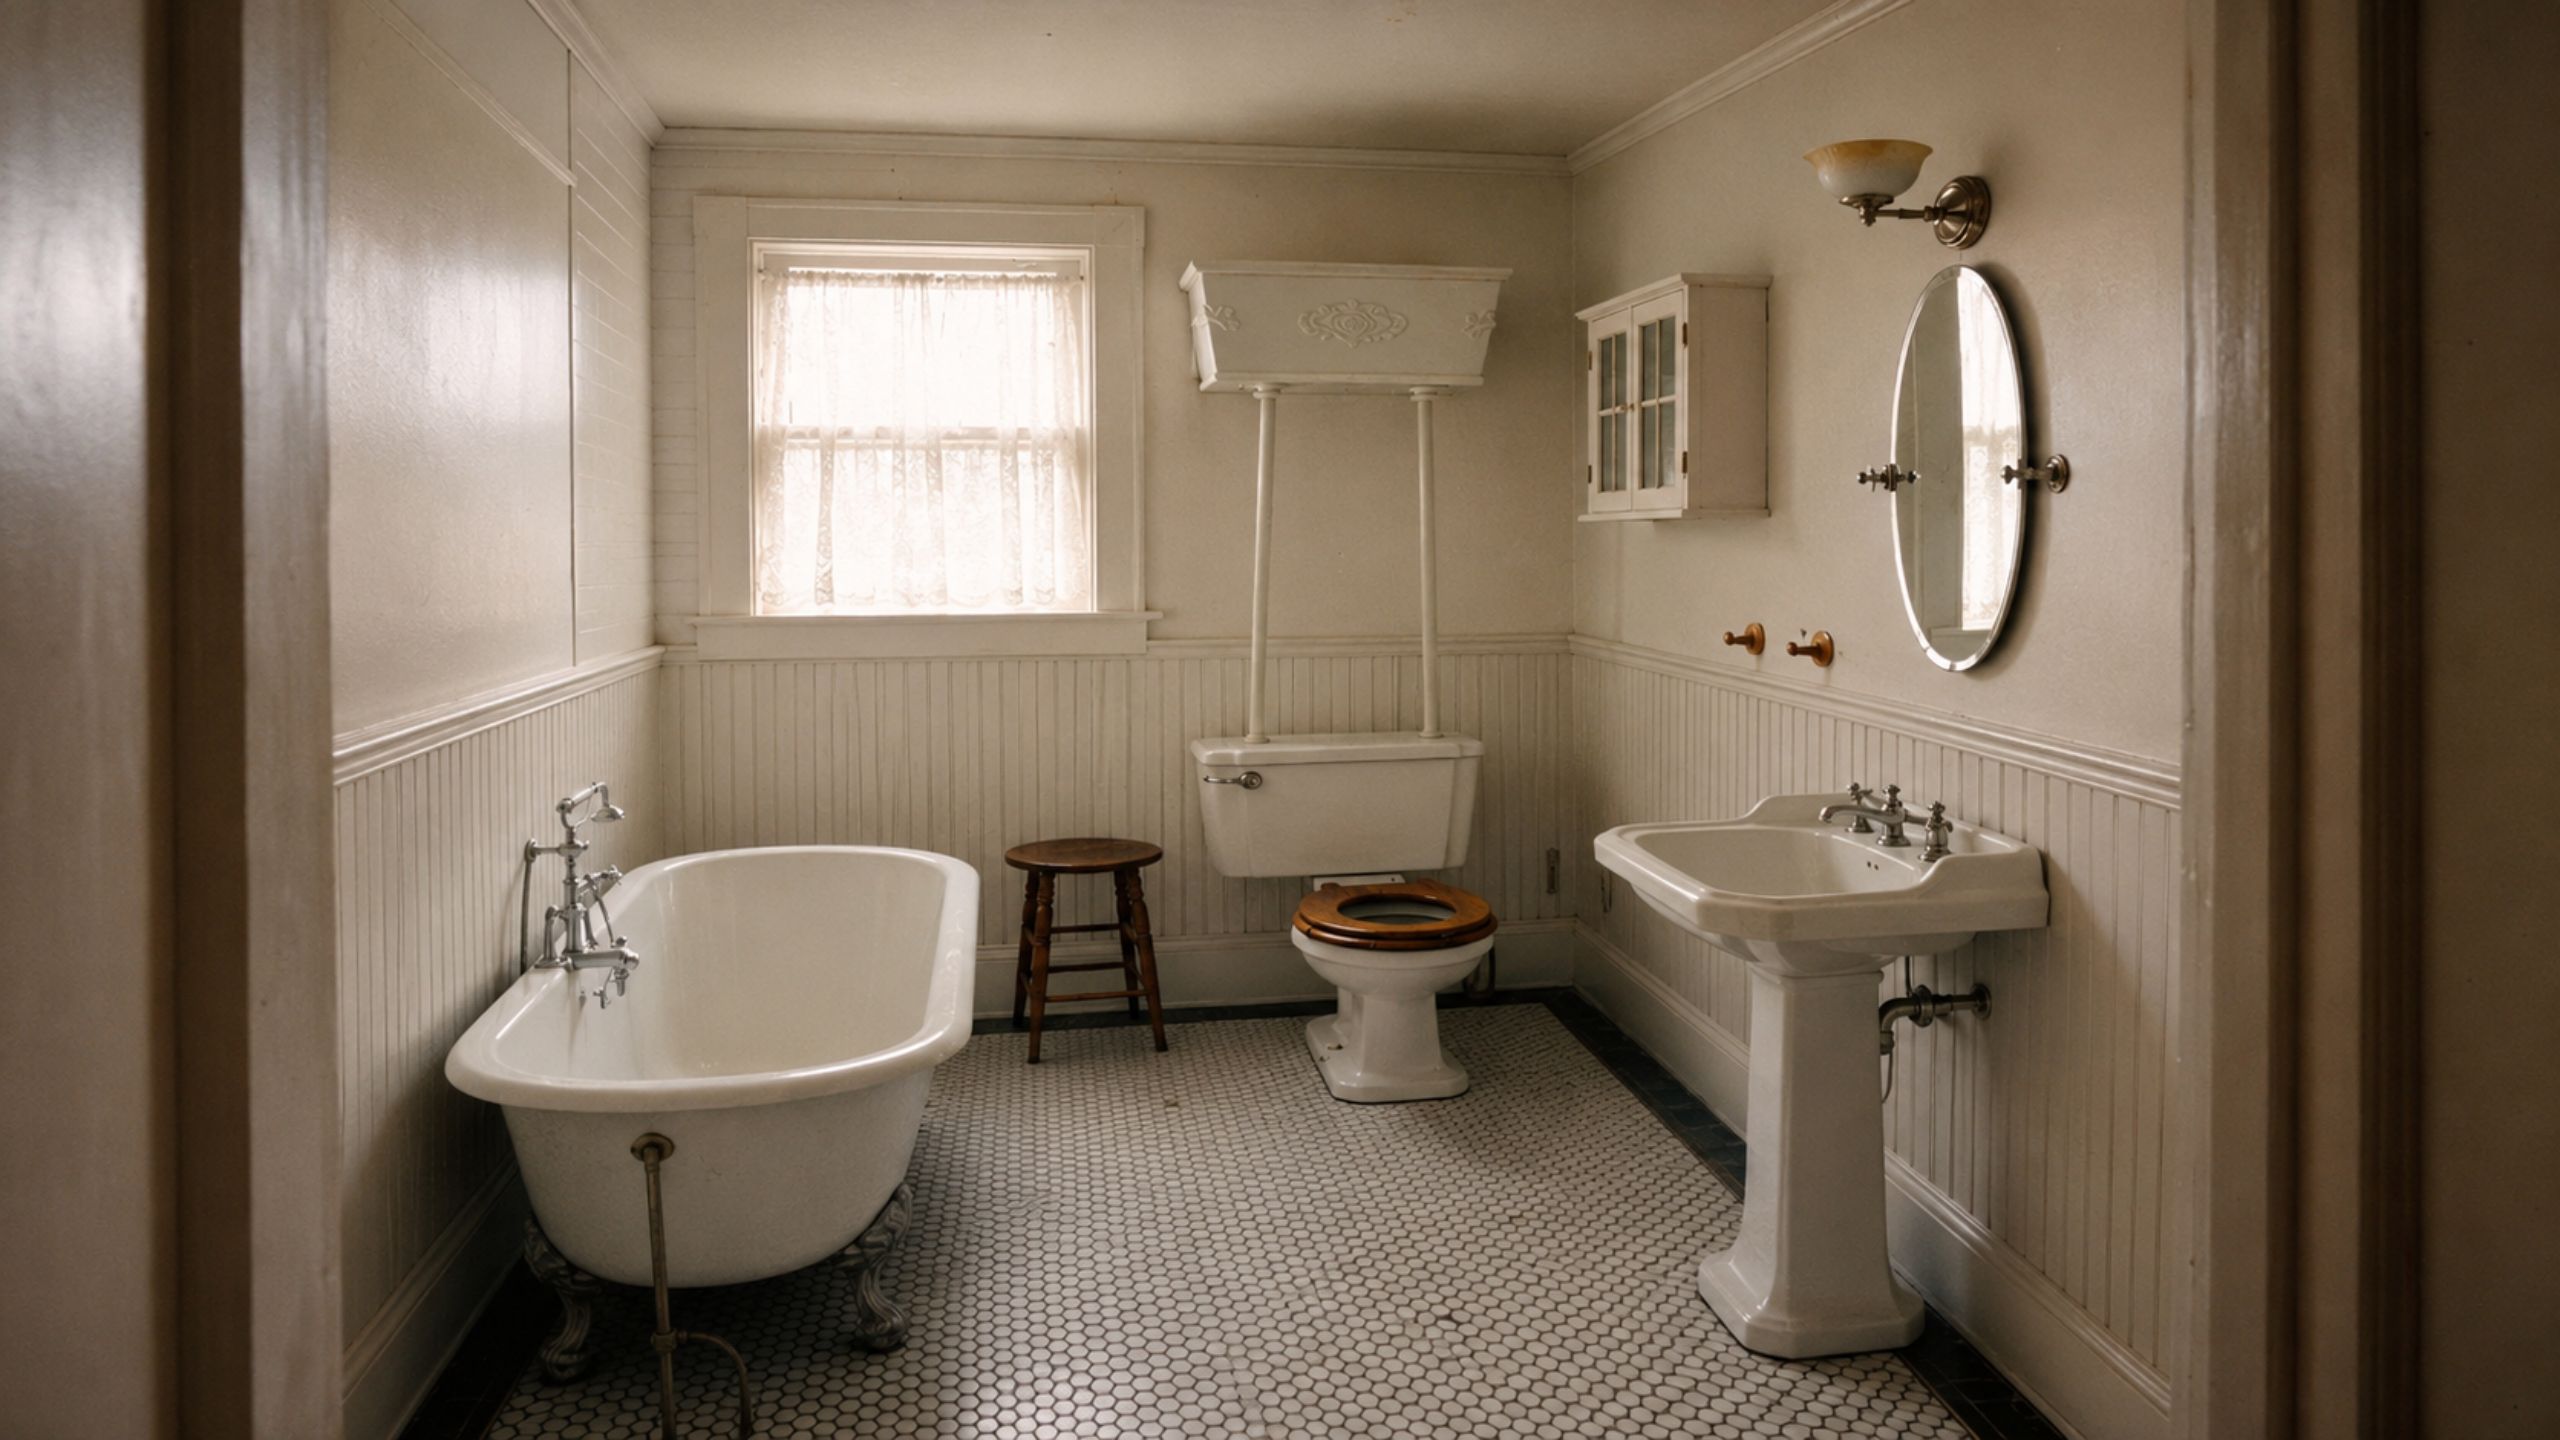
A compact 1910s bathroom with early plumbing fixtures, beadboard wainscot, and small hex tile flooring. Image by ArchitectureCourses.org.
That does not mean you need to copy the room exactly. It means the update should respect why the room was arranged that way in the first place.
Windows Are a Renovation Decision, Not Just a Product Decision
Window replacement is one of the fastest ways to damage a 1910s house while thinking you are improving it.
If the original windows are repairable, many are worth keeping. The reason is not nostalgia. It is proportion, depth, glass area, and facade quality. Cheap insert windows often shrink the opening and flatten the shadow lines. The house loses part of its face.
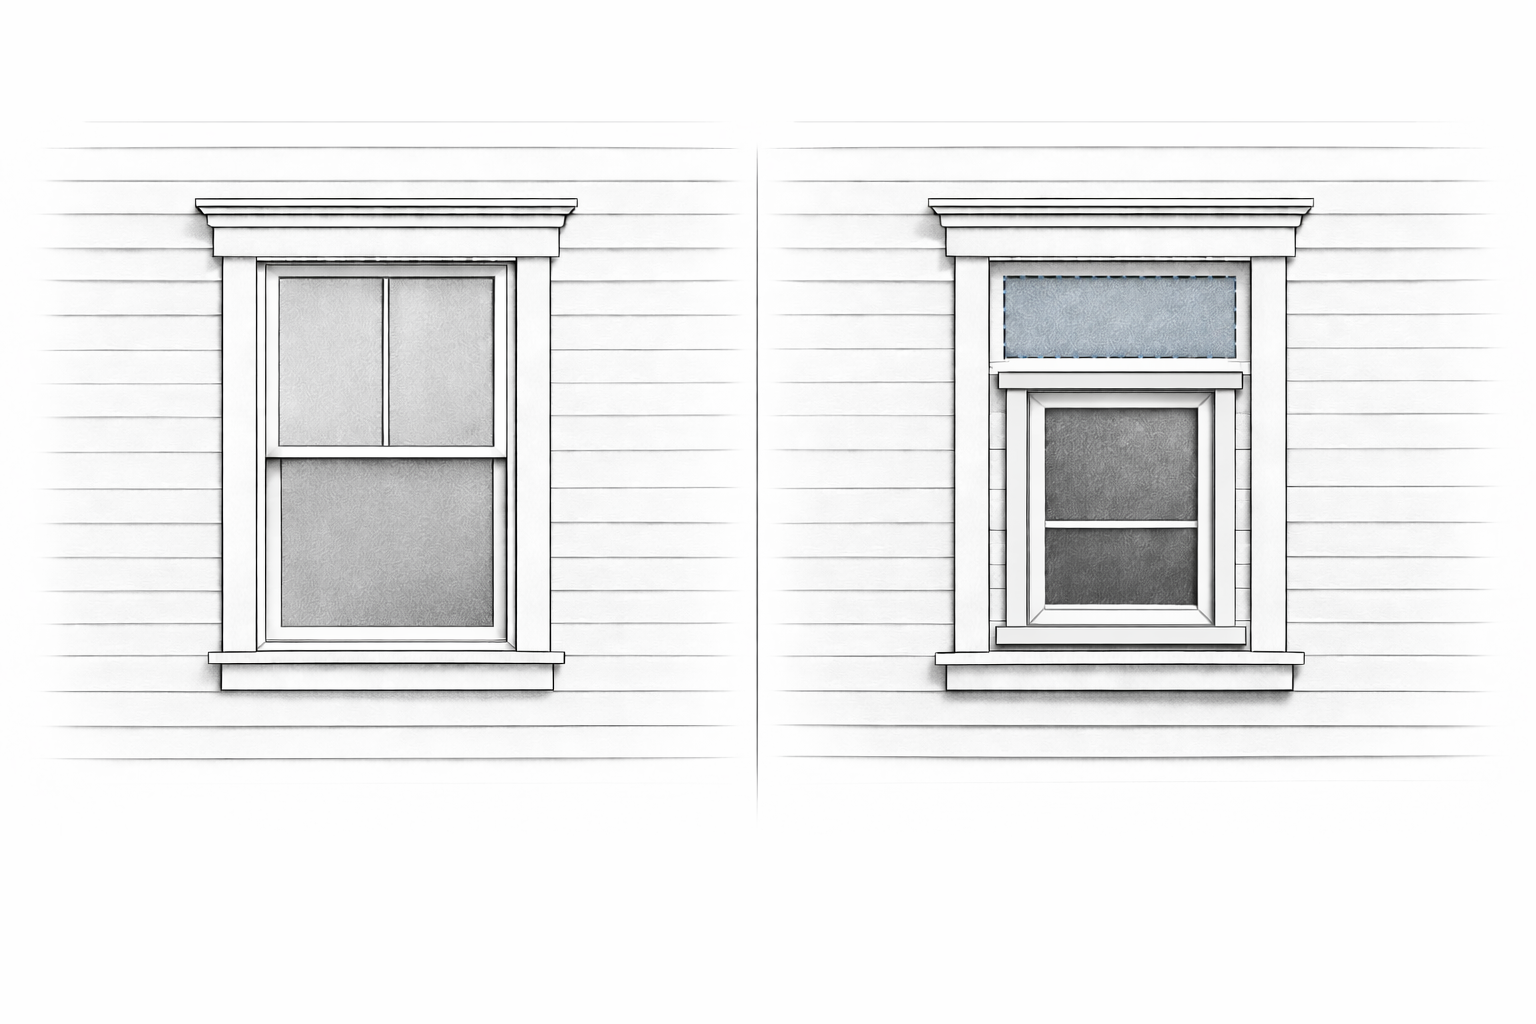
Illustration by ArchitectureCourses.org comparing a respectful replacement window with a common insert-window mistake in an older facade.
That matters even more in houses with stronger formal order, including Colonial Revival facades. But it matters in simpler houses too. The wrong window makes almost any old facade look cheaper.
Selective Renovation Usually Ages Better
The best updates in 1910s houses are often the ones that are hardest to brag about in a before-and-after caption.
They do not scream “full transformation.” They solve the real problems, keep the house readable, and make the next fifty years easier. Better wiring. Better drainage. Better comfort. Better repair sequence. Fewer bad guesses inside the walls.
That is what selective renovation looks like. Not timid. Not incomplete. Just more disciplined than the average gut renovation.
And yes, sometimes the house is too compromised for a surgical approach. If the systems are collapsing, the service areas are broken, and the earlier repairs were reckless, the scope may need to go deeper. But that should come from the actual condition, not from a habit of tearing out everything first.
Before You Start, Check These First
- What is actually failing? Water, wiring, plumbing, windows, floors, wall movement, insulation.
- What is still worth saving? Trim, floors, built-ins, stair, porch, plaster, windows, doors.
- What has already been changed badly? Kitchens, bathrooms, windows, siding, porch enclosures, patched rooms.
- What has to stay for the house to still read like itself? This question matters more than most owners think.
- What needs to happen first so you do not pay twice? That is the real sequence question.