
What Parametric Design Looks Like Inside a Building
Nothing is more satisfying than playing with geometry to create architecture and interior pieces. But if you don’t use restraint, don’t learn the logic, and skip the simulation, you’ll waste hours doing nothing but spinning shapes. Be careful.
Parametric design inside a building is about setting clear targets and letting the model solve them. Light levels. Sound decay. Flow and reach. Storage and access. You tune the inputs, and the geometry updates without breaking code or cost. The result is an interior that looks good and actually works under pressure.
How to Use Parametric Tools in Interior Design
What Is Parametric Interior Design?

You define geometry with algorithms and constraints instead of one-off sketches. Change a room width and the ceiling apertures, fixture spacing, and acoustic panels adjust to keep lux, UGR, and RT60 in range. This is not a static layout. It is a live system that adapts.
New to the logic itself? See a plain-English starter here: Parametric Design in Architecture 101.
Why it feels different from traditional interiors

- One change updates many parts. Edit a radius or height and handrails, soffits, and sprinklers move with it.
- Real metrics drive shape. Light, sound, reach, and code are inputs, not afterthoughts.
- Parts repeat. You standardize modules, clips, and cuts so fabrication stays fast.
Core benefits
- Custom fit to user, building, and brand without bespoke chaos.
- Speed from option to option with fewer drawing rewrites.
- Complex forms that still ship on standard sheets and bends. See ceiling patterns here: Parametric Ceiling Design.
- Environmental control baked in. Daylight, glare, airflow, and acoustics respond to real targets.
Stop Spinning Shapes. Start Setting Targets.

Playing with geometry is fun. It also burns hours if you do it without rules. If you are pushing surfaces with no targets, you are not designing. You are stalling.
Parametric interiors work only when the model has a job. Give it light levels, sound decay, clearances, and storage counts. Then let the geometry move to meet those numbers. Change a room width and the ceiling, fixtures, and panels update. Code holds. Cost holds.
How aimless work shows up
- Endless sliders with no effect on light, sound, or reach.
- Pretty ceilings that block access panels and sprinklers.
- Unique parts everywhere. No families. No kit. Bloated BOM.
- Renders that hide glare, echo, and bad circulation.
Fix the problem in 5 steps
- Write the targets first. Task lux at desk height. UGR cap. RT60 by room type. Aisle width and turning radius. Put the numbers at the top of the file. If you need the loop, read the parametric process guide.
- Limit the inputs. Five sliders that actually move performance. Freeze the rest. If a control does not shift a metric, delete it.
- Bind geometry to metrics. Panel density drives lux and glare. Rib depth drives NRC. Aisle width and door swings drive layout. No free shapes.
- Lock a short kit of parts. Two or three panel sizes. One clip. One hanger. One fastener. Snap forms to what you can buy and bend. For tooling choices, skim software and add-ons.
- Simulate early. Simulate again. Run daylight, acoustic, and egress checks before rendering. If the numbers dip, the form changes. Not the target.
Daily habits that keep you honest
- Show the numbers on sheet. Put lux maps, UGR, and RT plots next to the view. Kill options that fail.
- Track cost inside the graph. Count unique parts. Count hangers. Flag anything that breaks nesting or bed size.
- Prototype small. Cut one panel set or one rib bay. If the jig or clip fails, fix the rule, not the shop.
- Version with intent. Name options by the target they chase. “RT60_0p6” says more than “Option_07.”
Red flags to stop early
- No access plan for MEP above a sculpted ceiling.
- Perfs too tight for fasteners. Ligaments below minimum.
- Ramps that miss slope and landings after a late change.
What “good” looks like
Light hits target with comfortable contrast. Speech privacy holds at the rooms that need it. Paths read at a glance. Parts repeat. Shop drawings fall out of the model. The space feels calm because the rules are tight.
Real Interior Moves That Work On Site
1) Parametric ceilings for light and sound
Perforations and baffles size themselves to hit task-plane lux and RT60 goals. Aperture density tightens over work zones. It opens above paths. Panels snap to a short family that nests well on 4x8 or 5x10 sheets.
- Inputs: lux at 0.8 m, UGR cap, RT60 target, panel families, grid.
- Outputs: panel map, cut files, hanger points, fixture aims.
- Tip: keep four panel sizes max. Add access panels by rule near every junction box.
Ceiling fundamentals and examples live here: ceiling patterns and kits.
2) Acoustic feature walls
Rib depth and spacing follow frequency peaks. Where speech privacy matters, the script deepens cavities and tightens centers. Panels stay within CNC bed limits. One clip hangs all types.
- Inputs: target NRC, RT60, band weights, bed size, minimum ligament.
- Deliverables: rib schedule, panel types, clip spacing, RT plots in the set.
3) Privacy screens and view control
Perforation size and panel height respond to sightline cones and task zones. The pattern opens to circulation and tightens at desks. Edges respect fastener distances so panels do not crack.
- Inputs: eye height, critical views, speech privacy score, module sizes.
- Outputs: screen families, bracket layouts, BOM.
4) Stairs, ramps, and internal bridges
Rise, run, width, landings, and headroom live in one graph. Change the turn and the handrail, guards, and soffit realign. You see sightlines and comfort before steel is cut.
- Inputs: floor-to-floor, code class, preferred slope, turn radius.
- Outputs: stringer plates, tread count, baluster patterns, shop set.
5) Retail and gallery grids
Bay widths, shelf pitch, and beam aim respond to SKU size, reach ranges, and glare caps. Queues size to peak footfall. End caps get extra lux without hot spots.
6) Workplaces that reconfigure without rewiring
Desk clusters scale while MEP stays in fixed lanes. Diffusers, returns, and task lights keep throw and noise limits. Power drops follow a trunk and plug into repeat floor boxes.
7) CNC furniture families

Desks, benches, and storage scale from the same profile. Toolpaths minimize tabs. Edges line up for shared clamps. Hardware repeats.
- Inputs: stock thickness, tool diameter, bend or kerf radius, payload loads.
- Outputs: DXFs, part labels, assembly order, hardware counts.
More on furniture logic here: Parametric Design in Furniture.
8) Lighting layouts by numbers, not guessing
The model moves fixtures until targets land. Daylight sensors zone by depth. Glare is checked at eye height in seated and standing positions.
- Targets: 300–500 lux at task, UGR under cap, balanced uniformity.
- Outputs: aim charts, circuit groups, maintenance factors, spare drivers.
Material kits that behave indoors
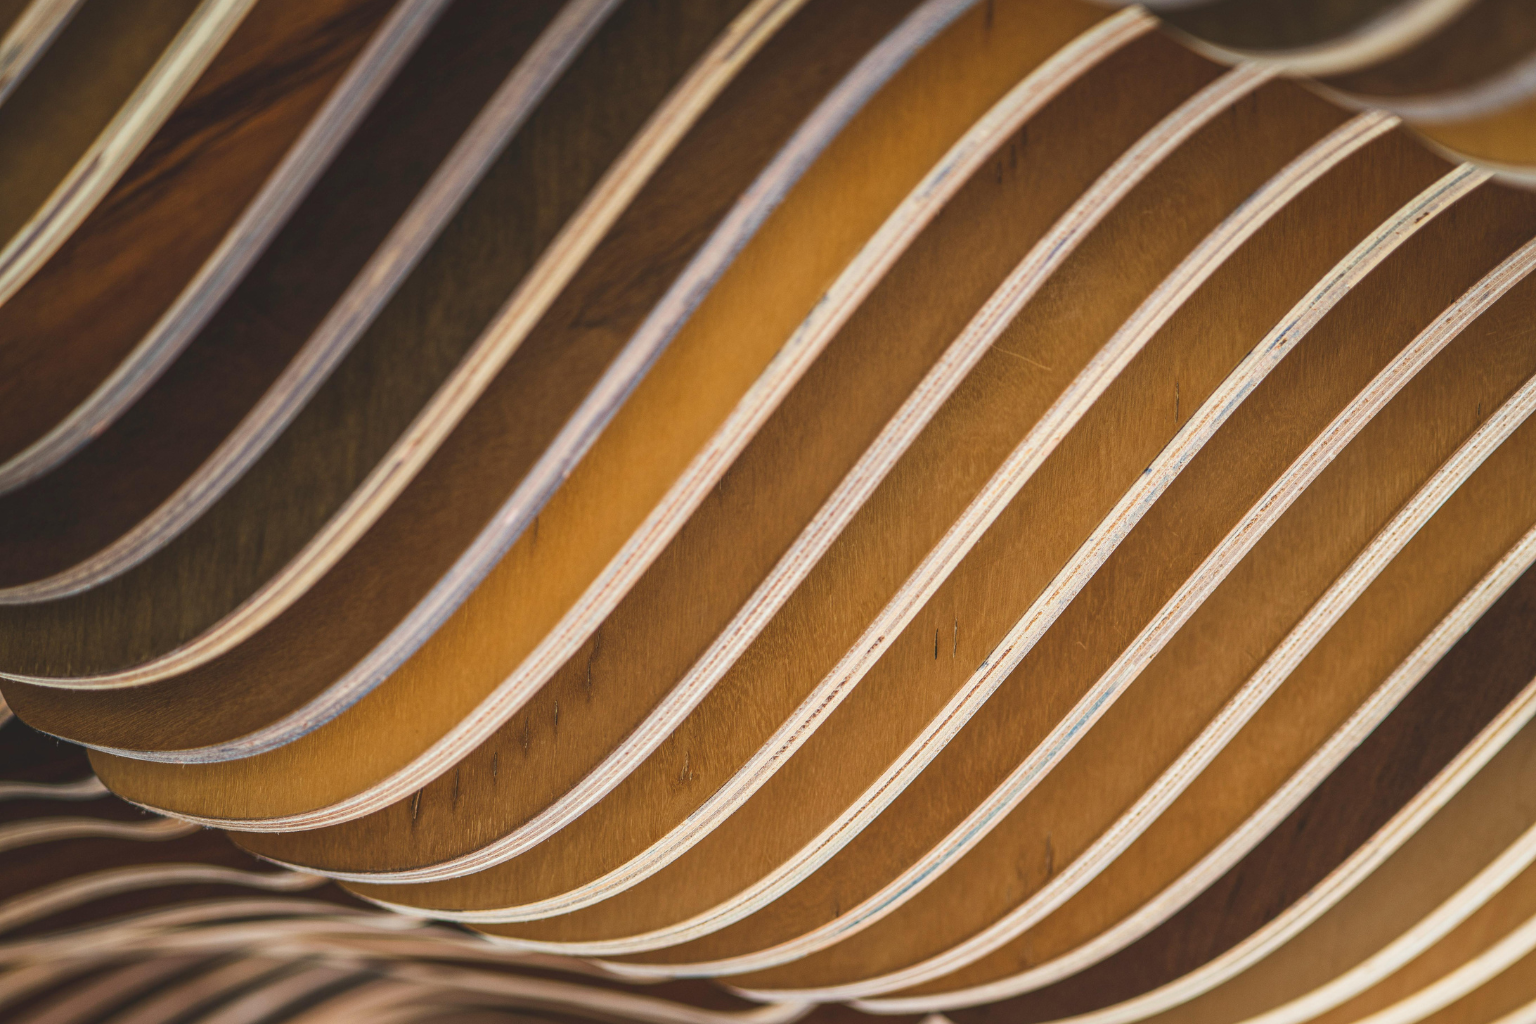
Timber and veneers
- Use lamella or slat systems for airflow and sound. Seal cuts. Vent back faces.
- Snap curves to factory radii. Avoid one-off bends.
Aluminum and steel
- Perfs solve glare and HVAC throw. Keep minimum ligaments to stop oil canning.
- Press-brake angles limited to shop presets. Reuse dies.
Felt and fabric
- Good NRC per weight. Plan access panels and dust control.
- Cut on CNC for clean seams. Keep panel families short.
Glass inside
- Use frit gradients for privacy without killing daylight. Balance VT and glare.
- Standardize gaskets and door sets. Keep hardware families tight.
Exterior skin materials live here if you need the envelope to match the lobby language: Parametric Facade Materials.
Nature patterns translated to interiors
- Branching shelves and ducts: balanced splits, shallow angles, diameter by flow.
- Hex fields: ceiling kits with strength and repetition. Module size follows span and lift.
- Spirals: stairs and ramps with gentle turns and small footprints.
- Voronoi: screen and panel perforations with variable apertures. Lock minimums so screws hold.
For a quick overview of the loop that drives these, read the parametric process guide.
Mini case notes
Hotel lobby bridges used a single rule set for span, deck camber, baluster spacing, and sightlines. Guests found paths naturally. Shop drawings came straight from the model.
Office ceiling field ran two panel types and three sizes. Task lux hit target. RT60 dropped by 0.3 seconds. Electrical load fell because fixtures were right-sized.
Library stacks linked shelf pitch to book size and coil width. Aisles widened only where carts pass. Only two upright families across the floor.
Software you actually need
- Rhino + Grasshopper for geometry and rule building. Most interior systems can live here.
- Revit + Dynamo for documentation and schedules tied to the same rules.
- Fusion 360 for furniture and hardware with CAM in mind.
Quick comparisons and add-ons here: parametric software rundown.
How to start without slowing the team
- Pick one small kit. A daylight ceiling, a privacy screen, or a stair tool. Build it clean. Reuse it.
- Limit sliders. Five inputs that hit your metrics. Freeze the rest.
- Tag cost inside the model. Count uniques and install minutes so options are honest.
- Show the numbers. Put glare, EUI proxies, and RT plots next to the pretty view.
Common mistakes inside buildings
- Pretty ceilings with no access. If you cannot open above every box, it will fail in month one.
- Endless options. More sliders do not mean better rooms. Decide what matters and lock it.
- Too many uniques. Families win. Factories and crews like repeats.
- No feedback loop. If light, sound, and cost are not measured in the graph, you are guessing.
FAQs about Parametric Interior Design
1) What is parametric interior design?
A workflow where geometry is driven by rules and metrics. Change one parameter and the related parts update while code and performance stay within limits.
2) What problems does it solve best?
Daylight and glare control, speech privacy, circulation and reach, part repetition, and fast reconfiguration without redrawing.
3) Which tools should I learn first?
Start with Rhino and Grasshopper for form and rules. Document with Revit. If you build furniture, use Fusion 360 for CAM. A short overview lives here: Parametric Software and Tools.
4) Do I need a big budget?
No. Start with one kit and repeat it. The gain comes from better decisions and fewer uniques, not bigger renders.
5) Can this help small residential projects?
Yes. Use it for stairs that always meet code, kitchens that keep reach and clearance, and built-ins that scale without remaking hardware lists.
Closing notes
Good parametric interiors use tight rules, short part families, and metrics you can defend. Build one kit, prove it with light and sound, and lock the details. Then roll it across rooms and floors. If you want the big picture of the loop, read our step-by-step process. For ceilings, start here: ceiling systems that pass the numbers.
MUST READ — Parametric Design for Real Work
- Elements of Parametric Design — Clean logic for how parameters behave. Learn what changes what before you script a room.
- Algorithmic Architecture — Theory that connects to code. Helps you think straight about rules and form.
- AAD Algorithms-Aided Design — Case studies and workflows that match real practice.
- Parametric Design for Architecture — Bridges visual tools and scripting with practical examples.
Field note: Books do not give taste. They give control. Use them to keep interiors legible, buildable, and calm.